Sentinel Foam Board Installation: Avoid THIS #1 Mistake
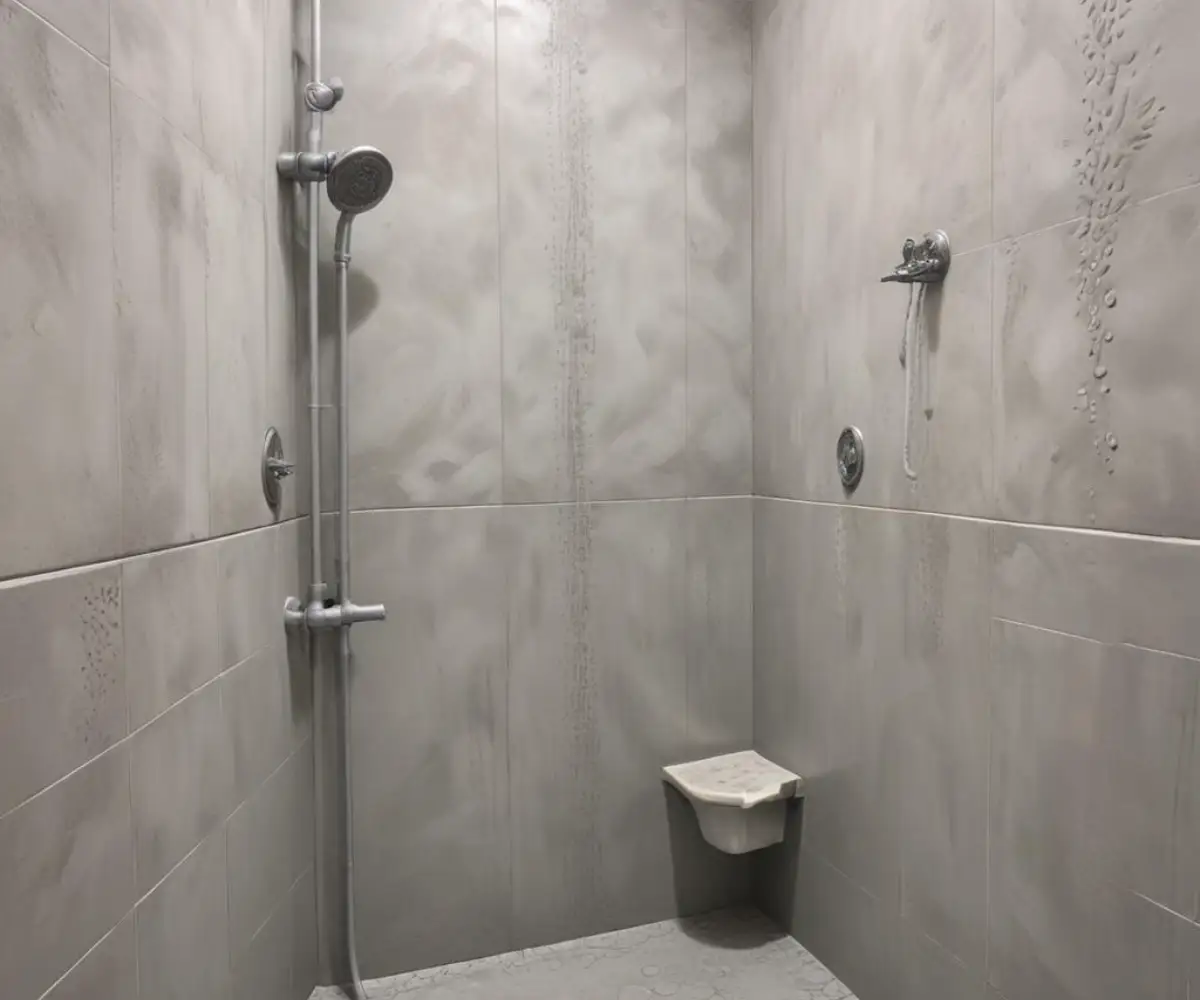
You envision a stunning, modern, tiled shower. The problem is, that beautiful dream can quickly become a nightmare of persistent leaks, hidden mold, and catastrophic water damage. The silent culprit behind many of these failures is often the tile backer board installation.
Many homeowners and even some contractors choose foam board for its incredible waterproofing properties, yet they make critical errors during installation. Even the best materials will fail if not installed correctly. Improperly sealed seams and fasteners are the number one mistake that turns a waterproof barrier into a leaky sieve.
This comprehensive guide will walk you through the exact steps for a flawless Sentinel foam board installation. We will ensure every cut, every screw, and every seam contributes to a completely watertight assembly, giving you the peace of mind that your beautiful shower will last for decades to come.
You'll Learn About
Why Most Foam Board Shower Installations End in Disaster
The promise of foam backer board is a quick, lightweight, and waterproof alternative to heavy, dusty cement boards. While true, this often leads to a false sense of security. The board itself is waterproof, but the complete system is only as strong as its weakest points: the seams, corners, and fasteners.
The Hidden Dangers of Seams and Fasteners
Every place where two boards meet and every screw that penetrates the surface is a potential pathway for water. Unlike a single continuous membrane, a shower built from panels relies on meticulous sealing of these vulnerable areas. If sealant is applied incorrectly, is insufficient, or is the wrong type, water will find its way through.
Over time, the constant stress of temperature changes and subtle movements in the house framing can compromise weak seams. This is where small leaks begin, often going unnoticed behind the tile until significant mold growth and rot have already occurred in the wall cavity.
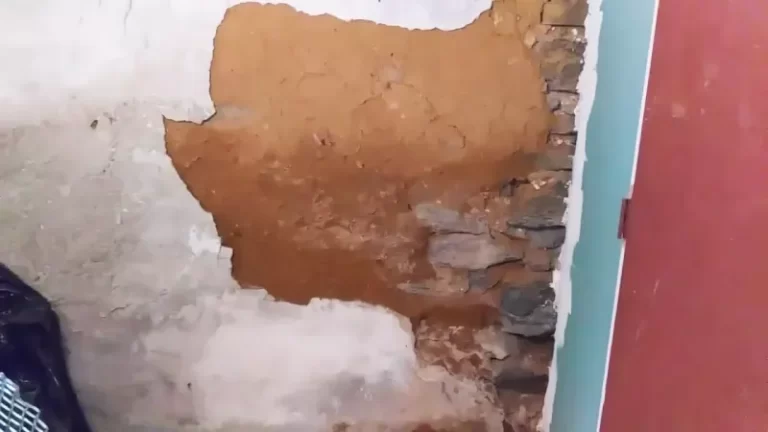
An Uneven Foundation: The Substrate Problem
Another common but often overlooked issue is installing foam boards over uneven or out-of-plumb wall studs. When the framing isn’t flat, tightening the screws and washers will pull the board into the hollows, creating stress. This tension can lead to microcracks or weaken the integrity of the board over time, especially around fastener points.
Forcing a rigid board onto an uneven surface creates a weak foundation for your tile. This can lead to tile lippage and, more critically, can compromise the waterproof seams as the structure shifts. Proper wall preparation is not an optional step; it is essential for a lasting installation.
Forgetting the Details: Waterproofing’s Weakest Links
Complex areas like shower niches, benches, and plumbing penetrations present the biggest challenges. These spots have multiple corners and seams in a small area, increasing the potential for installation error. It’s crucial to treat these areas with extra care, ensuring every single corner and cutout is perfectly sealed. A project like installing a custom niche requires careful planning and execution to integrate it seamlessly into the waterproof envelope. For more specific guidance on niche installations, you might consider how professionals install a Kerdi niche in cement board, as the waterproofing principles are similar.
Your Ultimate Sentinel Foam Board Installation Guide
Following a methodical, step-by-step process is the key to a successful, leak-proof shower. Rushing any of these stages or cutting corners will compromise the entire system. Take your time, use the right materials, and focus on the details.
Before You Begin: Tools & Materials Checklist
Gathering everything you need before you start will ensure a smooth and efficient workflow. There’s nothing worse than having to stop mid-task to run to the hardware store. Below is a comprehensive list of what you’ll need.
| Category | Item | Purpose |
|---|---|---|
| Boards & Fasteners | Sentinel Foam Board | The primary waterproof substrate for your walls. |
| Boards & Fasteners | Sentinel Screws & Washers | Specifically designed to fasten the board without crushing the foam core. |
| Waterproofing | Polyurethane Sealant | For sealing all seams, corners, and fastener heads. |
| Waterproofing | Pipe & Valve Seals | Prefabricated gaskets for a guaranteed seal around plumbing. |
| Cutting & Measuring | Utility Knife & Straight Edge | For straight, clean cuts using the “score and snap” method. |
| Cutting & Measuring | Measuring Tape & Pencil | For accurate layout and marking. |
| Installation Tools | Drill/Driver | For driving screws. |
| Installation Tools | Caulking Gun | For applying sealant. |
| Installation Tools | 4-foot Level | To ensure wall studs are plumb and in-plane. |
Step 1: Preparing Your Wall Studs for Perfection
Your foam board is only as flat as the framing behind it. Before you even think about installing a board, check your studs. Place a long, straight edge or a level across the studs horizontally.
If you find bows or dips, you must correct them. High spots can be planed down, while low spots can be “shimmed” out by sistering a new, straight stud alongside the old one or by attaching thin strips of wood until the surface is flush. Ensure all studs are plumb and in-plane before proceeding.
Step 2: Cutting Sentinel Foam Board Like a Pro
One of the best features of foam board is how easy it is to cut. There’s no need for power saws that create massive dust clouds. Simply use a sharp utility knife and a straight edge.
Score the board firmly on one side, then snap it back along the score line. A final cut through the mesh on the other side will complete the separation. For holes around plumbing, a utility knife or a keyhole saw works perfectly.
Step 3: Fastening the Boards to the Studs
Begin installing the boards, leaving a 1/4 inch gap above the shower pan or tub flange to prevent water wicking. Fasten the Sentinel boards using the specified screws and washers. The washer is crucial as it distributes the pressure and prevents the screw head from sinking into and damaging the foam core.
Place fasteners a maximum of 8 inches apart on center along the studs. Drive the screw until the washer is just flush with the board’s surface. Do not overdrive the screws, as this will create a divot and compromise the flat surface needed for tiling.
Step 4: The Most Critical Step – Waterproofing All Seams
This is where your shower’s integrity is won or lost. Apply a continuous, generous bead of high-quality polyurethane sealant into every seam between the boards. When you butt the next board against it, the sealant should squeeze out slightly, indicating a fully filled joint.
Smooth the excess sealant with a putty knife, spreading it at least 1 inch onto the face of the boards on either side of the seam. Next, apply a dab of the same sealant over every single screw and washer, ensuring each one is completely encapsulated. This creates your continuous, monolithic waterproof barrier.
Common Questions & Pro-Level Advice
Even with a step-by-step guide, questions often arise. Addressing these common concerns can provide clarity and build confidence in your installation process, ensuring you avoid pitfalls and achieve a truly professional result.
Do I Need a Vapor Barrier Behind Sentinel Foam Board?
No, you generally do not. Sentinel foam board and other similar XPS foam products are vapor retarders. Installing an additional vapor barrier like plastic sheeting behind the board can create a “double barrier” situation, which can trap moisture within the wall cavity and lead to mold and rot. The foam board itself serves as the necessary protection.
Can You Install Sentinel Board Over Existing Drywall?
This is not recommended for a wet area like a shower. The board must be fastened directly to the wall studs to ensure a solid, stable substrate for your tile. Installing it over drywall adds a potential failure point and makes proper waterproofing at the seams and edges far more difficult. Always strip the shower enclosure down to the bare studs.
How Does Foam Board Compare to Other Insulation?
Foam backer board offers both structural support for tile and excellent insulation. Its R-value helps keep shower walls warm to the touch and can contribute to energy savings. While spray foam insulation is a popular choice for wall cavities, it serves a different purpose. To understand the economics, it’s helpful to explore why spray foam insulation is so expensive compared to board products. Furthermore, not all foam is structural; for instance, you need to know if you can you walk on rigid foam insulation intended for roofing or sub-floors, which is very different from a wall backer board.
The Foundation of a Flawless Shower
A successful Sentinel foam board installation is built on three core principles: a flat and stable substrate, proper fastening technique, and, most importantly, meticulous waterproofing of every seam and penetration. By treating the installation as a complete system rather than just individual boards, you create a truly impenetrable barrier.
By avoiding the common mistake of inadequate sealing, you ensure that your new shower is not only beautiful on the surface but also durable and completely protected from water damage from within. The time and attention to detail you invest now will pay off for years to come in a worry-free, leak-proof shower.