Install a Kerdi Niche in Cement Board: Your Ultimate No-Leak Guide
You’ve chosen durable cement board for your shower walls and a sleek, pre-formed Schluter-Kerdi-Niche for convenience. Now comes the critical part: making them work together. Many DIYers and even some contractors feel a wave of anxiety at this stage, and for good reason.
The number one fear is a leak. A tiny, unseen gap between the niche’s flange and the cement board can allow water to wick into your wall cavity, leading to thousands in damage from mold, rot, and structural decay. This single point of failure can turn a dream bathroom into a recurring nightmare.
This guide provides a comprehensive, step-by-step blueprint to ensure a perfect, 100% waterproof installation every single time. We will transform that fear into confidence, showing you exactly how to create a permanent, leak-proof seal that protects your investment and gives you peace of mind.
You'll Learn About
Why This Connection is So Critical
A shower niche seems simple, but it’s the most complex feature on a shower wall. It has multiple planes, corners, and seams—all potential weak points. When you cut a hole in your otherwise solid cement board backer, you are creating an interruption in your primary defense against water.
The key is to properly integrate the niche’s built-in waterproofing with the waterproofing system of the surrounding wall. It’s not enough to just stick the niche in the hole and tile over it. You must create a continuous, unbroken waterproof barrier across the entire assembly.
Understanding the Materials
Success begins with knowing your components. The Schluter-Kerdi-Niche is made from Kerdi-Board, a lightweight, waterproof foam panel with a bonding fleece on its surface. It comes with a large, integrated flange around the opening designed to overlap onto the main wall.
Cement board, on the other hand, is a heavy, durable, and water-resistant substrate. It will not swell or degrade when wet, but it is not waterproof. Water can pass through cement board, which is why a separate topical waterproofing membrane, like Kerdi fabric or a liquid-applied membrane, is essential.
Tools and Materials: Your Checklist for Success
Gathering every necessary item before you begin is crucial. Rushing to find a tool mid-installation is how mistakes happen. This table outlines everything you’ll need for a professional result.
| Item | Purpose | Pro Tip |
|---|---|---|
| Schluter-KERDI-NICHE | The pre-formed, waterproof shower niche. | Choose a size that fits between your wall studs (typically 14.5 inches apart). |
| Cement Board Screws | To secure the cement board and niche to the wall studs. | Use screws specifically designed for cement board; they have a corrosion-resistant coating. |
| Measuring Tape & Pencil | For precise layout and marking. | Always follow the “measure twice, cut once” rule. |
| Level | To ensure your niche is perfectly level and plumb. | A 24-inch level works well for checking both horizontal and vertical alignment. |
| Jigsaw or Oscillating Multi-Tool | For cutting the opening in the cement board. | Use a carbide-grit blade for cleaner cuts and less dust. |
| 2×4 Lumber | For adding horizontal blocking/framing for the niche. | This is a critical step for structural support and a solid installation. |
| Schluter All-Set or Unmodified Thin-Set Mortar | To bed the niche and adhere waterproofing membranes. | Do NOT use pre-mixed mastic or modified thin-set, as it requires air to dry properly. |
| Trowel | Schluter-KERDI-TROWEL (1/8″x1/8″) or a V-notch (1/4″x3/16″). | The correct trowel size ensures the right amount of mortar for a solid bond without excess buildup. |
| Schluter-KERDI-BAND | Waterproofing strips for sealing the niche flange to the wall. | This is the most important waterproofing step; ensure you have enough to cover the entire perimeter. |
| Utility Knife | For cutting Kerdi-Band and trimming materials. | A sharp blade makes clean cuts and prevents tearing the membrane. |
The Ultimate Step-by-Step Installation Guide
Follow these steps meticulously to achieve a flawless, professional-grade installation. We’ll cover everything from framing to the final, critical waterproofing details.
Step 1: Strategic Layout and Planning
First, decide on the niche location. Consider both aesthetics and function. A common height is chest-level (around 48-50 inches from the shower floor), but place it where it’s most convenient for you.
Most importantly, the niche must be located between two wall studs. Use a stud finder to locate the studs and mark their centers. Position your niche so its sides will have solid wood to fasten into. Never place a niche on an exterior wall if you live in a cold climate, as the lack of insulation can cause condensation and freezing issues.
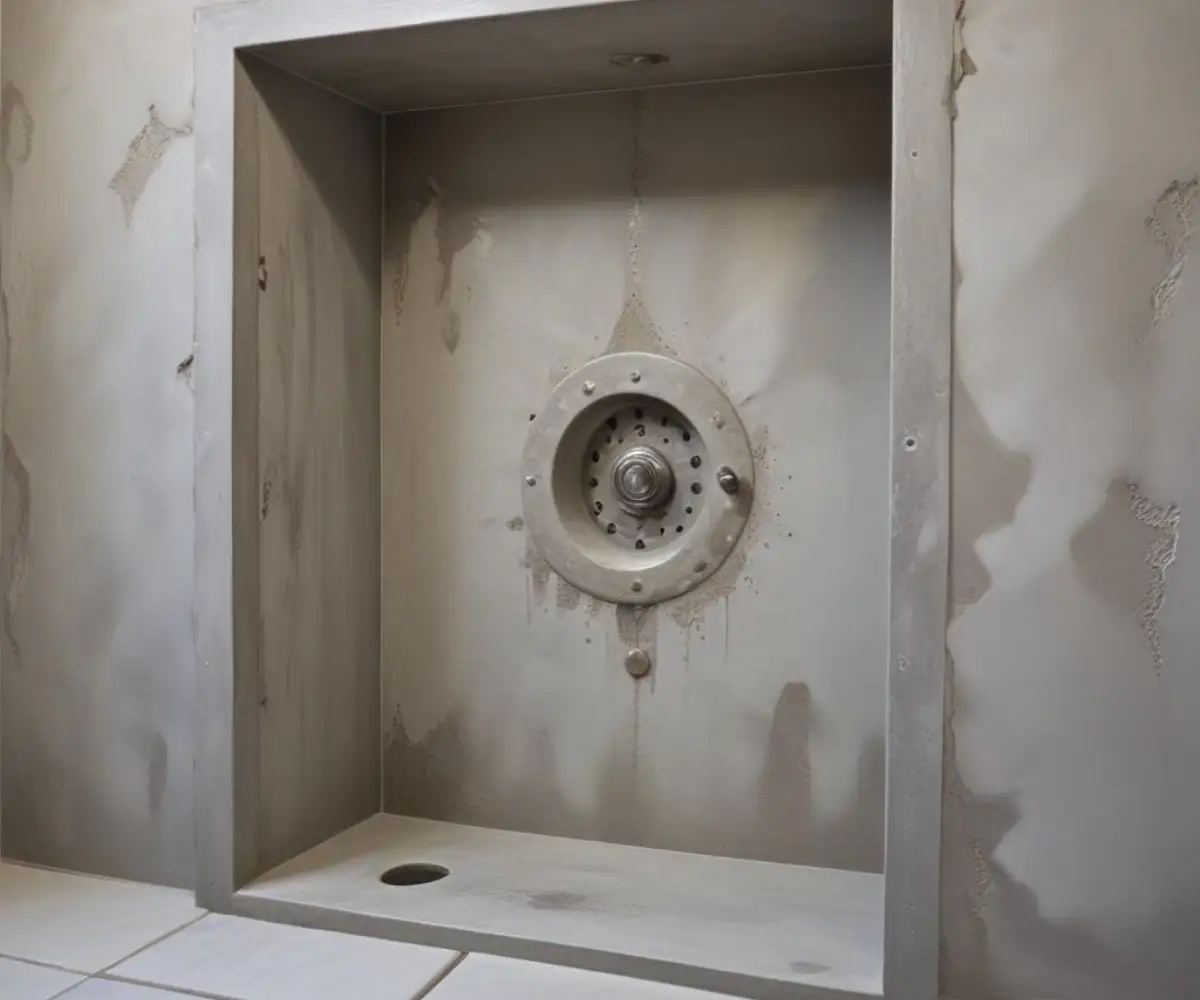
Step 2: Cutting the Opening in the Cement Board
Hold the niche against the cement board in your desired location and trace around the outside of the niche box itself, not the larger flange. Use your level to ensure your traced lines are perfectly level and plumb.
Using a jigsaw or an oscillating multi-tool, carefully cut along your traced lines. Wear a dust mask and safety glasses, as cutting cement board creates significant airborne silica dust. Once the cut is complete, remove the piece of cement board.
Step 3: Installing Horizontal Blocking for Support
This is the step that separates amateur work from professional results. A niche that is only secured at the sides can feel flimsy. You must add horizontal 2×4 blocking between the studs to support the top and bottom of the niche.
Measure the distance between the studs at the top and bottom of your opening. Cut two pieces of 2×4 lumber to fit snugly. Toe-nail or screw these blocks into place so they are flush with the top and bottom of your cutout. This provides a solid surface to secure the entire perimeter of the niche.
Step 4: Dry-Fit and Secure the Niche
Insert the Kerdi-Niche into the opening. It should fit snugly and the front flange should sit flat and flush against the face of the cement board. If the opening is too tight, trim it carefully. If it’s too loose, you’ve cut it too large, which can be fixed but requires more work during the waterproofing stage.
Once you confirm a good fit, secure the niche’s flange to the studs and blocking using cement board screws. Place screws every 6-8 inches around the entire perimeter, about 1/2 inch in from the edge of the flange. Ensure the screw heads are driven flush but do not break the surface of the flange.
Step 5: The Critical Waterproofing Integration
This is where the magic happens. You will use thin-set mortar and Kerdi-Band to permanently seal the seam between the niche flange and the cement board wall. This creates a single, continuous waterproof surface.
Mix your unmodified thin-set mortar to a peanut butter consistency. First, apply a thin layer of mortar over the entire niche flange and extending about 3 inches onto the surrounding cement board, using the flat side of your trowel. This is called “burning it in” and ensures a strong bond.
Next, apply more mortar and comb it with the notched side of your trowel. Cut pieces of 5-inch Kerdi-Band to fit the top, bottom, and sides of the niche, with a 2-inch overlap at the corners. Press the Kerdi-Band firmly into the wet mortar, using a putty knife or the flat side of your trowel to embed the band and squeeze out all air bubbles and excess mortar from underneath. This connection is the heart of the entire waterproofing system, so take your time and ensure a perfect bond. This process is a core component of the best shower waterproofing system for long-term durability.
Step 6: Waterproofing Seams and Screw Heads
With the niche flange sealed, you must now waterproof the rest of the shower walls according to the manufacturer’s instructions. If you’re using Kerdi membrane over the whole shower, ensure all seams between sheets have a 2-inch overlap. Pay special attention to corners and any screw penetrations holding the cement board to the studs.
Every seam and screw head must be covered with waterproof banding or membrane. The goal is to create a complete, monolithic waterproof envelope, much like the principles behind a hot mop shower pan, but for your walls. There should be no path for water to reach the cement board or the wall studs behind it.
Common Mistakes and How to Avoid Them
Even with a guide, pitfalls exist. Being aware of them is the best way to ensure you don’t fall victim to these common errors.
- Not Adding Blocking: Skipping the horizontal framing support is a major mistake. It leads to a flimsy niche that can flex, causing grout and tile to crack over time.
- Using the Wrong Mortar: Using modified thin-set or tile adhesive (mastic) is a critical error. These products need air to cure, and when sandwiched between two waterproof layers (Kerdi-Niche and Kerdi-Band), they may never cure properly, leading to a weak bond and potential failure.
- Leaving Air Bubbles: Failing to fully embed the Kerdi-Band into the mortar is dangerous. Air pockets under the band are points where a waterproof seal doesn’t exist. Be methodical and press out all excess mortar and air.
- Cutting the Opening Too Big: An oversized hole means the niche flange has less surface area to bond to the cement board. This weakens the installation and makes waterproofing more difficult. Measure carefully.
Frequently Asked Questions
Here are answers to some of the most common questions DIYers have when tackling this project.
Can I just use silicone caulk to seal the niche?
Absolutely not. Silicone is a sealant, not a waterproofing system. It is meant for finished joints and will eventually fail, allowing water into the wall. You must use a membrane system like Kerdi-Band for a permanent, integrated waterproof connection.
What if my studs are not in the right place for my desired niche location?
You have to work with your framing. If the location is non-negotiable, you will need to open the wall and add or move studs to properly frame out the opening. Do not install a niche without proper support on all sides.
Do I need to waterproof the cement board before I install the niche?
There are two main methods. You can install the niche first and then apply your wall waterproofing (like Kerdi membrane) over the entire wall and up to the niche opening, overlapping the flange as described above. Alternatively, you can waterproof the wall first, then cut the opening, install the niche, and then use Kerdi-Band to seal the flange over the top of the existing wall membrane. Both methods work if done correctly, but installing the niche first is often more straightforward for DIYers.
Beyond the Niche: A Foundation for Greater Projects
Successfully completing a detailed, waterproof installation like this builds incredible confidence and skill. Once you master the precision required for a perfect shower niche, you might find yourself looking at bigger home improvement challenges with a new perspective.
The principles of proper framing, sealing, and finishing are universal. Mastering a bathroom project can give you the foundation to tackle more ambitious renovations. You might even start planning larger structural changes, though complex tasks like removing dormers from a roof should always be approached with professional consultation.
Conclusion: Building with Confidence
Installing a Kerdi-Niche in a cement board wall is more than just a home improvement task; it’s an exercise in precision and a commitment to protecting your home. By understanding the materials, adding proper structural support, and meticulously executing the waterproofing steps, you can create a feature that is not only beautiful and functional but also built to last a lifetime.
You now have the knowledge to move past the fear of leaks and build with the confidence of a professional. Your reward will be a perfect, seamless, and completely waterproof shower niche that elevates your entire bathroom.