Seal Your Downspout Drain Perfectly & Prevent Foundation Damage
A small puddle of water around your downspout might seem harmless. However, this seemingly minor issue is often a warning sign of a much larger problem lurking beneath the surface. An improperly sealed downspout drain is one of the most common, and most destructive, sources of water damage for a home.
When water isn’t channeled correctly away from your house, it saturates the soil directly against your foundation. This constant moisture can lead to soil erosion, settlement, and eventually, costly structural damage. Understanding how to create a permanent, watertight seal is a critical skill for any homeowner looking to protect their investment.
You'll Learn About
Why a Leaking Downspout Connection Is a Silent Home Killer
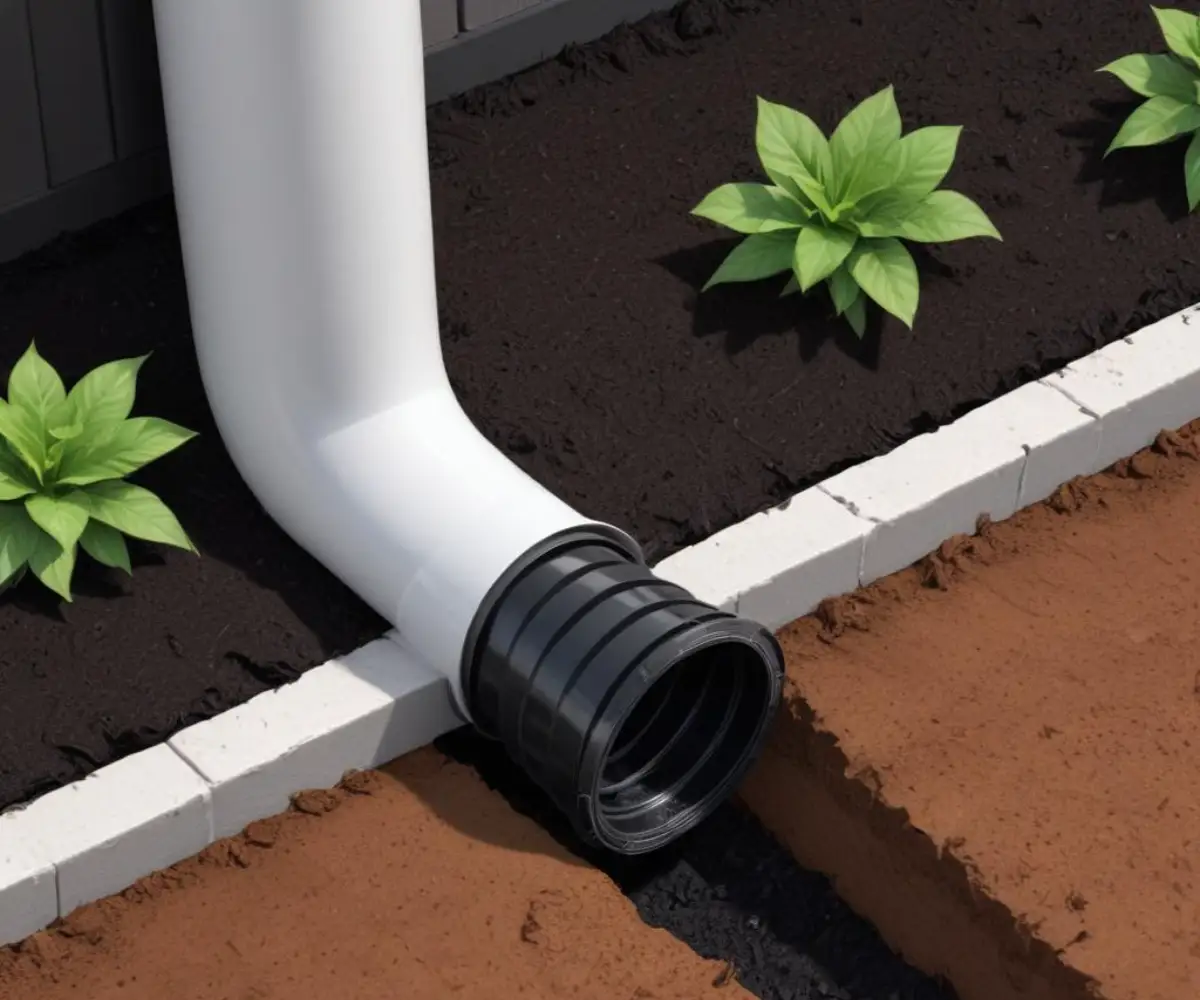
The connection where your vertical downspout meets the underground drain pipe is a major vulnerability. A poor seal at this junction allows torrents of roof runoff to dump directly into the ground next to your foundation. This concentrated water flow is far more dangerous than regular rainfall.
Over time, this saturation creates immense hydrostatic pressure against your basement or crawl space walls. This pressure can force water through microscopic cracks, leading to leaks, mold growth, and a damp, unhealthy environment. In severe cases, it can even cause foundation walls to bow or crack, signaling a major structural failure in progress.
The Primary Causes of Seal Failure
Several factors contribute to the failure of a downspout drain seal. Ground settlement is a primary culprit; as the backfilled soil around your foundation compacts over the years, it can pull the underground drain pipe downward, breaking the connection. Poor initial installation, using incorrect materials, or damage from landscaping can also create leaks.
Furthermore, the freeze-thaw cycle in colder climates puts immense stress on these connections. Water that seeps into small gaps can freeze, expand, and force the joint apart, making the leak progressively worse each year. Without a proper, flexible, and durable seal, this critical connection is destined to fail.
Recognizing the Telltale Signs of a Problem
Identifying a leaking downspout drain early can save you thousands in repairs. Look for obvious signs like water pooling or gushing from the connection point during heavy rain. Other, more subtle clues include persistent damp spots on basement walls, mysterious wet spots on concrete patios near the downspout, or soil erosion and mulch washing away from the area.
If you notice the ground around the drain connection is consistently soft or sunken, it’s a strong indication that water is leaking and eroding the soil underneath. Sometimes, the only sign is a musty smell in the basement, a direct result of moisture seeping through the foundation. Addressing issues like water where brick meets foundation often starts with inspecting these crucial drainage points.
The Definitive Guide to Sealing Your Downspout Drain
Creating a durable, long-lasting seal requires the right materials, proper preparation, and a clear understanding of the process. This step-by-step guide will walk you through the professional method for ensuring your downspout drain connection is completely waterproof and secure.
Before you begin, it’s essential to gather all the necessary tools and materials. Rushing this process or using subpar products will only lead to premature failure and repeated work. Taking the time to do it right once will provide peace of mind for years to come.
Step 1: Excavation and Preparation
The first step is to carefully excavate the area around the downspout and underground drain pipe. You will need to dig down far enough to fully expose the connection and provide ample room to work. A hand trowel is often the best tool for this, allowing for precise digging without damaging the pipes.
Once exposed, thoroughly clean all components. Remove all soil, old sealant, debris, and any roots that may have infiltrated the area. Use a stiff brush and water to scrub the downspout, the adapter, and the underground pipe until they are completely clean. A clean, dry surface is absolutely essential for the new sealant to adhere properly.
Step 2: Assessing the Connection and Fit
With the connection clean and exposed, assess the fit between the components. Modern systems typically use a downspout adapter to transition from the rectangular downspout to the round drain pipe. Ensure this adapter fits snugly onto both the downspout and into the drain pipe.
If the existing pipe is damaged or has settled too low, you may need to make a repair. This could involve cutting the damaged section of the drain pipe and using a coupler to add a new, taller piece that provides a secure connection point slightly above ground level. A proper fit is the foundation of a good seal.
Step 3: Choosing the Right Sealant
Not all sealants are created equal. The material you choose will determine the longevity and durability of your repair. Avoid cheap acrylic latex caulks, as they are not designed for below-grade or constant water exposure and will disintegrate. A high-quality sealant is a non-negotiable part of this job.
The ideal sealant should be waterproof, flexible to accommodate ground movement and temperature changes, and rated for outdoor, below-grade use. The choice of sealant often depends on the type of pipe material you are working with.
| Sealant Type | Best For | Pros | Cons |
|---|---|---|---|
| Polyurethane Sealant | PVC, ABS, Corrugated Pipe | Excellent adhesion, highly flexible, waterproof, UV resistant. | Can be messy to apply, longer cure time. |
| 100% Silicone Sealant | PVC, Vinyl, Metal | Very flexible, waterproof, easy to apply, good UV resistance. | Does not adhere well to all plastics; requires a very clean surface. |
| Geocel Tripolymer Sealant | All materials (Metal, PVC, etc.) | Adheres to wet surfaces, extremely durable, self-leveling. | More expensive, can be difficult to find. |
| Hydraulic Cement | Concrete/Clay Pipes | Expands as it cures, creates a rock-solid, permanent seal. | Completely rigid, will crack with ground movement if used on plastic. |
Step 4: Applying the Sealant
With your surfaces clean and dry, apply a generous bead of your chosen sealant around the joint. If you are connecting a downspout adapter into a larger drain pipe, apply the sealant to the outside of the adapter before inserting it. Also, apply a bead around the top edge of the connection where the downspout enters the adapter.
Use a caulking gun for even application and force the sealant deep into the gap. Smooth the bead with a gloved finger or a caulk-smoothing tool to ensure it makes full contact with both surfaces, leaving no air pockets. The goal is to create a solid, continuous ring of sealant that fully encases the joint.
Step 5: Curing and Backfilling
Allow the sealant to cure according to the manufacturer’s instructions. This is a critical step; backfilling too soon can disturb the joint and ruin the seal. Curing times can range from 24 hours to several days, depending on the product and weather conditions.
Once fully cured, you can backfill the excavated area. It’s wise to first place a layer of gravel around the pipe to improve drainage and then top it with the original soil. Grade the soil so that it slopes away from the foundation, providing an extra layer of protection against water intrusion.
Advanced Considerations for a Bulletproof System
A perfect seal is just one part of a comprehensive water management system. To truly protect your home, consider the entire path that water takes from your roof to its final discharge point. Optimizing this system can prevent a host of problems, from foundation leaks to pesky critters making a home in your pipes.
Thinking beyond the immediate connection point addresses the root causes of water management failures. This holistic approach ensures long-term stability and prevents future issues from developing.
The Critical Role of Proper Grading
Even with a perfect seal, poor grading around your foundation can lead to trouble. The soil within the first 10 feet of your house should have a positive slope, dropping at least 6 inches, to direct surface water away. If the ground around your downspout is flat or slopes inward, water will pool against the foundation.
Regrading the area may be necessary to ensure that any overflow or surface moisture is effectively channeled away from your home. This is often the first line of defense in keeping your basement dry and is just as important as the drainage system itself. Sometimes, a more complex solution like a french drain uphill may be required to manage significant water flow on sloped properties.
Maintaining a Clog-Free Path
An underground drain pipe is useless if it’s clogged. Debris from gutters, such as leaves, shingle grit, and twigs, can accumulate and create blockages. A clog will cause water to back up and overflow at the downspout connection, putting immense pressure on your seal and foundation. Regular cleaning is vital.
Installing a downspout cleanout—a wye-fitting with a screw-on cap near the connection—provides easy access for flushing the line with a hose or using a drain snake. It’s also important to be aware of other potential blockages. Believe it or not, homeowners often have to deal with a squirrel in a drain pipe or other animals that can build nests and cause significant backups.
Understanding Pipe Materials: PVC vs. Corrugated
The type of underground pipe used can impact the system’s longevity. While flexible black corrugated pipe is common and inexpensive, it has drawbacks. The ridges can trap debris, it can be crushed easily, and it’s more prone to holding water, which can lead to root intrusion.
Rigid PVC (polyvinyl chloride) or SDR35 sewer pipe is a superior choice. Its smooth interior walls allow water and debris to flow freely, significantly reducing the risk of clogs. While it requires more precise installation with glued fittings, its durability and performance make it a worthwhile upgrade for a truly permanent solution.