Quarter Round Around Door Frame: The Ultimate Fix for Ugly Gaps
You’ve just installed beautiful new flooring, and everything looks perfect—until your eyes land on the awkward, unsightly gaps glaring back at you from the bottom of your door frames. It’s a frustratingly common problem that can make an otherwise flawless renovation look unfinished and unprofessional. That small space where the new floor meets the door casing can be a real headache, ruining the clean lines you worked so hard to achieve.
This isn’t just a cosmetic issue. Those gaps can collect dust and debris, and they create a jarring transition that detracts from your home’s overall aesthetic. Many homeowners feel stuck, unsure how to resolve this final, frustrating detail. Fortunately, there is a straightforward and elegant solution: installing quarter round molding.
This comprehensive guide will walk you through everything you need to know about using quarter round around your door frames. We’ll explore why this problem occurs, the tools you’ll need to fix it, and provide a step-by-step process to achieve a seamless, professional finish that will elevate the look of your entire room.
You'll Learn About
Why Do Gaps Appear Around Door Frames After New Flooring Installation?
Understanding why these gaps appear in the first place is key to preventing and fixing them. Several factors contribute to this common home improvement challenge, and it’s rarely a sign of poor workmanship. More often than not, it’s an expected part of the flooring installation process.
The primary reason for these gaps is the expansion space required for most types of floating floors, such as laminate, vinyl plank, and engineered hardwood. These materials naturally expand and contract with changes in temperature and humidity. Without a small gap around the perimeter of the room—including at the door frames—the flooring could buckle or warp over time.
Another contributing factor is the simple reality that floors and walls are rarely perfectly level or straight, especially in older homes. When new, uniform flooring is installed, it can highlight these subtle imperfections, resulting in uneven gaps along the baseboards and door casings. Before you get started on the installation, it’s often a good idea to know how to measure a door without removing trim, as this can help you plan your cuts and material needs more effectively.
The Role of Door Casing and Subfloors
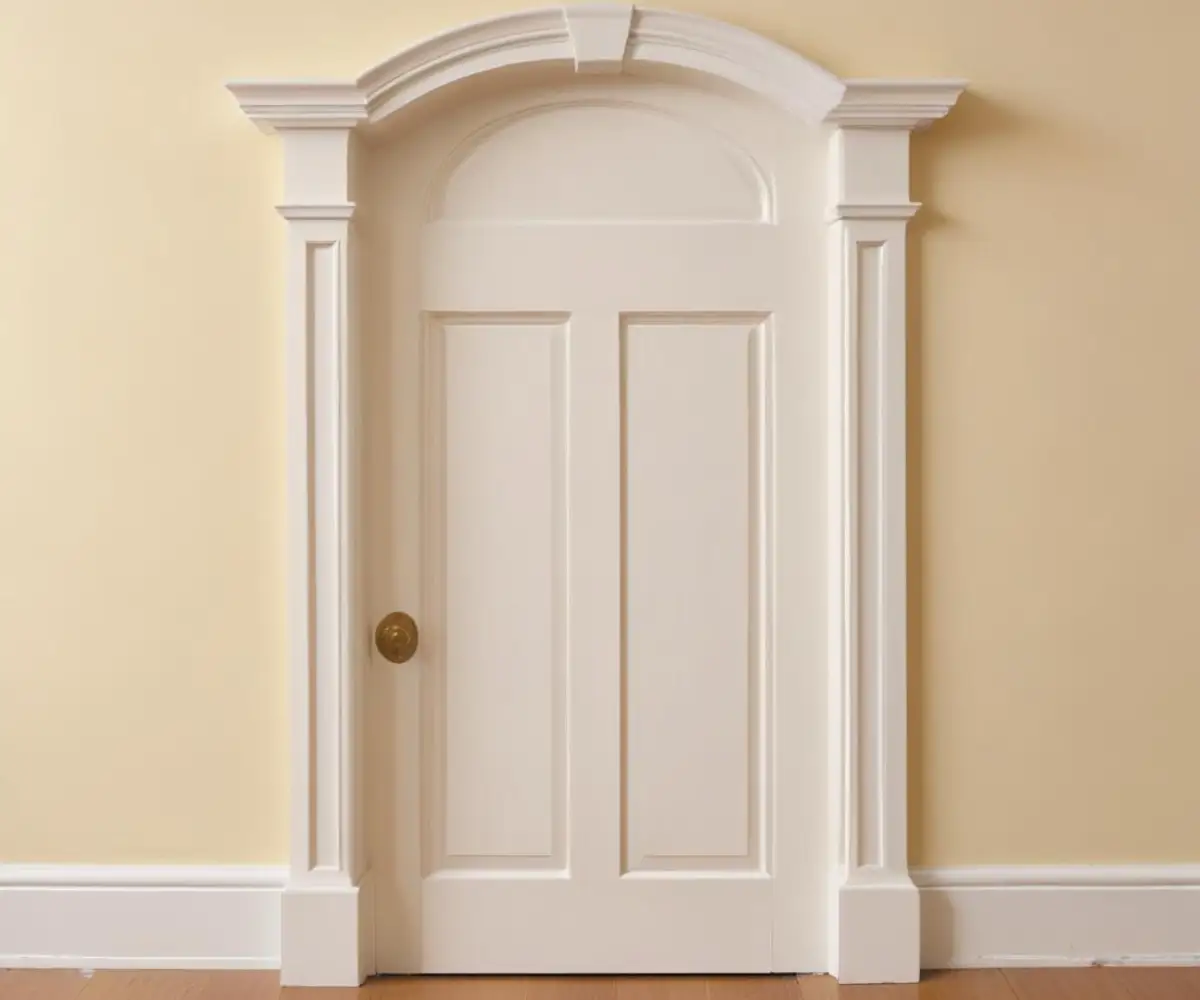
The thickness of your door casing and the condition of your subfloor also play significant roles. Older, thicker, or more ornate door casings can create a more complex transition point. If the subfloor has high or low spots, it will be impossible for the new flooring to sit perfectly flush against the bottom of the trim everywhere.
While some installers “undercut” the door casing—sawing off a small portion at the bottom so the new flooring can slide underneath—this isn’t always feasible or desirable. It can be a difficult maneuver for a DIYer, and sometimes an expansion gap is still required within the doorway itself, leaving you right back where you started. This is where quarter round molding becomes an indispensable tool for a clean finish.
Quarter Round vs. Shoe Molding: Which is Right for Your Door Frame?
When you head to the hardware store, you’ll likely see two similar types of trim: quarter round and shoe molding. While often used interchangeably, there are subtle differences between them. Understanding these distinctions can help you choose the best option for your specific project and aesthetic goals.
Quarter round, as its name suggests, has a profile that is a perfect quarter-circle. It’s symmetrical, meaning its height and depth are the same. This trim is excellent for covering larger gaps and provides a more pronounced, rounded edge at the base of your door frame.
Shoe molding, on the other hand, is taller than it is deep. Its profile is a more flattened or squashed quarter-circle. This sleeker profile makes it a bit more subtle and less obtrusive than quarter round. Many professional trim carpenters prefer shoe molding for its more refined appearance.
Making the Choice
The decision between quarter round and shoe molding often comes down to two factors: the size of the gap you need to cover and your personal style preference. If you have a significant gap, the wider profile of quarter round might be necessary. For smaller gaps or a more modern, less-is-more look, shoe molding is often the better choice.
Consider the existing trim in your home. If you already have quarter round along your baseboards, it makes sense to continue using it around the door frames for a cohesive look. Ultimately, both types of molding serve the same fundamental purpose: to beautifully conceal the expansion gap and create a polished transition.
Your Step-by-Step Guide to a Flawless Installation
Installing quarter round around a door frame might seem intimidating, especially when it comes to getting the angles just right. However, with the right tools and a methodical approach, it’s a project well within the reach of most DIY enthusiasts. Follow these steps for a professional-looking result.
Step 1: Gather Your Tools and Materials
Before you begin, make sure you have everything you need. A little preparation goes a long way in ensuring the project runs smoothly. You’ll need:
- Quarter round or shoe molding
- A miter saw or a miter box with a hand saw
- A tape measure
- A pencil
- A brad nailer with finish nails (or a hammer and finish nails)
- Wood glue or adhesive caulk
- Paintable caulk
- A nail set (if using a hammer)
- Sandpaper (fine grit)
- Safety goggles
For a project of this nature, having the right tools is paramount. A miter saw will provide the cleanest and most accurate cuts, but a miter box is an affordable and effective alternative for smaller jobs.
Step 2: Measure and Plan Your Cuts
The trickiest part of this installation is terminating the quarter round where it meets the door casing. You don’t want to just leave a flat, exposed end grain; it looks unfinished. The professional solution is to create a “return,” which is a small piece that neatly finishes the end.
Start with the pieces of quarter round that will run along the baseboard and meet the door frame. Measure from the corner of the wall to the outer edge of the door casing. Mark this length on your piece of quarter round.
Step 3: Cutting the Return – The Secret to a Pro Finish
Here’s how to create that clean, finished end. For the piece of molding that meets the door frame, you will make two cuts. The first cut is a 45-degree miter cut at the mark you just made. This cut should angle away from the door frame, back toward the wall.
Next, you will create the tiny return piece. Take a scrap piece of quarter round and make another 45-degree miter cut. Now, take this small piece and make a straight, 90-degree cut to create a tiny triangular piece. This is your return. It should fit perfectly onto the mitered end of your main piece, creating a finished corner.
Apply a small dab of wood glue to the mitered end of the main piece and attach the small return piece. This creates a self-contained, finished end that will sit flush against your door casing. It’s a small detail that makes a huge difference in the final appearance.
Step 4: Nailing the Quarter Round in Place
Once your piece is cut and the return is glued on, it’s time to install it. Position the quarter round snugly against the baseboard and the floor. It’s crucial to nail the quarter round to the baseboard, not the floor. This allows the flooring to expand and contract freely underneath the molding.
Use a brad nailer to drive finish nails every 12-18 inches along the length of the molding, making sure the nails go securely into the baseboard. If you’re using a hammer, drive the nails almost flush, then use a nail set to sink them slightly below the surface of the wood. This prevents unsightly hammer marks on your new trim.
Step 5: The Finishing Touches
With the quarter round installed, the final step is to make it look like it was always there. Use a small amount of wood filler or painter’s putty to fill all the nail holes. Also, apply a thin bead of paintable caulk along the top edge where the quarter round meets the baseboard and where the return meets the door casing.
This caulking step is critical as it fills any small gaps and creates a seamless transition. Once the filler and caulk are dry, lightly sand any rough spots and then paint the quarter round to match your baseboards and door trim. This final coat of paint is what truly integrates the new molding into your existing trim work.
Common Problems and How to Solve Them
Even with careful planning, you might run into a few challenges. Here are some common issues and how to tackle them for a perfect result.
Uneven Floors and Gaps Under the Molding
If your floor is uneven, you may find that the quarter round doesn’t sit flush all the way along, creating a small gap underneath. Quarter round is flexible enough to follow minor contours. For more significant dips, it’s best to press the molding down firmly as you nail it into the baseboard. The caulk along the top edge will help hide any minor inconsistencies that remain.
Complex Door Casing Profiles
Some door casings are not flat but have a detailed, curved, or multi-layered profile. In these cases, a simple return might not sit perfectly flush. You may need to carefully scribe the back of the return piece to match the contour of the casing. This involves using a compass or a contour gauge to trace the profile onto your small piece and then carefully sanding or cutting it to shape.
It’s important to understand the structure of your door frame, as some can bear more weight and modification than others. For larger projects, understanding how much weight a door frame can hold can be critical information.
Dealing with Non-Standard Door Sizes
Occasionally, you might be working with non-standard door sizes that present unique challenges. For instance, if you’re dealing with a 29 3/4 interior door replacement, the casing and surrounding area might have unique dimensions you’ll need to account for when cutting your molding.
| Tool | Primary Use | Pro Tip |
|---|---|---|
| Miter Saw | Making precise 45-degree and 90-degree cuts. | Use a fine-toothed blade for the cleanest cuts on trim molding. A higher tooth count prevents splintering. |
| Brad Nailer | Attaching the quarter round to the baseboard quickly and securely. | Set the depth on your nailer so the brad sinks just slightly below the wood surface. This makes filling the holes easier. |
| Caulking Gun | Applying a bead of caulk for a seamless finish. | Cut the tip of the caulk tube at a 45-degree angle and keep the opening small for better control and a cleaner bead. |
| Contour Gauge | Copying the exact profile of ornate door casings. | Press the gauge firmly against the casing to get an accurate profile, then trace it onto your return piece for a custom fit. |
Beyond the Door Frame: Other Uses for Quarter Round
While this guide focuses on door frames, quarter round is an incredibly versatile molding. It’s the go-to solution for covering expansion gaps along kitchen cabinets, islands, and fireplace hearths. Anywhere your new flooring meets a vertical surface, quarter round can provide that clean, finished edge.
The techniques you’ve learned here—especially how to create a return—are applicable in all these situations. Mastering this simple skill will elevate all of your future flooring and trim projects, giving you the confidence to tackle any finishing challenge that comes your way. A small piece of molding, when installed correctly, can be the detail that ties an entire room together.