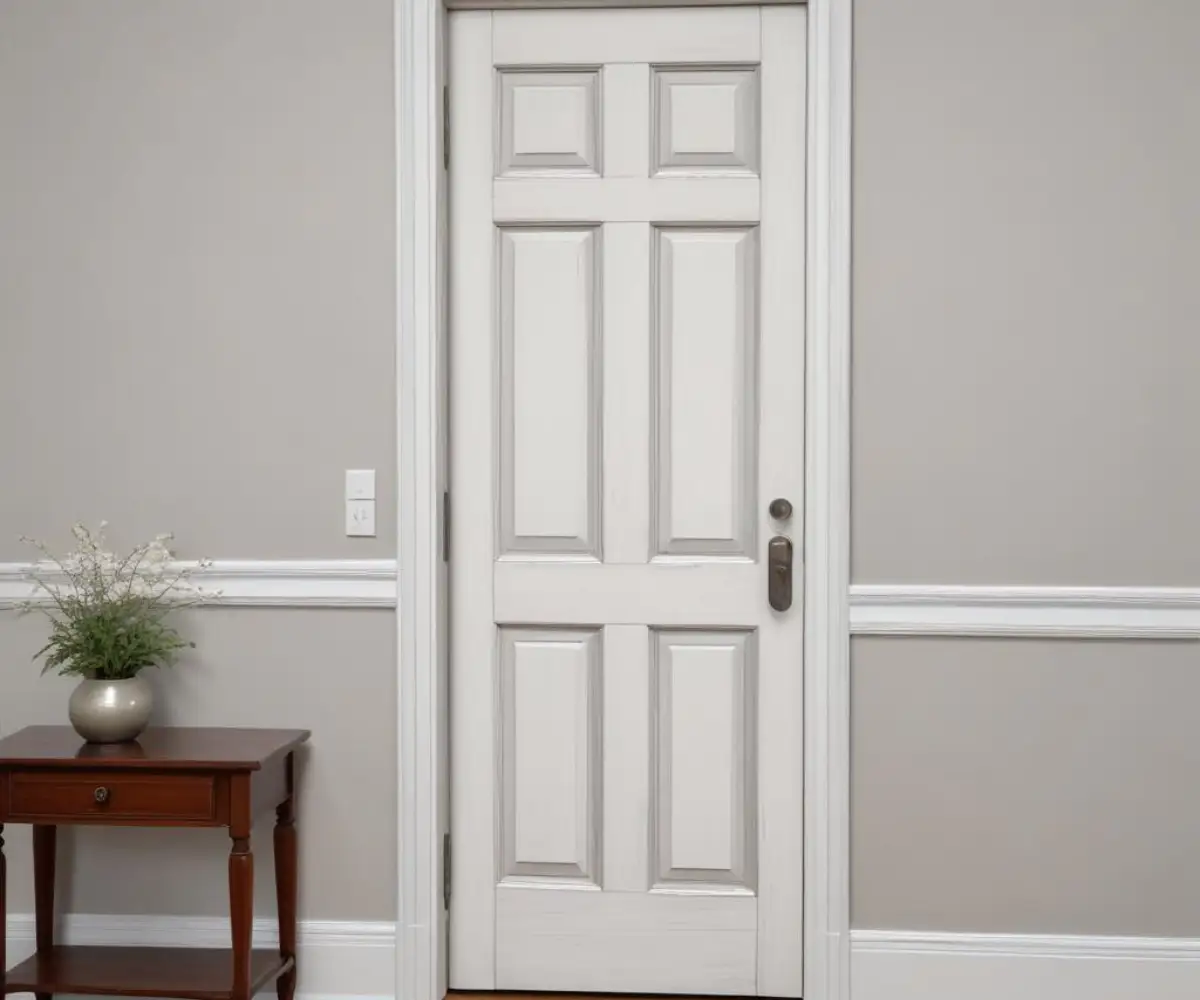
Stuck with a 29 3/4 Interior Door? Your Replacement Guide is Here
There are few home improvement projects as deceptively tricky as replacing an interior door. It seems simple until you discover your door is not a standard size. If you’ve measured your door and found it to be 29 3/4 inches wide, you’ve stumbled upon one of the most common frustrations for homeowners, especially those in older houses.
You head to the local big-box store, confident in your measurements, only to find doors in standard widths like 28, 30, and 32 inches. That quarter-inch difference suddenly feels like a mile, leaving you wondering if you’re destined to live with that old, damaged door forever. This is a classic problem with a clear solution, and you are not alone in this predicament.
You'll Learn About
Why Is My Door an Odd Size? The Mystery of the Non-Standard Door
Finding a non-standard door size like 29 3/4 inches is more common than you might think. Several factors can lead to these unusual dimensions. In older homes, construction standards were not as uniform as they are today, and custom, on-site carpentry was the norm. Over decades, a house can also settle, causing door frames to shift and subtly change their dimensions.

Another possibility is that a previous owner trimmed a standard 30-inch door to fit an existing, slightly smaller frame. This was often an easier solution than reframing the entire doorway. Whatever the reason, you are now faced with finding a replacement that fits perfectly, and “close enough” simply won’t do.
Before You Buy: Nailing the Perfect Measurement
Before you can choose a solution, you need to be absolutely certain of your measurements. An incorrect measurement can lead to wasted time, money, and a door that simply won’t work. Precision is your best friend in this process.
Start by measuring the existing door slab itself, not the frame. Use a reliable tape measure and check the width at three different points: the top, the middle, and the bottom. It’s possible for an old door to be slightly warped, so using the widest measurement is a safe bet if you plan to trim a new door, or using all three helps if ordering custom. Do the same for the height. Also, measure the door’s thickness—most interior doors are 1 3/8 inches thick, but it’s always wise to confirm. For a more detailed guide on getting these crucial numbers without dismantling everything, learning how to measure a door without removing trim can be an invaluable skill.

Your 3 Main Options for a 29 3/4 Interior Door Replacement
Once you have your exact measurements, you have three primary paths you can take to solve this problem. Each has its own benefits, costs, and required skill level. Understanding these options will empower you to make the best choice for your home and your budget.
Solution 1: The Perfect Fit – Ordering a Custom-Sized Door
The most straightforward, albeit often most expensive, solution is to order a custom-sized door. Many local lumberyards and specialized door manufacturers can create a door to your exact 29 3/4-inch specification. This approach guarantees a perfect fit without any need for modifications on your end.
The primary advantage here is simplicity and quality. You can select the style, material, and finish you want, and it will arrive ready to be hung. However, this convenience comes at a price, as custom doors are significantly more costly than off-the-shelf options. Lead times can also be longer, so this may not be the best choice if you’re in a hurry.
Solution 2: The DIY Approach – Trimming a Standard 30-Inch Door
For the confident DIYer, trimming a standard 30-inch door down to 29 3/4 inches is a very popular and cost-effective solution. This involves carefully cutting 1/8 of an inch off each side of the door. However, the success of this method depends heavily on the type of door you purchase: a solid core door versus a hollow core door.
Trimming a solid core door is relatively simple. These doors are made of solid wood or composite material all the way through, allowing you to trim the edges without compromising their structure. You will need a circular saw with a fine-toothed blade and a straight-edge guide to ensure a perfectly clean and straight cut. After cutting, a light sanding will smooth the new edge for a professional finish.
Trimming a hollow core door is a more advanced task. These doors have a solid wood frame around the perimeter, but the inside is filled with a honeycomb of cardboard or other lightweight material. You can typically only trim a small amount before you cut through the internal frame. To trim a hollow core door, you must carefully cut the side, remove the internal wood strip, trim the strip by the required amount, and then glue and clamp it back into the hollow cavity of the door. It’s a delicate operation that requires patience and precision.
Solution 3: The Expert’s Choice – Adjusting the Door Frame
The third option, best left to experienced carpenters or highly skilled homeowners, is to modify the door frame itself. This involves altering the rough opening to accommodate a standard-sized door. For a 29 3/4-inch opening, this would mean widening the opening slightly to fit a 30-inch door, which is often not practical, or narrowing it to fit a 28-inch door.
Narrowing the opening can be done by adding thin strips of wood, known as jamb extensions, to the inside of the frame. This is a complex job that can involve cutting into drywall, adjusting trim, and repainting. While it is a valid solution, it is the most labor-intensive and requires a good understanding of home construction.
Comparing Your Door Replacement Options
To help you decide, here is a quick comparison of the three main solutions for dealing with a non-standard 29 3/4 inch door.
| Solution | Best For | Average Cost | Skill Level | Pros | Cons |
|---|---|---|---|---|---|
| Custom Order | Those prioritizing a perfect fit and willing to pay for convenience. | $500 – $3,000+ | Beginner (for ordering), Intermediate (for installation) | Guaranteed perfect fit, wide variety of styles, no modifications needed. | Highest cost, longer wait times. |
| Trim a Standard Door | DIYers on a budget who are comfortable with power tools. | $50 – $400 (cost of door + tools) | Intermediate (solid core) to Advanced (hollow core) | Very cost-effective, readily available materials. | Requires precise cuts, risk of damaging the door, especially hollow core. |
| Adjust Door Frame | Major renovations or homeowners with advanced carpentry skills. | $150 – $800+ (materials and potential labor) | Advanced to Professional | Allows use of any standard door in the future. | Highly complex, labor-intensive, involves drywall and paint work. |
Step-by-Step Guide to Installing Your New Door Slab
Once you have your properly sized door, the final step is installation. You’ll be hanging the new door “slab” in the existing frame. This process requires careful alignment of the hinges and drilling for the new hardware.
Preparing the New Door
If you’ve purchased a slab door, it won’t have cutouts for hinges or a doorknob. The easiest way to transfer these locations is to lay your old door on top of your new one. Carefully align them and use a pencil to trace the hinge locations and the hole for the doorknob and latch.
Use a chisel or a router to create the shallow recesses (mortises) for the hinges so they sit flush with the door’s edge. Then, use a hole saw kit to drill the openings for the doorknob assembly. Take your time with this step, as precision is crucial for a smooth-swinging door.
Hanging the Door
With the prep work done, it’s time to hang the door. It’s often helpful to have a second person to hold the door in place while you work. Prop the door up on shims to achieve the correct height and clearance from the floor.
Attach the hinges to the door first, then position the door in the frame and secure the hinges to the jamb. Start by putting in just one screw per hinge. This allows you to test the swing and alignment. Once you are satisfied with the fit, install the remaining screws to secure the door completely.
Beyond Size: Don’t Overlook Other Opportunities
Tackling a project like a door replacement often shines a light on other areas of your home that could use an update. As you improve your interior flow, you might start thinking about your home’s entrance. If you’ve ever wondered how to modernize your entryway, learning how to remove sidelights from your front door could be your next project for a major curb appeal boost.
This focus on home improvement is a great habit. Maintaining and upgrading your property preserves its value and enhances your daily life. It’s just as important to think about protecting your investments outside the home, which is why knowing how to protect an outdoor washer and dryer from the elements is essential for extending their lifespan.
Your Perfect Door is Within Reach
Finding that you need a 29 3/4 interior door replacement can feel like a major roadblock, but it’s a challenge with clear, manageable solutions. Whether you choose the perfect fit of a custom order, the hands-on approach of trimming a standard door, or the advanced method of adjusting the frame, the right door for your home is attainable.
By carefully measuring, weighing your options, and proceeding with patience, you can successfully replace that non-standard door. The result will be a beautiful, functional update that enhances your space and gives you the satisfaction of a job well done.

