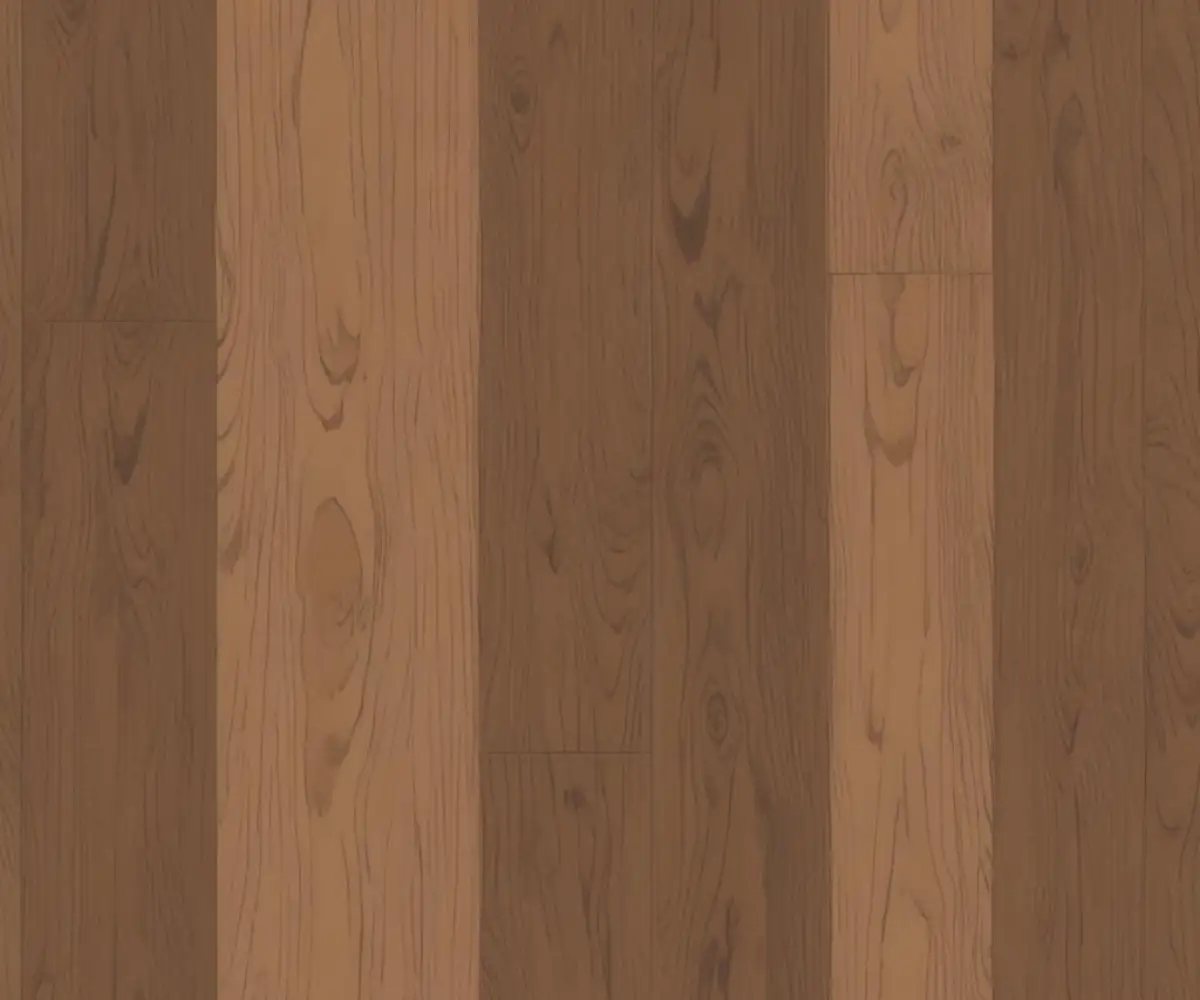
Installing Floating Vinyl Plank Over OSB? Avoid This Disaster
You’re ready to upgrade your space with beautiful, durable luxury vinyl plank (LVP) flooring. The subfloor is Oriented Strand Board (OSB), a common and sturdy material. It seems like a straightforward job, but this is where a dream DIY project can quickly turn into a costly nightmare.
Installing floating vinyl directly over an unprepared OSB subfloor is a critical mistake. The inherent texture, susceptibility to moisture, and tendency for seams to swell can ruin the look and longevity of your new floor, leading to bumps, gaps, and eventual failure.
This guide will walk you through the essential, non-negotiable steps to prepare your OSB subfloor. We’ll show you how to achieve a perfectly smooth, stable foundation, ensuring your vinyl plank flooring looks professional and lasts for years to come.
You'll Learn About
The Hidden Dangers of OSB for Vinyl Plank Flooring
OSB is a fantastic structural material, but it was never designed to be a perfectly smooth underlayment. Understanding its weaknesses is the first step toward preventing common flooring failures that can frustrate even the most careful DIYer.
Moisture Sensitivity and Swelling
OSB’s biggest weakness is its reaction to moisture. It’s made of compressed wood strands held together with resin. When exposed to water from spills, high humidity, or leaks, these wood strands can swell up like a sponge.
This swelling is often irreversible and creates permanent high spots in the subfloor. If this happens after your flooring is installed, you could face serious problems. This is why it’s critical to know what to do if you ever find water under your Lifeproof flooring, as the underlying OSB is vulnerable.
Surface Texture and Telegraphing
Look closely at a sheet of OSB. You’ll see a rough, uneven surface made of overlapping wood flakes. Vinyl plank, especially thinner products, is flexible and will conform to the surface beneath it over time.
This phenomenon, known as telegraphing, means the rough texture of the OSB can eventually become visible through your vinyl flooring. This creates a bumpy, unprofessional appearance that permanently mars the look of your new floor.
Seam Swelling (Edge Swell)
The most common problem with OSB subfloors is “edge swell.” This happens when the edges of the OSB panels absorb moisture and swell, creating a noticeable ridge at every seam. These ridges are the number one enemy of a smooth vinyl plank installation.
Laying planks over these high seams will cause them to flex and bend with foot traffic. This constant movement can damage the locking mechanisms between planks, leading to gaps, squeaks, and that dreaded sinking feeling of a soft spot in your vinyl plank flooring.
Your Blueprint for Flawless Installation: Prepping OSB Like a Pro
Proper preparation is not just a recommendation; it is the most critical phase of your flooring project. Skipping these steps will compromise your entire installation. Follow this blueprint to guarantee a stable, flat, and durable foundation for your new floor.
Step 1: A Critical Inspection of Your OSB Subfloor
Your first task is to assess the condition of the entire subfloor. Grab a long straightedge (at least 6-10 feet) or a level. Lay it across the floor in multiple directions and locations.
Look for any gaps between the straightedge and the floor. Most flooring manufacturers require the subfloor to be flat within 3/16 of an inch over a 10-foot span. Mark all high spots and low spots with a pencil so you know which areas need attention.
During this stage, also check for and sink any screws or nails that are sticking up above the surface. These small protrusions can cause major problems later.
Step 2: Eliminating the #1 Enemy – OSB Seam Swell
High, swollen seams are the most common issue you’ll face. These must be flattened. The most effective way to do this is by sanding them down.
You can use a belt sander or a flooring edger with coarse-grit sandpaper (36 to 80 grit is effective) to grind down the high seams until they are flush with the rest of the subfloor. This step is messy but absolutely essential for a level installation.
Step 3: The Secret to a Glass-Smooth Surface
After sanding the high spots, you need to address the low spots and the overall surface texture. The goal is to create a perfectly smooth plane. The best way to do this is with a cement-based patching or leveling compound.
Choose a product designed for use over wood subfloors. Mix the compound according to the manufacturer’s directions and apply a thin skim coat over the entire OSB surface, focusing on filling any low spots, dents, or deep wood grain textures. Use a flat trowel to feather the edges for a seamless finish. Allow it to dry completely.
Step 4: Don’t Skip This! The Final Clean
Once your leveling compound is fully cured, you may need to lightly sand any ridges or imperfections left by the trowel. After that, the final step of preparation is a thorough cleaning.
Vacuum the entire surface meticulously with a shop vacuum to remove every last bit of dust and debris. Any particles left behind can get trapped under your flooring, creating annoying bumps and preventing the planks from lying perfectly flat.
Underlayment on OSB: Is It a Necessity or a Myth?
The topic of underlayment can be confusing, especially with OSB. Many vinyl plank products now come with a pre-attached pad, which might make you think an additional underlayment isn’t needed. However, the decision depends on your specific product and subfloor conditions.
Always check the flooring manufacturer’s installation guidelines first. Some warranties are voided if you add an extra underlayment when one is already attached. If your vinyl does not have an attached pad, an underlayment is highly recommended to help absorb sound, provide a slight cushion, and hide minor subfloor imperfections. A vapor barrier is typically not required when installing over OSB on an upper level of a home.
Choosing the right material is crucial for performance and comfort. Some underlayments are better suited for specific needs like sound dampening or cushioning.
Comparing Underlayment Options for OSB
If your flooring requires a separate underlayment, or if you want to add extra soundproofing or comfort (and the manufacturer allows it), here is a comparison of common types suitable for use over a well-prepped OSB subfloor.
| Underlayment Type | Primary Benefit | Considerations for OSB | Sound Dampening |
|---|---|---|---|
| Foam | Cost-effective and provides basic cushioning. | A good basic choice for a level OSB subfloor. Does not offer significant moisture protection. | Good |
| Felt | Excellent sound absorption and insulation. | Offers superior sound control and a more solid feel underfoot compared to foam. | Excellent |
| Cork | Natural, eco-friendly, and great for noise reduction and thermal insulation. | Can be more expensive. It is not a moisture barrier and can be susceptible to moisture issues if the environment is humid. | Excellent |
| Rubber | Superior sound insulation and durability. | Provides exceptional support and is resistant to moisture, making it a very durable option. | Superior |
Warning: Critical Mistakes That Will Ruin Your New Floor
You’ve come this far, and the finish line is in sight. Don’t let a simple mistake undermine all your hard work. Avoiding these common errors is just as important as the prep work itself.
Skipping Subfloor Prep
This is the single most catastrophic error. Believing your OSB is “flat enough” without checking and correcting it will lead to telegraphing, flexing planks, and damaged locking systems. The principles are the same as with other problematic surfaces; just as you can’t ignore old adhesive, you can’t ignore uneven OSB. The challenges are similar to those faced when installing vinyl plank flooring over old glue—the foundation must be perfect.
Ignoring Expansion Gaps
Floating floors, including vinyl plank, need to expand and contract with temperature and humidity changes. You MUST leave a small gap (typically 1/4 inch) between the flooring and all walls and vertical obstacles (like cabinets or pipes).
Forgetting this gap will cause the floor to buckle and warp as the seasons change. The baseboards will hide this gap, so don’t be tempted to install the planks flush against the wall.
Forgetting to Acclimate the Flooring
Vinyl plank flooring needs to adjust to the environment of the room where it will be installed. Before installation, bring the boxes into the room and let them sit for at least 48 hours.
This allows the planks to acclimate to the home’s temperature and humidity, preventing issues with expansion or contraction after they have been installed.
The Final Verdict: A Foundation for Success
So, can you install floating vinyl plank flooring over OSB? Absolutely, yes—but only if you commit to meticulous, uncompromising subfloor preparation. The success of your project is determined before you even lay the first plank.
By sanding seams, leveling the surface, and ensuring it’s spotlessly clean, you create the perfect canvas for your new floor. This foundational work prevents the common disasters of telegraphing, buckling, and separating planks, ensuring a beautiful, professional, and long-lasting result you can be proud of for years to come.