Why There Is Water Under Lifeproof Flooring & How to Fix It
You chose LifeProof flooring for its durability and, most importantly, its 100% waterproof promise. So, finding a squishy spot or seeing water seep up between the planks is alarming. The flooring itself isn’t damaged, but the trapped water underneath is a serious problem that can’t be ignored. This issue is more common than you might think, but the good news is that it’s entirely fixable.
The core of the problem isn’t the flooring itself, but rather how the water got there and why it’s now trapped. LifeProof vinyl flooring creates an impermeable barrier, which is great for spills on top, but it also means that any moisture that gets underneath cannot evaporate. This trapped moisture can lead to musty odors, mold growth, and potentially severe damage to your subfloor.
You'll Learn About
Uncovering the Source: Why Is Water Trapped Under Your Floor?
Understanding the root cause is the first step to a lasting solution. Water can find its way under your flooring from several sources, each requiring a different approach to resolve. It’s crucial to play detective and pinpoint the exact origin before taking any corrective action.
Subfloor Moisture & Vapor Drive
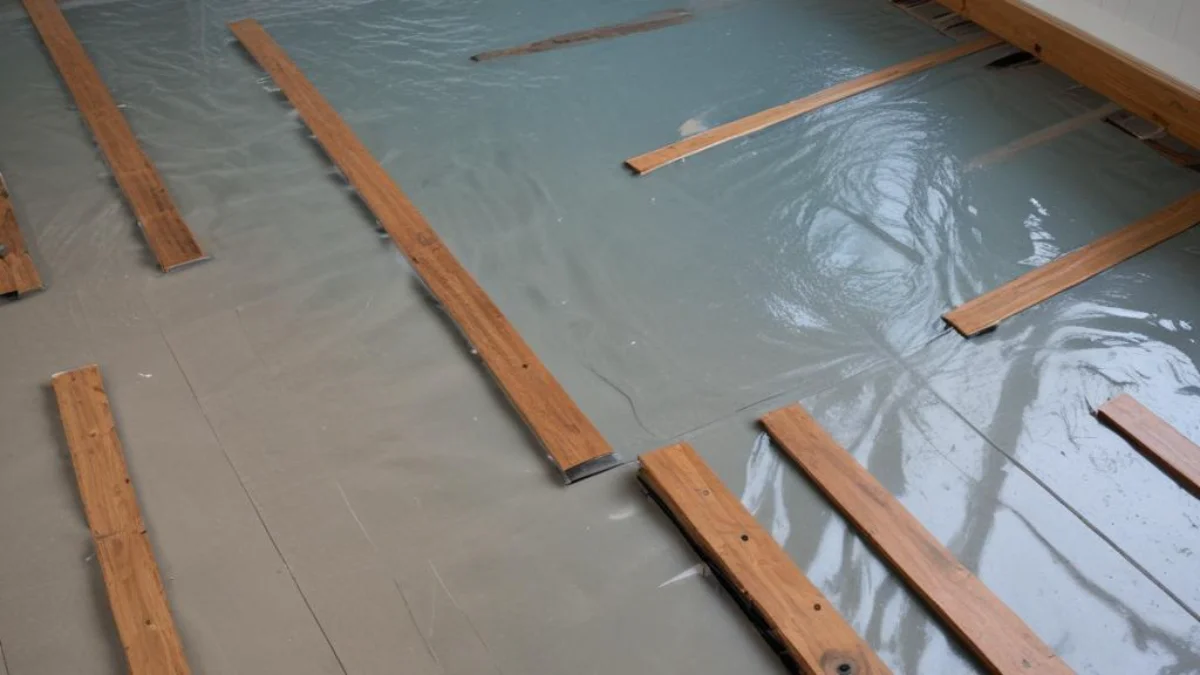
One of the most common culprits is moisture originating from the subfloor itself. This is especially prevalent in basements or homes with crawl spaces. Concrete slabs, for instance, are porous and can absorb moisture from the ground, a phenomenon known as vapor drive. If a proper moisture barrier wasn’t installed before the flooring, this moisture vapor can get trapped under the vinyl planks.
Changes in temperature and humidity can exacerbate this issue. Warm, moist air from a crawl space can be drawn toward the cooler, conditioned interior of your home, leading to condensation build-up under the flooring. This is a slow, often unnoticed process until the signs of damage become apparent.
Plumbing Leaks and Appliance Failures
A sudden appearance of water is often linked to a plumbing issue. A slow leak from a dishwasher, refrigerator ice maker line, or a pipe within a wall can go undetected for a long time. This is especially true if you have a washing machine drain pipe leaking in a wall, where the water can travel before showing itself.
Even a minor drip can introduce a significant amount of water under the flooring over days or weeks. Regularly inspecting appliance connections and visible plumbing can help you catch these issues early before they become major problems. Another potential source could be an electric water heater in a bedroom closet or other enclosed space, where a leak might not be immediately obvious.
Installation Errors and Gaps
The “waterproof” nature of LifeProof flooring relies heavily on a correct installation. The planks are designed to lock together tightly, creating a water-resistant surface. However, if the planks are not properly engaged, or if there are gaps along the perimeter of the room that haven’t been sealed with silicone, water from spills or mopping can seep underneath.
Furthermore, an uneven subfloor can prevent the planks from locking together securely, creating small channels for water to enter. Professional installation is key to ensuring a watertight seal. This is also why understanding the properties of your flooring is important, similar to knowing why some tiles don’t feel cold; it’s all about the material and installation.
Signs of Hidden Water Under Your LifeProof Flooring
Detecting water under your flooring early is crucial to preventing long-term damage. Be on the lookout for these tell-tale signs:
- A Squishy or Spongy Feeling: When you walk on the floor, does it feel soft or have a slight give? This is a strong indication of water pooling underneath.
- Buckling or Warping: Although LifeProof planks are resilient, the pressure from a swollen subfloor can cause them to lift or buckle.
- Musty Odors: A persistent musty smell that you can’t trace to any other source is a red flag for mold and mildew growth under the floor.
- Discoloration or Stains: Dark spots appearing on the flooring or at the seams could be a sign of moisture wicking up from below.
- Gaps Between Planks: If you notice new or widening gaps between your vinyl planks, it could be due to the subfloor shifting from water damage.
Your Action Plan: How to Remove Water and Prevent a Recurrence
Once you’ve identified the problem and its likely source, it’s time to take action. The approach will depend on the extent of the water and the cause. For significant flooding, it’s always best to call a professional water damage restoration service.
Step 1: Stop the Source and Remove Standing Water
This is the most critical first step. If you have a leak, shut off the water supply to the affected appliance or area. Use towels or a wet vacuum to remove as much surface water as possible to prevent further seepage.
If the water is coming from a known spill, act quickly. While LifeProof flooring is waterproof, standing water can still find its way through seams if left for an extended period.
Step 2: Remove the Flooring and Dry the Area
Unfortunately, because the water is trapped, you will need to remove the affected planks to allow the subfloor to dry completely. Start at the wall nearest the wet area and carefully disengage the planks. Numbering them as you go will make reinstallation much easier.
Once the subfloor is exposed, use fans and a dehumidifier to thoroughly dry the area. This process can take several days. It is absolutely crucial that the subfloor is bone dry before you reinstall the flooring to prevent mold growth.
Step 3: Clean and Treat the Subfloor
After the subfloor is dry, inspect it for any signs of mold or mildew. If you find any, treat the area with a mold killer or a solution of bleach and water. Always ensure proper ventilation and wear protective gear when working with these chemicals.
This is also the time to address any underlying subfloor issues. If you have a concrete subfloor, consider applying a moisture-sealing primer to prevent future vapor intrusion.
| Source of Water | Preventative Measures | Recommended Action |
|---|---|---|
| Subfloor Moisture | Install a 6 mil polyethylene vapor barrier before flooring installation. | Remove flooring, dry subfloor completely, and install a vapor barrier before reinstalling. |
| Plumbing Leak | Regularly inspect appliance hoses and plumbing connections. | Repair the leak immediately. Remove flooring to dry the subfloor. |
| Spills/Mopping | Wipe up spills promptly. Avoid using excessive water when mopping. | If water gets underneath, remove planks to dry the area. Seal perimeter gaps with silicone. |
| Installation Gaps | Ensure planks are fully locked. Leave a proper expansion gap and seal it. | Reinstall planks correctly. Seal the perimeter with a 100% silicone sealant. |
Step 4: Reinstall the Flooring Correctly
Once the subfloor is clean, dry, and sealed if necessary, you can reinstall your LifeProof flooring. Make sure each plank clicks and locks securely into place. Leave the recommended expansion gap around the perimeter of the room.
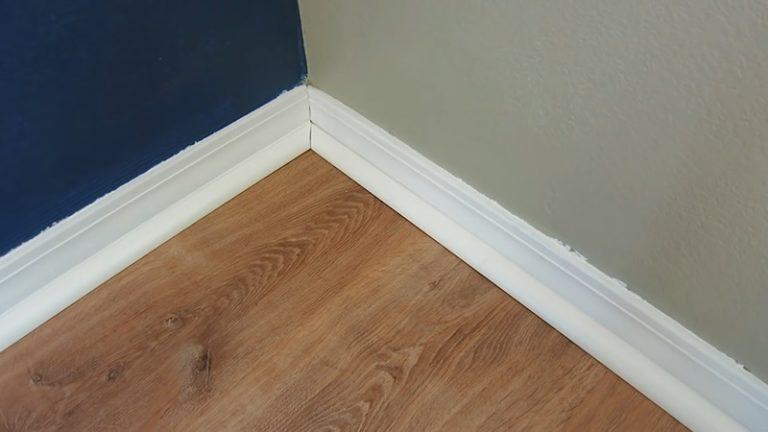
To provide an extra layer of protection, apply a bead of 100% silicone sealant in the expansion gap between the flooring and the wall. Then, reinstall your baseboards and shoe molding to cover the gap. This will help prevent water from spills or mopping from getting under the floor in the future.
Maintaining Your Peace of Mind and Your Floor
While discovering water under your LifeProof flooring can be stressful, it’s a manageable problem. By systematically identifying the source, thoroughly drying the affected area, and taking preventative measures, you can restore your floor and ensure it continues to provide the durability and waterproof performance you expect.
Regular inspections of your plumbing and appliances, along with proper cleaning techniques, will go a long way in preventing future issues. With the right approach, you can protect your investment and continue to enjoy your beautiful, worry-free flooring for years to come.