Bidet Outlet Installation: Your #1 Guide to Powering Your Upgrade
You’ve finally done it. You brought home a modern bidet seat, ready to transform your bathroom experience with features like heated seats, warm water, and air drying. But as you unbox your new high-tech appliance, you’re hit with a frustrating realization: there’s no electrical outlet anywhere near your toilet.
This is the moment where excitement can turn into confusion. It’s a common problem that stops many bathroom upgrades in their tracks. Your first instinct might be to grab an extension cord, but that seemingly simple fix is both a safety hazard and a code violation.
Properly installing a dedicated electrical outlet is the only safe and reliable solution. This guide will walk you through everything you need to know, from understanding the critical electrical requirements to the step-by-step installation process, ensuring your bidet gets the power it needs safely and efficiently.
You'll Learn About
Why You Absolutely Cannot Just Use an Extension Cord
In a room where water is everywhere, mixing electricity and temporary wiring is a recipe for disaster. Using an extension cord for a bidet is not a permanent or safe solution. Cords stretched across the floor are a significant trip hazard, and the connection points are vulnerable to moisture, which dramatically increases the risk of electrical shock.
Furthermore, the National Electrical Code (NEC) has strict rules for bathrooms. Permanent appliances require a permanent wiring solution. An extension cord is considered temporary wiring and does not meet the safety standards required for a wet environment like a bathroom. To protect your home and family, installing a proper outlet is non-negotiable.
Understanding the Electrical Requirements for a Bidet
Before starting any work, it’s crucial to understand the specific power needs of your bidet and the electrical code requirements for bathrooms. Getting this right ensures your installation is both safe and functional.
The Non-Negotiable: GFCI Protection
Every outlet in a bathroom must have Ground Fault Circuit Interrupter (GFCI) protection. A GFCI outlet is a life-saving device that monitors the flow of electricity. If it detects even a tiny imbalance—such as electricity flowing through water or a person—it instantly shuts off the power, preventing a dangerous electrical shock.
You can achieve this protection by either installing a GFCI outlet directly or by connecting your new outlet to the “load” side of an existing GFCI outlet in the same bathroom. Given the proximity to the toilet, a dedicated GFCI outlet for the bidet is the gold standard.
Dedicated vs. Shared Circuit: What’s the Difference?
Most bidet seats, even those with heaters, don’t require a dedicated circuit. They typically draw a maximum of 600 to 1400 watts, but only for the few minutes they are actively washing or drying. The rest of the time, they are in a low-power idle mode.
However, you must consider what else is on the circuit. Bathroom circuits often power lights, fans, and other outlets used for high-draw appliances like hair dryers. Adding a bidet to an already heavily loaded circuit could lead to frequently tripped breakers. If your home’s electrical system is older or the bathroom circuit is already burdened, running a new dedicated circuit from the panel is the most robust solution. Considering your home’s overall capacity, understanding 150-amp vs. 200-amp service can also provide context for your electrical system’s capabilities.
Planning Your Bidet Outlet Installation: Key Considerations
Proper planning is 90% of the job. Before you cut any holes or run any wires, you need a clear plan for where the outlet will go and how you’ll get power to it.
Finding the Perfect Placement
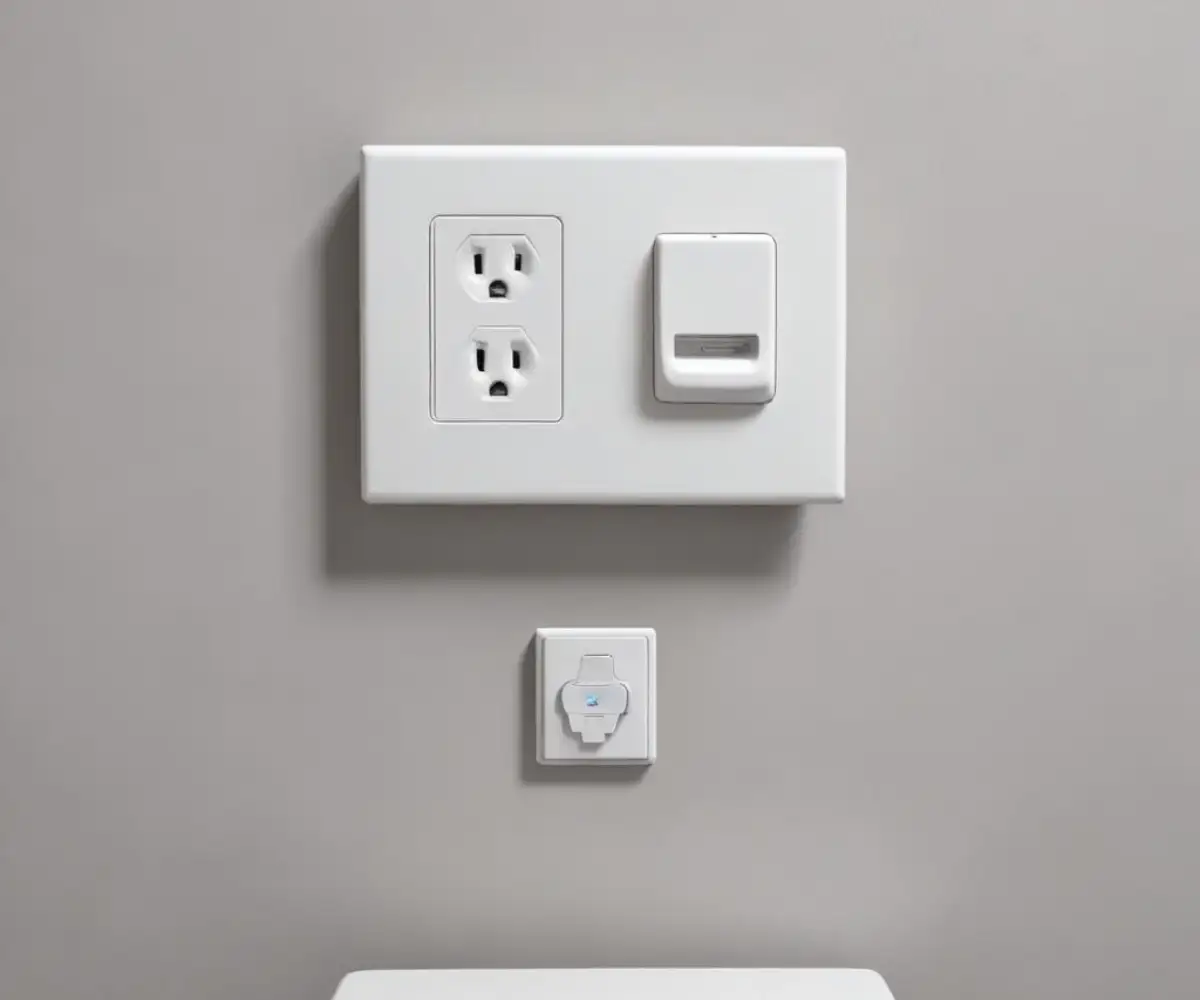
The ideal location for your bidet outlet is discreet yet accessible. Most bidet seats have a power cord that is about four feet long, typically extending from the right side (when facing the toilet). The outlet should be placed on the wall behind the toilet, to the side where the cord originates, about 12 to 18 inches off the floor. This keeps the outlet out of sight but still reachable for plugging in the bidet or resetting the GFCI.
Always measure your bidet’s cord length and check the manufacturer’s recommendations before deciding on a final location. Use a stud finder to ensure you choose a spot in an open wall cavity, away from studs, plumbing, or other obstructions.
Identifying a Power Source
Your new outlet needs a source of power, and you have two main options:
1. Tap into an Existing Circuit: The easiest method is to extend wiring from a nearby electrical box. Often, there is an outlet on the other side of the bathroom wall in an adjacent room. By tapping into this power source, you can run a new cable through the same stud cavity to your new outlet location behind the toilet. You can also tap into the power for the bathroom vanity outlet if it’s on a suitable circuit.
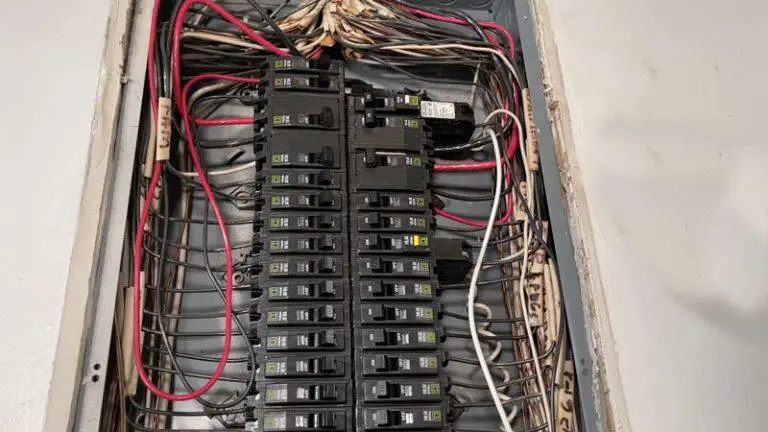
2. Run a New Circuit from the Panel: If there’s no convenient power source nearby or if the existing circuits are already at capacity, you’ll need to run a new cable directly from your home’s main electrical panel. This is a more complex job that often requires fishing wire through walls, ceilings, or basements and involves working inside the breaker box. This is typically a job best left for a professional electrician.
Tools and Materials You’ll Need
Having the right tools and materials ready will make the installation process go smoothly. Here is a comprehensive list of what you will likely need.
| Category | Item | Purpose |
|---|---|---|
| Tools | Non-Contact Voltage Tester | To safely confirm that the power is off before working. |
| Stud Finder | To locate wall studs and ensure a clear space for the box. | |
| Drywall Saw or Jigsaw | For cutting a clean opening for the electrical box. | |
| Wire Stripper/Cutter | To strip insulation from wires and cut them to length. | |
| Screwdrivers (Phillips and Flathead) | For securing the box, outlet, and faceplate. | |
| Drill with Spade Bit | For drilling holes in studs if needed to run wire. | |
| Materials | GFCI Receptacle (15 or 20 Amp) | The outlet itself, providing critical ground-fault protection. |
| “Old Work” Electrical Box | A box designed to be installed in existing drywall. | |
| NM-B Electrical Cable (Romex) | 14/2 gauge for 15-amp circuits or 12/2 for 20-amp circuits. | |
| Wire Connectors (Wire Nuts) | For safely splicing wires together. | |
| Outlet Faceplate | The cover for the new outlet. |
Step-by-Step Guide: Installing the Electrical Outlet
With your planning complete and your tools gathered, you’re ready to begin the installation. Remember, safety is paramount. If you are ever unsure about any step, stop and consult a licensed electrician.
Step 1: SAFETY FIRST – Turn Off the Power
Go to your main electrical panel and shut off the breaker for the circuit you will be working on. Use a non-contact voltage tester to double-check that the power is off at the source outlet before you touch any wires. Test all wires in the box—black, white, and ground.
Step 2: Cut the Opening for the New Outlet Box
Use your stud finder to confirm your chosen location is free of studs. Place the “old work” electrical box against the wall and trace its outline with a pencil. Use a drywall saw to carefully cut along the traced line, creating a snug opening for the box.
Step 3: Run the Electrical Cable
This step will vary depending on your power source. If you’re tapping into an outlet on the other side of the wall, open the source outlet box and carefully knock out one of the rear plastic tabs. Feed your new NM-B cable from your new opening, through the wall cavity, and into the back of the source box.
If the source is further away, you may need to drill holes through studs to fish the wire. Leave about 8-10 inches of excess cable extending from both the source box and your new opening.
Step 4: Install the “Old Work” Box
Feed the end of the new cable through one of the openings in the back of your “old work” box. Push the box into the drywall opening. These boxes have “wings” that flip out and tighten against the back of the drywall as you turn the screws, securing the box firmly in place. This process is much simpler than trying to remove an old metal outlet box that is nailed to a stud.
Step 5: Connect Wires at the Source Box
At the source outlet, you will connect the new cable to the existing wires. Strip the sheathing off the new cable to expose the black (hot), white (neutral), and bare copper (ground) wires. You will create “pigtails”—short pieces of wire—to connect the existing wires, the new wires, and the outlet terminals together.
Using wire nuts, connect all the black wires together with a black pigtail, all the white wires with a white pigtail, and all the ground wires with a ground pigtail. The single end of each pigtail then connects to the appropriate screw terminal on the source outlet. This ensures a secure and parallel connection.
Step 6: Connect Wires to the New GFCI Outlet
At the new outlet location, strip the sheathing and individual wires. It is critical to connect the wires to the correct terminals on the GFCI outlet. The incoming power wires must be connected to the terminals marked “LINE”.
Connect the black (hot) wire to the brass “LINE” screw, the white (neutral) wire to the silver “LINE” screw, and the bare copper (ground) wire to the green ground screw. Do not use the “LOAD” terminals, as these are for protecting downstream outlets.
Step 7: Install the Outlet and Faceplate
Carefully fold the wires into the electrical box. Screw the GFCI outlet into the box, making sure it is straight and flush with the wall. Finally, screw on the new faceplate.
Step 8: Restore Power and Test Everything
Go back to your electrical panel and turn the breaker back on. Your GFCI outlet should have a small indicator light. Press the “TEST” button on the outlet, which should cause the “RESET” button to pop out and turn off the power. Press “RESET” to restore power. Use an outlet tester or plug in a small device to confirm it is working correctly.
DIY vs. Hiring a Professional Electrician
While installing an outlet is a manageable DIY project for someone with electrical experience, it’s not for everyone. Your safety and your home’s safety are the top priorities. Just as there are unique considerations when installing an electrical outlet inside a fireplace, the wet environment of a bathroom demands precision and adherence to code.
You should call a professional electrician if you are uncomfortable with any step of this process, if your home has old aluminum wiring, if you need to run a new dedicated circuit from the panel, or if you simply want the peace of mind that the job is done correctly. The cost to have a professional install a GFCI outlet typically ranges from $130 to $300, a small price to pay for safety and compliance.
Frequently Asked Questions (FAQ)
How much does it cost to have an outlet installed for a bidet?
Hiring a licensed electrician to install a new GFCI outlet for a bidet generally costs between $130 and $300. The final price can vary depending on the complexity of the job, such as whether a new circuit needs to be run from your electrical panel.
Can a bidet be plugged into any outlet?
No. A bidet must be plugged into a GFCI-protected outlet to comply with electrical codes and ensure safety in a bathroom environment. Using a non-GFCI outlet increases the risk of electrical shock.
Does a bidet need a dedicated circuit?
In most cases, a bidet does not require a dedicated circuit. However, if your existing bathroom circuit is already powering many other devices, especially high-wattage ones like a space heater or hairdryer, a dedicated circuit is recommended to prevent overloads and tripped breakers.
Conclusion: Powering Your Comfort Safely
Installing an electrical outlet for your new bidet is the final step to unlocking a new level of comfort and hygiene in your bathroom. While it may seem like a hurdle, it is a straightforward project when approached with careful planning and a deep respect for safety.
By ensuring you have a code-compliant GFCI outlet properly installed, you can enjoy all the features of your modern bidet with the confidence that it is powered safely and reliably for years to come.