Outlet Box Not Flush With Wall? This Is a Bigger Danger Than You Think
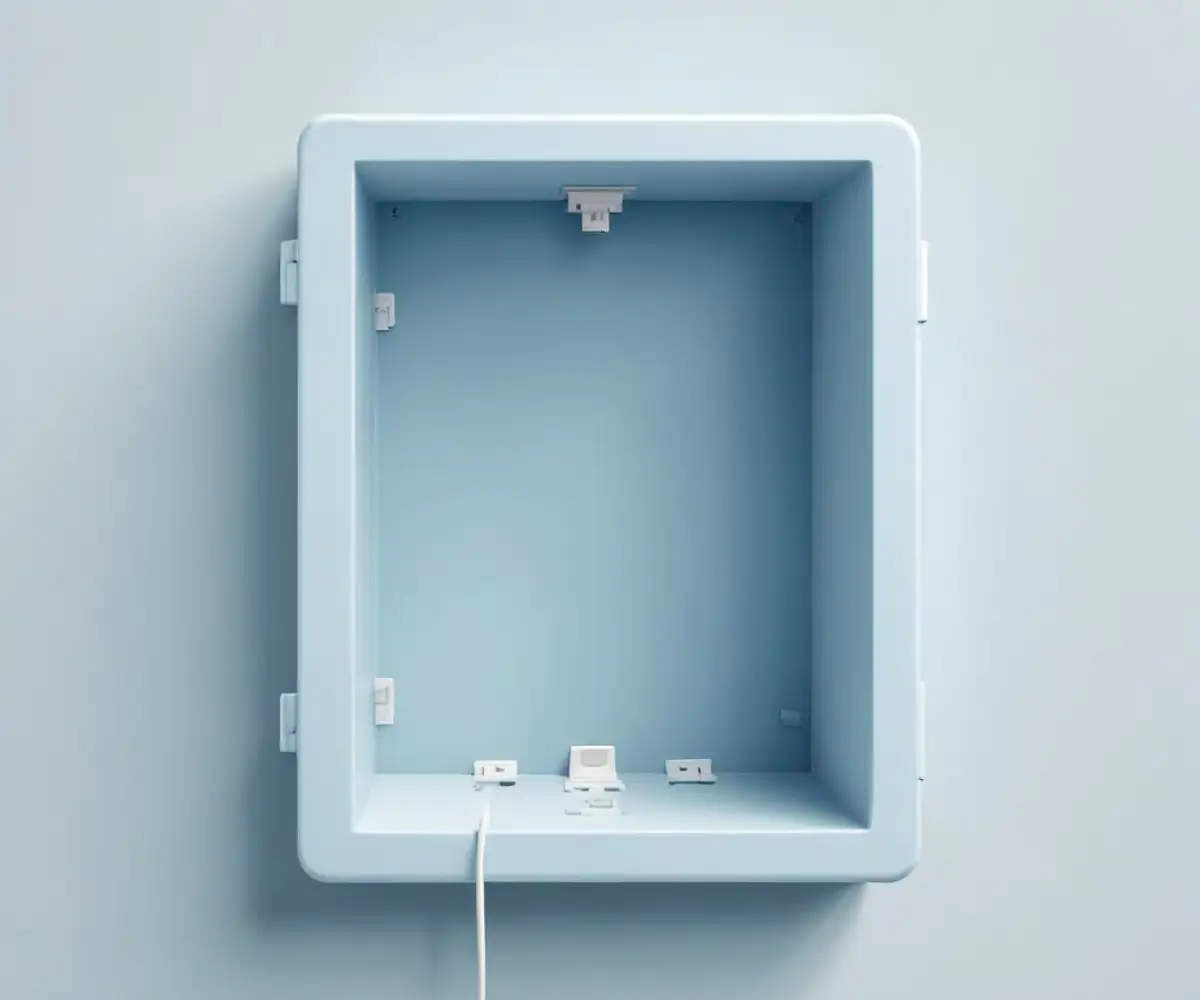
You’ve seen it before. An outlet cover that’s slightly sunken into the wall or one that juts out just enough to look awkward. It’s easy to dismiss an outlet box not flush with the wall as a simple cosmetic flaw, but this common issue is often a symptom of a much larger, hidden problem.
Ignoring it can lead to serious safety hazards, including electrical shocks and house fires. Fortunately, fixing a non-flush electrical box is a manageable project that dramatically improves the safety and appearance of your home.
You'll Learn About
Why a Non-Flush Outlet Box Is a Ticking Time Bomb
That small gap between your outlet box and the drywall is more than just an eyesore. It’s a breach in your home’s electrical safety system, creating risks that every homeowner should understand.
The Hidden Fire and Shock Hazards
Electrical boxes are designed to contain sparks, arcs, and heat from wiring connections. When a box is recessed too deep into the wall, a gap is created between the box and the back of the drywall. If a spark occurs, it can easily ignite the combustible paper on the drywall or nearby wood studs, leading to a devastating fire inside your walls.
A protruding box creates a different but equally dangerous problem. It prevents the outlet cover from sitting flat, leaving gaps that can expose live wires or terminals. This creates a significant shock hazard, especially for curious children or pets.
Code Violations You Can’t Ignore
The National Electrical Code (NEC) has strict rules about how electrical boxes must be installed. For non-combustible surfaces like drywall, the front edge of the box can be recessed no more than 1/4 inch from the finished surface. For combustible surfaces like wood paneling, the box must be perfectly flush.
These codes exist for a reason: to prevent fires and ensure a safe installation. A box that isn’t flush is a clear code violation that would fail a home inspection and could even impact your homeowner’s insurance.
More Than Just an Eyesore: Structural and Energy Concerns
Beyond the immediate safety risks, a poorly set electrical box can cause other issues. A recessed outlet forces you to use longer screws, which can bend and warp the outlet cover. This strain is often the reason you see distorted plates, a problem that leads many to wonder why are my outlet covers bending in the first place.
Additionally, the gaps around a non-flush box create pathways for air to travel, leading to drafts and energy loss. While seemingly minor, these small leaks throughout a house can add up, making your HVAC system work harder and increasing your utility bills.
Diagnosing Your Problem: Is Your Box Recessed or Protruding?
The first step to fixing the problem is correctly identifying it. Is the box too deep in the wall (recessed) or sticking out too far (protruding)? A quick visual inspection is usually all that’s needed. Remove the cover plate and look at the relationship between the front edge of the electrical box and the face of the drywall.
If there’s a visible gap behind the drywall, your box is recessed. If the box edge sits on top of the drywall, it’s protruding. Each issue has a different cause and requires a specific solution.
| Problem Type | Common Causes | Primary Solution | Difficulty |
|---|---|---|---|
| Recessed Box | New wall layer (tile, shiplap), wrong box depth for drywall thickness, settling walls. | Box Extender or Spacers | Easy |
| Protruding Box | Incorrect installation, box mounted on the wrong side of the stud, wall material is thinner than expected. | Repositioning the box | Moderate |
The Ultimate Guide to Fixing a Recessed Outlet Box (Too Deep)
A recessed box is the most common issue homeowners face, especially after a renovation like adding a kitchen backsplash or a new layer of drywall. Luckily, it’s also the easiest to fix.
Solution 1: The Simple Fix with Outlet Box Spacers
For very small gaps (less than 1/4 inch), outlet spacers can be a quick solution. These are small, stackable plastic pieces that fit over the screw holes of the receptacle, effectively shimming it forward. While easy to use, they are not always the best or most code-compliant solution.
The main drawback of spacers is that they don’t enclose the gap around the box, leaving combustible wall materials potentially exposed. They can work in a pinch for minor adjustments, but for larger gaps or for the safest installation, a box extender is the superior choice.
Solution 2: When to Use an Electrical Box Extender (The Pro’s Choice)
An electrical box extender is the professional-grade solution for a recessed outlet. This is essentially a plastic or metal ring that fits inside your existing box and extends its front edge to be flush with the new wall surface. This completely encloses the wiring, contains any potential sparks, and brings the installation up to code.
Here’s how to install one:
- Turn Off the Power: This is the most important step. Go to your breaker panel and shut off the power to the circuit you’ll be working on. Use a voltage tester to confirm there is no power at the outlet.
- Remove the Outlet: Unscrew the outlet from the recessed box and gently pull it out, leaving the wires attached.
- Install the Extender: Slide the box extender over the outlet and into the existing electrical box. The flange of the extender should sit firmly against the finished wall surface.
- Secure the Outlet: Use the longer screws that come with the extender to screw the outlet back in place. These screws will pass through the outlet, the extender, and into the original box, creating a secure and flush installation.
- Finish Up: Replace the cover plate and turn the power back on. Your outlet is now safe, secure, and perfectly flush with the wall.
How to Fix a Protruding Outlet Box (Sticking Out)
A box that sticks out from the wall is a more challenging problem because it usually stems from the initial installation. The fix often requires minor drywall surgery to reposition the box correctly.
Assessing the Cause: Wrong Box or Installation Error?
Before you start cutting, figure out why the box is protruding. Was it mounted on the front of the stud instead of the side? Is it a box designed for thicker plaster walls that was used with standard drywall? Understanding the cause will help you determine the best way to reposition it.
The Careful Art of Repositioning the Box
Fixing a protruding box requires more effort but is crucial for a safe and professional finish. Always turn off the power before beginning.
- Remove the Device: Unscrew and remove the switch or outlet from the box.
- Cut the Fasteners: The box is likely nailed or screwed to the stud. Use a reciprocating saw with a metal-cutting blade or a multitool to carefully cut the fasteners securing the box to the stud. Be extremely careful not to cut any electrical wires.
- Reposition the Box: Gently push the box back into the wall cavity until its front edge is flush with the drywall surface.
- Secure the Box: Drive new screws through the inside of the box at an angle into the stud to secure it in its new, flush position. Alternatively, you can use an “old work” electrical box support bracket (often called a Madison strap) to hold it firmly against the drywall.
- Patch and Finish: Repair any damage to the drywall around the box with joint compound. Sand, prime, and paint to match the rest of the wall. Dealing with wall repairs can be tricky, especially if you notice other issues like movement; for example, discovering that your drywall moves when pushed could indicate larger framing problems that need addressing.
Tools and Materials You’ll Need for a Flawless Fix
Having the right tools makes the job easier and safer. Whether you’re installing an extender or repositioning a box, you’ll need a basic electrical toolkit.
Essential Safety Gear
Your safety is non-negotiable. Always have a reliable non-contact voltage tester to ensure the power is off before you touch any wires. Safety glasses are also recommended to protect your eyes from debris.
The Right Tools for the Job
For most fixes, a multi-bit screwdriver, needle-nose pliers, and wire strippers are essential. If you need to reposition a box, a drywall saw and a reciprocating saw or oscillating multitool will be necessary. It’s also critical to use the correct screws for the job; using hardware that’s too long or short can create new problems. The principle of using the right hardware is universal, whether you’re working on an outlet or figuring out what size screws for a ceiling fan box.
When to Call a Professional Electrician
While fixing a non-flush box is often a DIY-friendly task, there are times when it’s best to call a professional. If you find crumbling or damaged wires, see signs of scorching or melting, or if the box is loose and won’t secure properly, stop work immediately and call a licensed electrician.
Electrical work carries inherent risks, and a professional can ensure the job is done safely and up to code. Your safety and peace of mind are always worth the investment.
Your Final Checklist for a Safe and Secure Outlet
An outlet box that isn’t flush with the wall is a red flag that shouldn’t be ignored. By understanding the risks and knowing the solutions, you can correct this common problem and ensure your home’s electrical system is safe, code-compliant, and secure.
Remember to always prioritize safety by turning off the power, and when in doubt, never hesitate to consult a professional. A properly installed outlet is a small detail that makes a big difference in the safety and quality of your home.