How to Remove Old Metal Outlet Box: The Ultimate Guide
That old metal outlet box in your wall isn’t just an eyesomre. It’s a relic from a bygone era of electrical standards, a potential hazard lurking behind your drywall, and a frustrating obstacle to your home renovation dreams. But don’t despair—removing it is easier than you think. With the right tools and a bit of know-how, you can banish that outdated metal box and pave the way for a safer, more modern electrical system.
Whether you’re upgrading to a sleek, modern outlet, installing a GFCI for added protection, or simply replacing a damaged box, this guide will walk you through every step of the process. We’ll cover everything from identifying the type of box you’re dealing with to safely disconnecting the wires and cutting the box free, all while minimizing damage to your walls. Get ready to say goodbye to that old metal menace and hello to a safer, more functional home.
You'll Learn About
Why You Need to Remove That Old Metal Outlet Box
Old metal outlet boxes can pose a number of problems, especially in older homes. These issues range from minor annoyances to serious safety hazards. Understanding why that old box needs to go is the first step toward a safer and more efficient electrical system.
One of the most common reasons to replace an old metal box is a lack of space. Older boxes are often too small to accommodate modern devices like GFCI outlets, smart switches, or dimmer switches. Overcrowding a box with too many wires can lead to overheating and increase the risk of a fire.
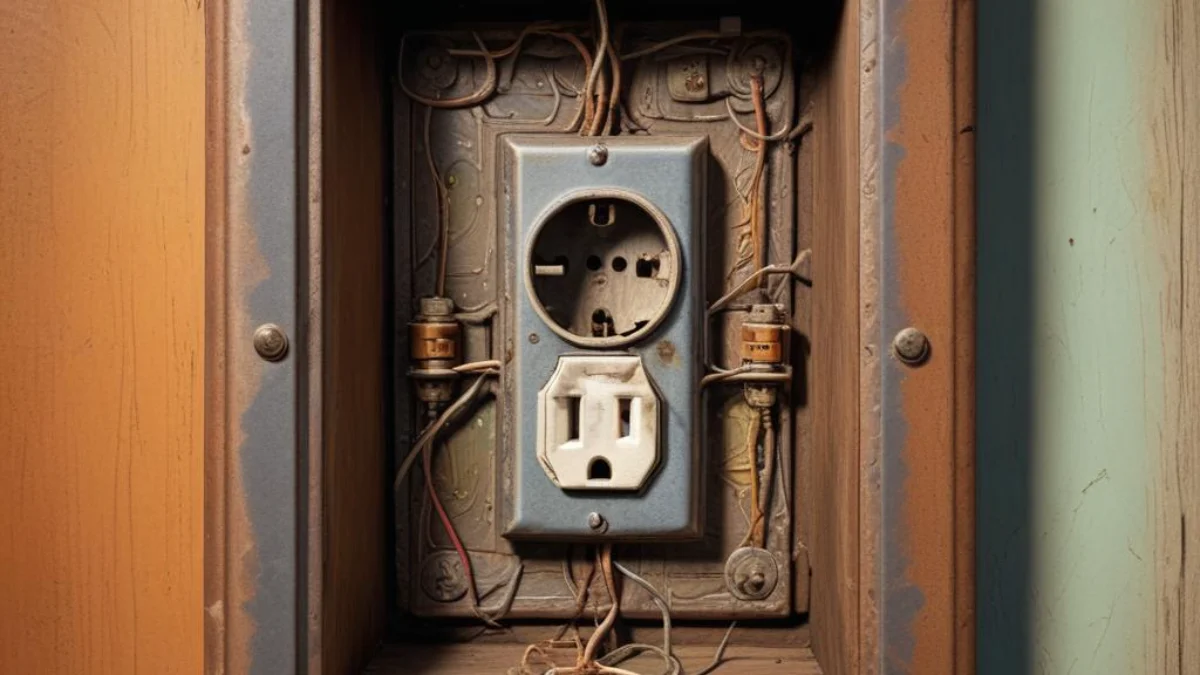
The Hidden Dangers of Outdated Electrical Boxes
Beyond the issue of space, old metal boxes can present a number of safety concerns. Corrosion and rust can compromise the integrity of the box, making it less secure and potentially exposing wires. In some cases, the box itself may not be properly grounded, creating a shock hazard.
Furthermore, the clamps that hold the wires in place can become loose over time, leading to poor connections and potential arcing. Arc faults are a leading cause of electrical fires, making it crucial to address any potential issues with your old electrical boxes. If you’re undertaking a larger renovation, such as building a wall with stucco without sheathing, it’s the perfect time to upgrade your electrical system for enhanced safety.
Essential Tools and Materials
Before you begin, it’s crucial to gather the right tools and materials. Having everything you need on hand will make the process smoother and safer. Here’s a rundown of the essentials:
| Tool/Material | Purpose |
|---|---|
| Voltage Tester | Crucial for safety. Verifies that the power to the outlet is off before you begin work. |
| Screwdrivers | Both flathead and Phillips head screwdrivers are needed to remove the outlet cover and the outlet itself. |
| Pliers | Needle-nose and lineman’s pliers are useful for handling and straightening wires. |
| Reciprocating Saw or Oscillating Multi-Tool | These power tools with metal-cutting blades are the most effective way to cut the nails or screws securing the box to the stud. |
| Hacksaw Blade | A more manual option for cutting the fasteners if you don’t have a power tool. |
| Pry Bar | Can be used to create a small gap between the box and the stud to insert a saw blade. |
| New Outlet Box | An “old work” or “remodel” box is designed to be installed in existing walls. Plastic is a popular choice for DIYers. |
| Safety Glasses and Gloves | Protect your eyes and hands from debris and sharp edges. |
Step-by-Step Guide to Removing an Old Metal Outlet Box
Now that you have your tools and a clear understanding of the risks, it’s time to get to work. Follow these steps carefully to safely and efficiently remove your old metal outlet box. Remember, safety is paramount when working with electricity.
Step 1: Turn Off the Power
Before you do anything else, you must turn off the power to the outlet at the circuit breaker. Use a voltage tester to confirm that there is no power flowing to the outlet. This is the most important step to prevent electrical shock.
Once you’ve confirmed the power is off, you can proceed with removing the outlet cover plate and the receptacle itself. This will expose the wiring inside the box and give you a clear view of how the box is attached to the wall stud.
Step 2: Disconnect the Wiring
With the power off, carefully disconnect the wires from the receptacle. You will typically find a black (hot) wire, a white (neutral) wire, and a bare copper or green (ground) wire. Use your pliers to straighten the ends of the wires to make them easier to work with.
Take note of how the wires are connected. If you are unsure, take a picture with your phone for reference. This will be helpful when you install the new box and receptacle. Once the wires are disconnected, gently push them back into the wall, out of the way.
Step 3: Identify the Fasteners
Now, it’s time to figure out how the old metal box is attached to the stud. In most cases, it will be nailed or screwed directly to the wood framing. Look inside the box along the side that is next to the stud. You should be able to see the heads of the nails or screws.
Sometimes, the box is held in place by metal brackets or “ears” that are nailed to the stud. Understanding how the box is secured will determine the best method for removal. In older homes with plaster and lath walls, the removal process can be more challenging and may require more care to avoid damaging the wall.
Step 4: Cut the Fasteners
This is where your reciprocating saw, oscillating multi-tool, or hacksaw blade comes into play. The goal is to cut the nails or screws that are holding the box to the stud. Carefully insert the blade between the box and the stud and begin cutting.
Take your time and be careful not to damage the surrounding drywall or plaster. A pry bar can be used to create a small gap between the box and the stud, making it easier to insert the saw blade. If you’re working on a project that involves more than just electrical work, like figuring out how to remove the front grill of an LG window air conditioner, you’ll appreciate the versatility of these tools.
Step 5: Remove the Old Box
Once the fasteners have been cut, the old metal box should be loose. You may need to wiggle it a bit to free it from the wall. Be careful not to damage the wires as you pull the box out of the opening.
If the box is stubborn, you can use your pry bar to gently pry it away from the stud. Once the box is out, you’ll be left with an opening in the wall and the wires ready for your new box. Now is also a good time to inspect the wiring for any signs of damage or wear and tear.
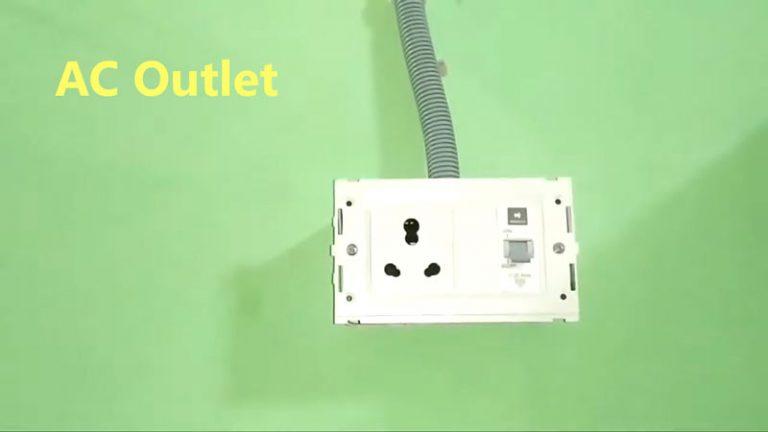
Installing the New Outlet Box
With the old metal box out of the way, you’re ready to install a new, modern outlet box. “Old work” or “remodel” boxes are specifically designed for this purpose and are much easier to install in existing walls than “new work” boxes.
These boxes have tabs or “wings” that flip out and secure the box to the drywall or plaster as you tighten the screws. This eliminates the need to attach the box directly to a stud, giving you more flexibility in placement. If you’re considering a more ambitious project, like trying to convert an electric fireplace to wood burning, the skills you learn here will be invaluable.
Choosing the Right Replacement Box
When selecting a new box, consider the depth and capacity you’ll need. If you’re installing a GFCI outlet or a smart switch, you’ll need a deeper box to accommodate the larger device and the additional wiring. Plastic boxes are a popular choice for DIYers because they are lightweight, inexpensive, and don’t require grounding.
However, metal boxes are more durable and are required in some jurisdictions or when using metal-sheathed cable. Always check your local building codes to ensure you’re using the correct type of box for your application. Proper installation is key to a safe and reliable electrical system.
Wiring the New Receptacle
Once the new box is securely in place, you can pull the wires through and connect them to your new receptacle. Follow the manufacturer’s instructions and the wiring configuration you noted earlier. Typically, the black wire connects to the brass screw, the white wire connects to the silver screw, and the ground wire connects to the green screw.
After connecting the wires, carefully fold them into the box and attach the receptacle to the box with the provided screws. Finally, install the new cover plate and turn the power back on at the circuit breaker. Use your voltage tester to confirm that the outlet is working correctly.
Troubleshooting Common Problems
Even with the best preparation, you might run into a few snags along the way. Here are some common problems and how to deal with them:
- Stripped Screws: If the screws holding the receptacle are stripped, you may need to use a screw extractor or carefully drill them out.
- Damaged Drywall: If you accidentally damage the drywall around the opening, don’t worry. You can easily patch it with spackle or a drywall repair kit. An oversized cover plate can also hide minor imperfections.
- Short Wires: If the existing wires are too short to work with comfortably, you can add extensions using wire connectors. Make sure to use the correct size connectors for your wires.
Final Thoughts
Removing an old metal outlet box is a manageable DIY project that can significantly improve the safety and functionality of your home’s electrical system. By following the steps outlined in this guide and prioritizing safety, you can confidently tackle this task and pave the way for modern electrical upgrades.
Remember to always turn off the power before you begin any electrical work, and if you ever feel unsure or uncomfortable, don’t hesitate to call a licensed electrician. With a little bit of patience and the right tools, you’ll have that old metal box out and a new, safer one in its place in no time.