How to Paint Rough Cedar Interior Walls?

Painting rough cedar wood can be a great way to add color and character to a space. Cedar wood has a unique grain pattern and color that can add warmth and charm to a room. In this article, we will provide some helpful tips and instructions for painting rough cedar wood to achieve a professional-looking finish.
You'll Learn About
Why Use Rough Cedar Wood?
There are many reasons why use rough cader wood, here are some:
Natural Beauty
One reason why people may choose to use rough cedar wood in their interior design is for its natural beauty. Cedar wood has a unique grain pattern and color that can add warmth and character to a space.
Rustic Charm
Rough cedar wood can also add a rustic charm to a space. Its rough texture and unfinished appearance can create a cozy, comfortable atmosphere.
Durability
Cedar wood is known for its durability and resistance to rot and decay. This makes it a good choice for interior surfaces that may be exposed to moisture or other potentially damaging elements.
Easy to Work With
Rough cedar wood is relatively easy to work with, making it a good option for DIY projects. It can be easily cut, drilled, and shaped to fit a variety of design needs.
Affordable
Rough cedar wood is also relatively affordable compared to other types of wood. This makes it a good option for those looking to add natural elements to their interior design on a budget.
What Kind of Paint Do You Use on Rough Wood and Why?
When painting rough wood, it is best to use enamel paint due to its various physical and chemical properties. Enamel paint is known for its durability and ability to withstand wear and tear.
It is also resistant to fading and peeling, ensuring that it will maintain its appearance over time. Enamel paint is also known for its good adhesive strength, allowing it to adhere well to rough wood surfaces.
Additionally, many enamel paints are environmentally-friendly, as they are made with low-VOC (volatile organic compound) formulations that produce fewer emissions. This makes them a good choice for those looking to reduce their impact on the environment.
Enamel paint is also known for its legible colors, as they do not fade and are light-fast. This makes it easy to read labels or other text that may be painted on rough wood.
Enamel paint is also low-maintenance, as it is easy to clean and maintain. It is also wear-resistant, making it a good choice for surfaces that may be subject to heavy use or abuse.
Overall, the various physical and chemical properties of enamel paint make it a good choice for painting rough wood surfaces.
How Do You Prepare Rough Cedar for Painting?
Clean the Surface
Begin by spraying off any surface dirt on the cedar wood with water. Then, use a bleach solution to scrub away any mold or mildew that may be present. This will help to ensure that the surface is clean and free of any contaminants that could affect the adhesion of the paint.
Remove Loose or Damaged Wood
Use a wire brush to remove any chipping pieces of wood or peeling paint from the surface of the cedar. This will help to create a smooth, even surface for the paint to adhere to.
Sand Rough or Damaged Spots
Sand any areas of the cedar that are unusually rough or damaged. This will help to create a more even surface and ensure that the paint adheres properly.
Repair Loose Boards
If there are any loose boards on the cedar, repair them by securing them with screws or nails. This will help to prevent the boards from becoming damaged further and ensure that the painted surface is smooth and even.
Fill in Holes and Cracks
Use wood putty to fill in any holes or cracks in the cedar. This will help to create a smooth, even surface for the paint to adhere to. Allow the wood putty to dry completely before moving on to the next step.
How to Paint Rough Cedar Interior Walls?
Here’s how to paint rough cedar interior walls:
- Sand the cedar wood panels to remove any dirt or dust. Sanding the panels will create a smooth surface for the paint or stain to adhere to. Use a medium-grit sandpaper to remove any rough or uneven areas on the panels. Sanding will also help to remove any existing paint or stain on the panels, if present.
- Wipe the panels down with a damp cloth to remove any residue. After sanding, there may be sawdust or other debris left on the panels. Wiping them down with a damp cloth will help to remove this residue and ensure that the panels are clean and ready for painting or staining.
- Allow the panels to dry. After wiping the panels down with a damp cloth, it is important to let them dry completely before moving on to the next step. This will ensure that the paint or stain adheres properly and does not become damaged by excess moisture.
- Tape off baseboards, trim, and ceilings. Before painting or staining the panels, it is important to protect any surrounding surfaces. Use painter’s tape to cover baseboards, trim, and ceilings to prevent the paint or stain from getting on these surfaces.
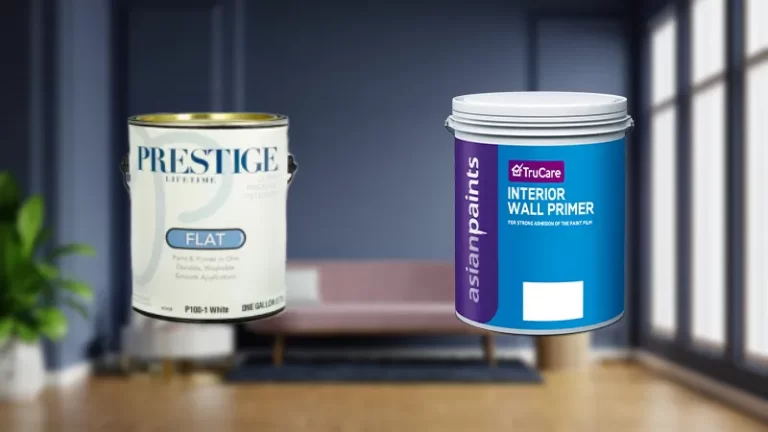
- Apply a stain-blocking primer and let it dry for 24 hours. A stain-blocking primer will help to prevent any existing stains or discoloration on the panels from bleeding through the paint or stain. It is important to let the primer dry completely before moving on to the next step.
- Use interior latex paint with a satin finish. Latex paint is a good option for painting cedar wood panels, as it is durable and easy to clean. A satin finish is also a good choice, as it is slightly glossy and can help to protect the panels from scratches and other damage.
- Cut in the edges with a paintbrush. To get a smooth, even finish on the panels, it is best to use a paintbrush to cut in the edges. Dip the brush in the paint and carefully paint along the edges of the panels, being careful not to get paint on any surrounding surfaces.
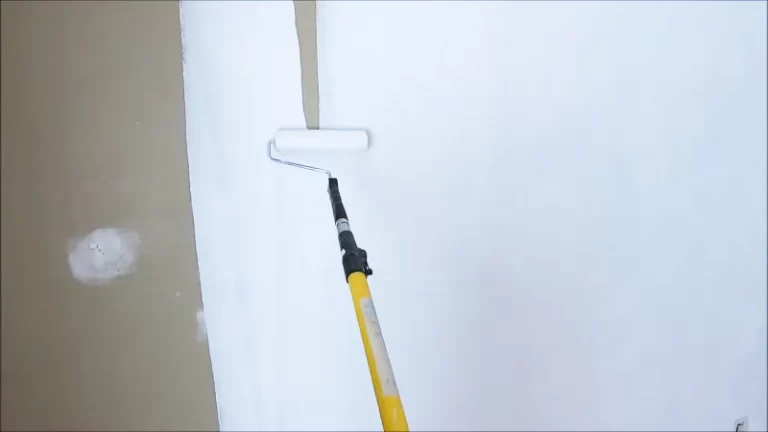
- Use a 3/8-inch paint roller to apply the paint to the rest of the panels. After cutting in the edges, use a paint roller to apply the paint to the rest of the panels. A 3/8-inch roller is a good size for painting cedar wood panels, as it will allow you to evenly distribute the paint without leaving drips or streaks.
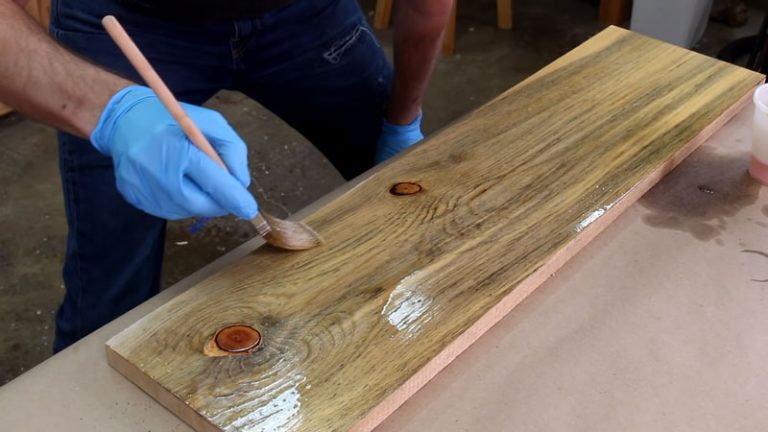
- If desired, apply a varnish or polyurethane stain for added protection and gloss. Varnish and polyurethane stains can provide additional protection for the panels and give them a glossy finish. These finishes can be more difficult to repair, however, if the panels become damaged in the future.
- Alternatively, use a thin stain like Danish oil for a more natural look. If you prefer a more natural look for your cedar wood panels, you can use a thin stain like Danish oil. This type of stain is easy to apply and provides a more subtle finish. Keep in mind that Danish oil may fade over time and will need to be reapplied periodically to maintain its appearance.
What Properties of Paint is Good for Rough Cedar Interior Walls?
- Stain-blocking: A heavy, stain-blocking primer is a good choice for raw cedar wood, as it will help to prevent any existing stains or discoloration from bleeding through the paint.
- 100% acrylic: Using a 100% acrylic paint is a good choice for rough cedar wood, as it will provide a durable and long-lasting finish. Acrylic paint is also resistant to fading and peeling, so it will maintain its appearance over time.
- Latex: Latex paint is a good option for rough cedar wood, as it is easy to apply and dries quickly. It is also easy to clean up, making it a convenient choice for painting projects.
- Exterior paint: Using an exterior paint is recommended for rough cedar wood, as it is designed to withstand the elements. Exterior paint is typically more durable and long-lasting than interior paint, so it is a good choice for protecting cedar wood from damage.
Things You Should Keep in Mind
- Start by sanding the cedar wood panels to create a smooth surface for the paint to adhere to.
- Wipe the panels down with a damp cloth to remove any residue or debris.
- Allow the panels to dry completely before moving on to the next step.
- Use painter’s tape to protect surrounding surfaces, such as baseboards, trim, and ceilings.
- Apply a heavy, stain-blocking primer to prevent any existing stains or discoloration from bleeding through the paint.
- Use a 100% acrylic latex paint with a satin finish for durability and easy cleaning.
- Cut in the edges with a paintbrush to ensure a smooth, even finish.
- Use a 3/8-inch paint roller to apply the paint to the rest of the panels.
- If desired, apply a varnish or polyurethane stain for added protection and gloss.
- Alternatively, use a thin stain like Danish oil for a more natural look. Keep in mind that this may fade over time and will need to be reapplied periodically.
The Safety You Should Maintain
When working with cedar wood, it is important to take safety precautions to prevent injuries and ensure a successful project. Here are some things to keep in mind:
- Wear appropriate protective gear, such as safety glasses and gloves, to prevent injuries from sawdust or other debris.
- Use a dust mask to prevent inhaling any particles while sanding or brushing the wood.
- Use a respirator or other protective equipment when using chemicals, such as bleach or primer, to prevent inhalation of harmful fumes.
- Follow the instructions on any tools or materials you are using to prevent accidents or injuries.
- Work in a well-ventilated area to prevent inhaling harmful fumes from the paint or other materials.
- Keep all tools and materials out of reach of children or pets to prevent accidents.
- Dispose of any leftover materials, such as paint or wood putty, properly to prevent environmental damage.
- If you are unsure of how to safely use any tools or materials, consult the manufacturer’s instructions or seek guidance from a professional.
Overall, taking the necessary safety precautions while working with cedar wood will help to prevent injuries and ensure a successful project.
Conclusion
Painting rough cedar wood can be a great way to enhance the appearance of a space. By following the steps outlined above, you can achieve a professional-looking finish that will add warmth and character to your room.
From sanding and cleaning the surface to applying a stain-blocking primer and using the right type of paint, these steps will help you to achieve a beautiful, long-lasting finish on your cedar wood panels.


