Install Upper Cabinets Away From Wall? Here’s the Pro Secret
Most home improvement guides insist that kitchen cabinets must sit perfectly flush against the wall. But what if your walls aren’t perfect? Forcing a cabinet against a bowed or uneven surface can warp its frame, cause doors to hang crookedly, and create a host of installation nightmares.
Fortunately, there is a professional technique that solves this problem and opens up new design possibilities. Intentionally installing upper cabinets away from the wall is the secret to a flawless fit in older homes and a key strategy for modern, streamlined aesthetics.
This guide will walk you through exactly why and how to create this intentional gap, ensuring your cabinets are secure, beautiful, and perfectly aligned, regardless of what your walls look like.
You'll Learn About
Why Would You Install Cabinets Away From the Wall?
While it may seem counterintuitive, creating a space behind your upper cabinets is a common practice among professional installers. This method addresses a variety of structural challenges and design goals that simply mounting cabinets flush cannot.
The #1 Reason: Conquering Uneven Walls
The most frequent reason for this installation method is dealing with walls that aren’t perfectly flat or plumb. This is especially common in older homes with plaster walls, which can have significant bows and waves. Forcing a rigid cabinet box against an uneven surface can stress the cabinet, leading to damage.
Creating a straight, plumb mounting surface just in front of the wall allows the cabinets to hang perfectly level and aligned with each other. This avoids twisted frames and misaligned doors. Challenges with existing surfaces, like those encountered when you need to handle electrical work in plaster walls, often highlight these imperfections.
Making Space for Utilities and Obstructions
Sometimes, you have no choice but to work around existing infrastructure. Pipes, electrical conduit, or ventilation ducts may run along the surface of the wall where cabinets need to be installed. Instead of costly and invasive wall surgery, you can build out a frame to mount the cabinets in front of these utilities.
This creates a hidden channel behind the cabinetry, effectively concealing the pipes and wires without disturbing them. It’s a clean, efficient solution that saves significant time and money on renovation projects.
Accommodating Thick Backsplashes
Full-height backsplashes made from thick materials like stone slabs or chunky tiles are a popular high-end design feature. To achieve a seamless look, these backsplashes are often installed before the upper cabinets. This means the cabinets must be mounted over the top edge of the backsplash material.
By installing the upper cabinets away from the wall, you can perfectly align them with the face of the backsplash, creating an integrated and professional finish. The gap behind the cabinet simply accommodates the thickness of the material below.
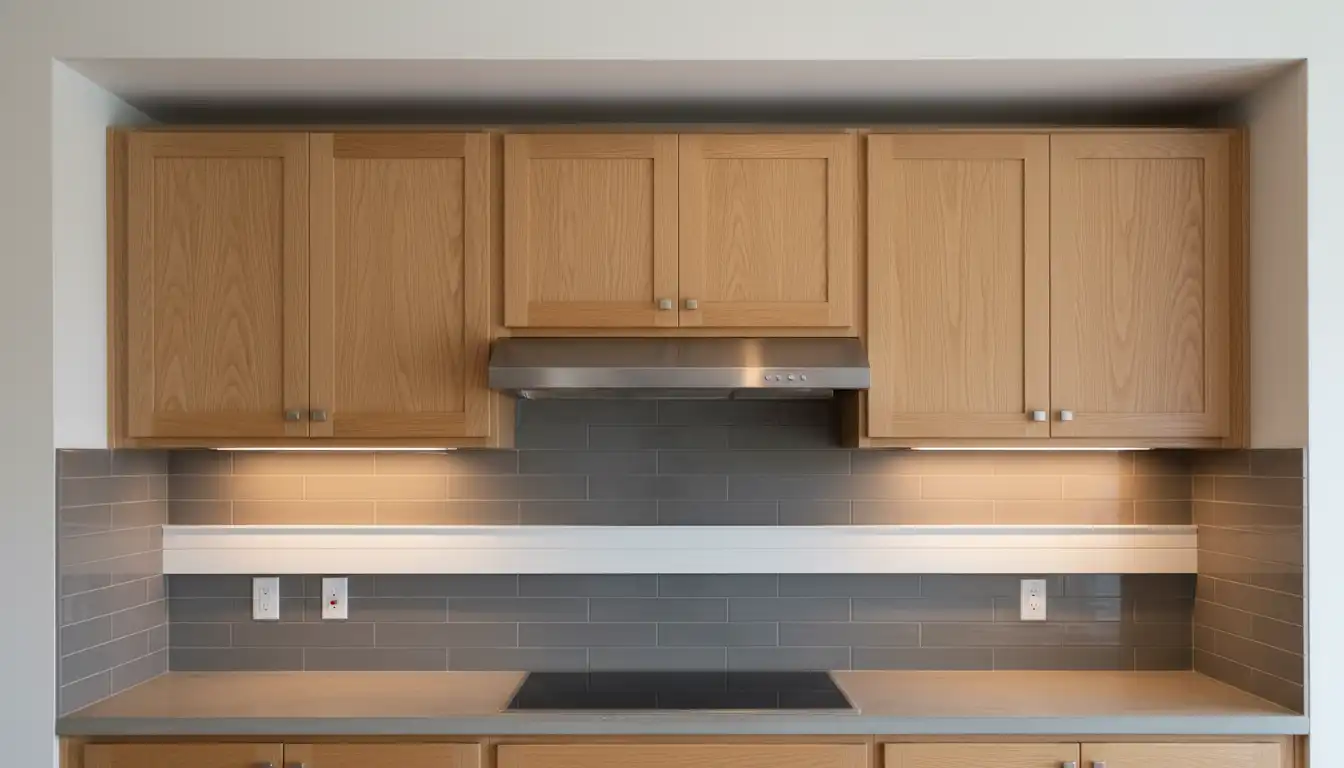
Achieving a Modern “Floating” Aesthetic
Beyond solving problems, installing cabinets off the wall can be a deliberate design choice. The “floating” cabinet look is a hallmark of minimalist and contemporary design. This technique, often paired with under-cabinet LED lighting, can make the cabinets appear to hover, creating an open and airy feel in the kitchen.
This approach allows for creative lighting effects where light can wash down the wall from behind the cabinets, adding depth and a dramatic flair to the overall design.
The Pro-Approved Method: Using a Ledger and Furring Strips
The core of this technique is to build a simple, secondary frame on the wall. This frame, made of furring strips and a ledger board, acts as a perfectly flat and plumb plane to which you’ll attach the cabinets. It effectively bypasses any imperfections in the wall itself.
Step 1: Planning and Measurement is Everything
Precision is non-negotiable. Begin by using a stud finder to locate and mark every wall stud in the installation area. Use a long level to draw a perfectly level line indicating where the bottom of the upper cabinets will sit. This is typically 54 inches from the floor, but can be adjusted.
Next, determine the necessary depth of the gap. Place a long, straight edge or level against the wall vertically and horizontally to find the most significant bow or protrusion. The gap must be slightly deeper than this point to ensure the entire support frame sits clear of the wall’s high spots.
Step 2: Choosing Your Materials (Furring Strips vs. Plywood)
The support frame is typically built from 1-inch thick wood strips, known as furring strips. You can use solid wood boards (like 1x3s or 1x4s) or rip strips from a sheet of high-quality plywood. Plywood offers excellent stability and is less likely to warp than some solid woods.
Choosing the right material depends on the weight of your cabinets and the size of the gap you need to create. For most applications, either option is suitable, but plywood strips offer a slight edge in dimensional stability.
| Material | Pros | Cons | Best For |
|---|---|---|---|
| Solid Wood Furring Strips (e.g., Pine 1×3) | Inexpensive, readily available, easy to cut and install. | Can be prone to warping or twisting; must select straight boards. | Standard installations with moderate gaps (up to 1 inch). |
| Plywood Strips (Ripped from 3/4″ sheet) | Extremely stable, very straight, less likely to warp or split. | More expensive than pine strips, requires a table saw to rip. | Very uneven walls, large gaps, or supporting heavy cabinets. |
| 2×4 Framing | Provides maximum strength and creates a large gap for utilities. | Heavy, reduces kitchen space, requires more complex construction. | Concealing significant plumbing or creating a very deep “floating” effect. |
Step 3: Installing the Support Structure
First, install the ledger board. This is a horizontal furring strip that runs along the level line you drew for the bottom of the cabinets. Secure this board to every stud it crosses with 2.5-inch screws. The ledger board must be perfectly level, as it will support the weight of the cabinets during installation.
Next, install vertical furring strips. These strips should be attached directly over every wall stud, running from the ledger board up to where the top of the cabinets will be. Use a level to ensure these vertical strips are perfectly plumb. This framework is now your new, ideal mounting surface.
Step 4: Hanging the Upper Cabinets
With the support frame in place, you can now hang the cabinets. Lift the first cabinet and rest it on the ledger board. Drive cabinet mounting screws through the cabinet’s hanging rail, through the vertical furring strip, and deep into the wall stud behind it.
It is critically important to use longer screws than you normally would. The screws must be long enough to pass through the cabinet back, the furring strip, the drywall, and penetrate at least 1.5 inches into the solid wood of the stud. Continue this process for all cabinets, clamping the face frames of adjacent cabinets together to ensure they are flush before screwing them to each other and the wall.
Critical Considerations for a Flawless Finish
Successfully hanging the cabinets is only half the battle. The details of how you finish the installation will determine whether the result looks professional and intentional or unfinished and awkward. Pay close attention to these final steps.
Ensuring Rock-Solid Structural Integrity
The choice of fasteners is paramount. Standard 2.5-inch cabinet screws may not be long enough. For a typical installation with 3/4-inch furring strips, you will likely need 3.5-inch or 4-inch structural screws to achieve adequate penetration into the studs. The weight of the cabinets, especially large units like deep or tall cabinets, filled with dishes, puts significant shear stress on these screws. Do not compromise on screw length or quality.
Confirm every single screw hits the center of a stud. Missing a stud means that screw is only holding onto drywall and a thin furring strip, offering virtually no support and creating a dangerous weak point.
Finishing the Gaps: The Secret to a Seamless Look
How you conceal the gap at the exposed ends of the cabinet run is what separates amateur work from a professional job. Leaving the gap open looks unfinished. The best solution is to use a “filler strip” or “scribe panel,” which is a piece of material matching your cabinetry.
This panel is cut to the height of the cabinets and ripped to the exact width of the gap. It’s then carefully installed to create a clean, finished side that looks like a natural part of the cabinet. This technique completely hides the furring strips and the space behind, resulting in a polished, built-in appearance.
Countertop and Backsplash Integration
Remember that holding the upper cabinets away from the wall will affect your countertop measurements. Standard 25.5-inch deep countertops might not be deep enough to meet the wall once the base cabinets are installed. You will likely need to order a custom, deeper countertop to cover the gap between the base cabinets and the wall.
The upside is that this method simplifies backsplash installation. The tile or stone can run up the wall and terminate neatly against the bottom edge of the upper cabinets, hiding the lower part of the gap perfectly.
Common Mistakes to Avoid
This technique is straightforward but requires attention to detail. Avoid these common pitfalls to ensure a successful installation:
- Using Screws That Are Too Short: This is the most dangerous mistake. Always calculate the required screw length to ensure at least 1.5 inches of stud penetration.
- Not Hitting Studs: Every furring strip must be anchored to studs. Relying on drywall anchors is not safe for upper cabinets.
- Ignoring Level and Plumb: The entire support frame must be perfectly level and plumb. Any error here will be magnified in the final cabinet alignment.
- Forgetting to Plan for Exposed Ends: Not having a plan to cover the side gaps will leave the project looking incomplete.
- Miscalculating Countertop Depth: Failing to account for the gap when ordering countertops is a costly and frustrating mistake.
Is This a DIY-Friendly Project?
For an intermediate DIYer with a good understanding of basic carpentry and a meticulous approach to measuring, this project is very achievable. The key requirements are patience and the right tools, including a quality stud finder, a long level, and a powerful drill.
However, if you are unsure about structural loads, working with very uneven walls, or feel uncomfortable with the precision required, it is always best to consult a professional cabinet installer. The safety of your installation is the top priority.
Final Thoughts: Embrace the Gap
Installing upper cabinets away from the wall isn’t a shortcut; it’s a superior method for achieving a perfect fit in imperfect conditions. It transforms a frustrating challenge into a controlled, precise process that yields beautiful, professional results. This technique can even be used to create stunning visual effects when combined with design elements like taller kitchen cabinets for added drama.
By understanding the principles of building out a stable mounting frame, you can tackle any wall with confidence and ensure your new kitchen cabinets hang straight, true, and secure for years to come.