Rewire a House with Plaster Walls? Don’t Cut Anything Until You Read This Guide
There’s a unique charm to older homes, with their solid construction and timeless character. But beneath that vintage appeal often lies an outdated and potentially hazardous electrical system, hidden behind thick, unforgiving plaster and lath walls. The thought of rewiring can be daunting, bringing to mind images of demolished walls, endless dust, and a budget spiraling out of control.
Many homeowners fear that a full rewire means sacrificing their beautiful, original plaster walls, a feature that adds so much to the home’s integrity. The core problem is the sheer difficulty and perceived destruction involved. Unlike modern drywall, plaster is brittle, messy, and far more challenging to work with, making the task of running new wires a complex puzzle that requires patience, the right tools, and a solid plan.
You'll Learn About
Why Rewiring a Plaster-Walled House is a Unique Challenge
Modern homes are built with electrical wiring in mind, but houses from the early to mid-20th century were not. Their walls are typically constructed of wood lath—thin strips of wood nailed horizontally across the wall studs—covered with one or more layers of heavy plaster. This creates a formidable, solid barrier that you can’t simply cut into without risking significant cracking and damage.
The primary obstacles you’ll face are twofold: accessing the wall cavities to run new wires and installing modern electrical boxes for outlets and switches, all while causing minimal damage. Fire blocks, horizontal pieces of wood installed between studs, can further complicate things by blocking clear vertical paths for wiring. It’s a project where planning and precision are paramount to avoid turning a necessary upgrade into a catastrophic mess.

Understanding the Risks of Outdated Wiring
Before diving into the “how,” it’s crucial to understand the “why.” Many older homes still have knob-and-tube wiring, which lacks a ground wire and uses rubberized cloth insulation that becomes brittle and hazardous over time. Other homes may have early Romex-style wiring with degraded insulation or circuits that are dangerously overloaded by modern electrical demands.
These outdated systems pose a significant fire risk and may not be up to current electrical codes, which can create issues with homeowners insurance. Upgrading your electrical system isn’t just about convenience; it’s a critical safety measure for your home and family. An experienced electrician can perform an inspection to assess the state of your current wiring and help you map out a plan.
The Strategic Approach: Rewiring with Minimal Invasion
The good news is that you don’t always have to gut your walls. With the right techniques and tools, it is entirely possible to rewire a home while preserving your plaster. The key is to work smart, leveraging access points from the attic and basement or crawlspace whenever possible, and making precise, strategic cuts only when absolutely necessary.
This method, often called “fishing,” involves pulling new wires through the wall cavities using fish tape or glow rods. It requires patience and can sometimes feel like performing surgery, but it is far less destructive than wholesale demolition. Remember, the goal is to update the electrical system, not rebuild your walls from scratch.
Step 1: Planning and Preparation are Everything
Your first step is to create a detailed wiring plan. Map out every outlet, switch, and light fixture you want to add or replace. Consider modern needs, such as dedicated circuits for high-draw appliances in the kitchen and enough outlets for home offices and entertainment centers. This plan will be your roadmap and will help you determine the most efficient paths for running new cables.
Next, you’ll need to obtain the necessary permits from your local building department. Electrical work is heavily regulated for safety reasons, and skipping this step can lead to fines and major headaches down the line. A licensed electrician will handle this process, ensuring all work is compliant with the National Electrical Code (NEC) and local regulations.
Step 2: Assembling the Right Toolkit
Having the right tools is non-negotiable for this project. Attempting to tackle plaster walls with standard drywall tools will lead to frustration and damage. Your toolkit should be tailored to the unique challenges of this job.
An oscillating multi-tool with a carbide or diamond blade is your best friend for making clean, precise cuts into plaster without the violent vibrations that cause cracking. A good quality stud finder that can detect wood studs through the thick plaster is also essential. Fishing tools, like steel fish tape and flexible fiberglass glow rods, are critical for navigating wires through the hidden wall cavities.
| Tool | Primary Use | Pro Tip |
|---|---|---|
| Oscillating Multi-Tool | Cutting precise holes for electrical boxes in plaster and lath. | Use a carbide or diamond blade for plaster and a wood blade for the lath to avoid burning them out. |
| Fish Tape & Glow Rods | Pulling wires through wall cavities from above or below. | Tape the wire securely to the fish tape to prevent it from detaching midway through a pull. |
| “Old Work” Electrical Boxes | Securing outlets and switches in existing walls without access to studs. | These boxes use wings that clamp onto the back of the lath for a secure fit. |
| Stud Finder (Deep Scan) | Locating wall studs and avoiding them when cutting box holes. | Mark stud locations with painter’s tape to create a clear map of your working area. |
| Flexible Drill Bit | Drilling holes through fire blocks or top/bottom plates from a distance. | These long, flexible bits are essential for navigating obstacles inside the walls. |
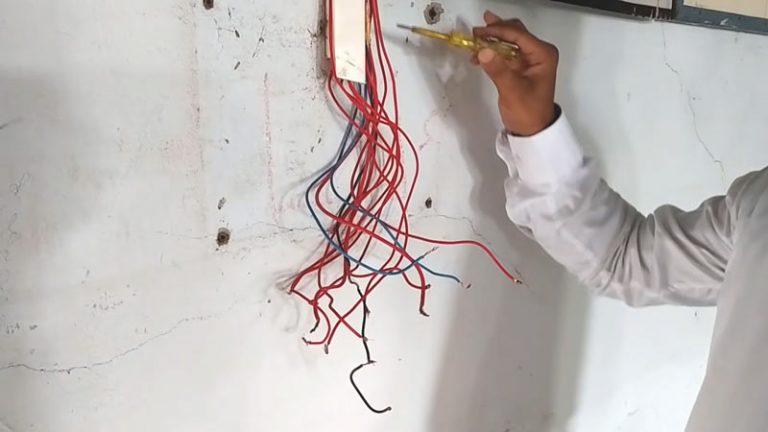
| Voltage Tester | Ensuring the power is completely off before touching any wires. | Always test every wire, even if you think you’ve turned off the correct breaker. |
Executing the Rewire: A Phased Approach
Once you have your plan and your tools, the real work begins. It’s best to tackle the project one circuit at a time to minimize disruption. Always remember to turn off the power at the breaker panel and verify with a voltage tester before starting any work.
Phase 1: Running Wires from the Attic and Basement
Your attic and basement are your primary points of entry. From the attic, you can drill down through the top plate of the walls to feed wires to the upper floor. From the basement, you can drill up through the subfloor and bottom plate to run wires to the first floor. This vertical approach covers a significant portion of the house with minimal cutting into the finished walls.
To do this, you’ll first cut the hole for your new electrical box in the desired location. Then, from the attic or basement, drill a corresponding hole in the wall’s top or bottom plate. You can then feed your fish tape or glow rods through the wall cavity, attach the new electrical cable, and pull it through. It’s often a two-person job—one feeding the wire and the other pulling.
Phase 2: Cutting into Plaster for Boxes and Switches
For locations that can’t be reached from above or below, you’ll need to cut into the wall. This is where your oscillating multi-tool comes in. Trace the outline of your “old work” box onto the wall. Use the multi-tool to carefully cut through the plaster first, following your traced line. Once the plaster is removed, switch to a wood-cutting blade to cut through the lath.
This careful, two-stage cutting process prevents the plaster from cracking and breaking away from the lath. After the hole is cut, you can fish the wire to the opening, insert the “old work” box, and tighten its clamps to secure it to the wall. This part of the process shows how older homes often present a series of unique challenges, much like learning how to close a window with a broken crank, where patience and the right technique make all the difference.
Phase 3: The Art of Plaster Repair
No matter how careful you are, some plaster repair will be inevitable. Small cracks or chips around new outlet boxes are common. These can be easily repaired using a plaster patching compound and a putty knife. For larger repairs, you may need to apply a bonding agent before filling the area with a base coat of plaster.
The key to a seamless repair is to build up thin layers of patching material and feather the edges to blend with the existing wall. Once the patch is dry, a light sanding will prepare it for primer and paint. After the electrical work is done and the walls are restored, you can move on to more decorative aspects of your renovation, like figuring out how to hang that new mirror to complete the room’s transformation.
Considering the Scope and Cost
Rewiring an entire house is a significant undertaking. The cost can range from $5 to $17 per square foot, depending on the home’s size, accessibility, and the complexity of the job. While it’s a substantial investment, it’s one that pays dividends in safety, functionality, and increased home value.
If the rewiring is part of a larger renovation, such as a kitchen overhaul, it’s the perfect time to address the electrical system. Planning these projects together can be more efficient. For example, if you’re already learning how to remove granite countertops without damaging cabinets, you already have the space opened up for easier electrical access.
DIY vs. Hiring a Professional
While some experienced DIYers may feel comfortable tackling small electrical tasks, a full home rewire is a job best left to a licensed and insured electrician. The risks associated with improper wiring—including electrical shock and fire—are too great. Professionals not only have the expertise and specialized tools but are also knowledgeable about local codes and permit requirements.
Hiring an electrician who has experience with older, plaster-walled homes is crucial. They will understand the nuances of the construction and be better equipped to minimize damage and navigate the inherent challenges. Get multiple quotes and ask for references from homeowners with similar properties to find the right expert for your project.