Harvest Zinnia Seeds After Frost: Unlock Next Year’s Blooms
As autumn’s chill settles in and the first frost blankets the garden, many gardeners face a common dilemma. They wonder if the chance to save the vibrant legacy of their favorite zinnias has been lost to the cold. It’s a frustrating moment, seeing the once-dazzling flowers now brown and withered, leaving uncertainty about the viability of the seeds within.
This concern is valid, as prolonged freezing and wet conditions can indeed threaten a future harvest. However, a light frost can be a powerful ally in seed saving. It signals the end of the plant’s life cycle, concentrating its final energy into producing mature, viable seeds and helping to dry the flower heads naturally.
You'll Learn About
The Surprising Benefit of a Frosty Harvest
Waiting to harvest zinnia seeds until after the first light frost is a technique that leverages nature’s own processes. The cold helps to cure the seed heads on the stem, a crucial step for ensuring the seeds are fully mature and ready for storage. This patience is often rewarded with a higher germination rate the following spring.
The key is to act swiftly after the frost but before an extended period of wet, freezing weather sets in, which could lead to mold and rot. The goal is to collect the flower heads when they are dry and brittle. A light frost can actually kill off lingering pests and certain fungal diseases, ensuring you collect healthier seeds for the next season.
Recognizing the Perfect Harvest Window
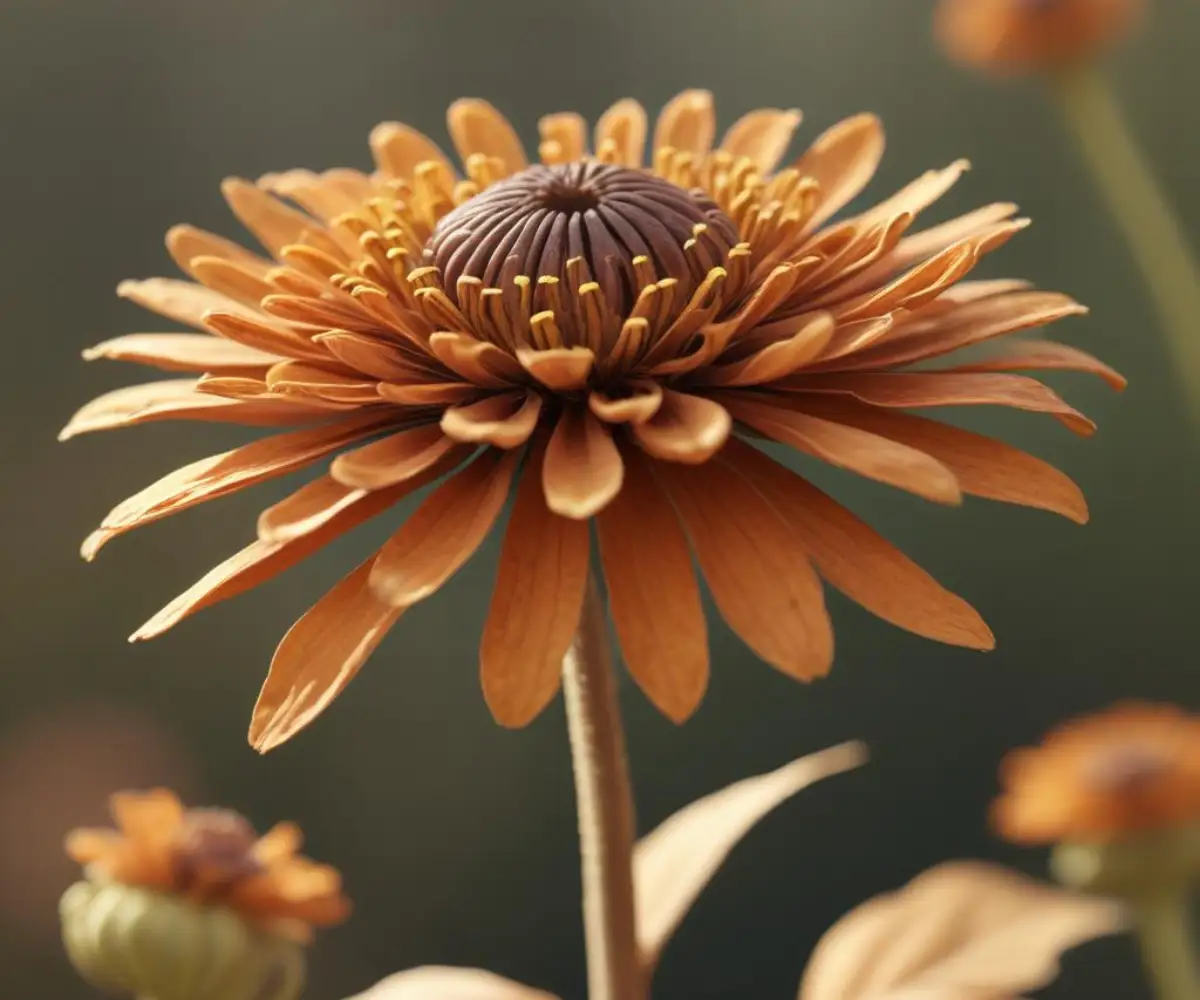
Timing is everything. The ideal moment to harvest is when the zinnia flower heads are completely brown, dry, and feel crisp to the touch. The petals will be withered, and the stem directly below the head will also be stiff and dry. This indicates the seeds inside have reached full maturity.
Gather a few simple tools before heading into the garden. You will need a pair of clean, sharp pruning shears or scissors, paper bags for collecting the heads (avoid plastic, as it traps moisture), and labels or a marker to note different zinnia varieties.
A Step-by-Step Guide to Harvesting Zinnia Seeds After Frost
Once you’ve identified the perfect time, the process of collecting and saving your zinnia seeds is straightforward. Following these steps will ensure a bountiful supply of seeds for years to come, allowing you to replicate your beautiful garden display for free.
Step 1: Strategic Selection of Flower Heads
Begin by carefully selecting which flowers to harvest for seeds. Focus on the largest, most vibrant, and healthiest blooms from your most vigorous plants. This practice is a simple form of selective breeding; by saving seeds from your best-performing plants, you increase the likelihood of growing equally impressive zinnias next year. Avoid any plants that showed early signs of disease like powdery mildew if possible.
Step 2: The Proper Cutting Technique
Using your clean pruning shears, snip the dry flower heads from the plant. It’s helpful to leave an inch or two of the stem attached, as this provides a convenient handle during the drying and seed extraction process. Place the collected heads directly into your labeled paper bags to keep different colors and varieties separate.
Step 3: Crucial Indoor Curing
Even though the heads feel dry on the plant, an additional indoor curing period is essential to remove any remaining moisture. Spread the flower heads in a single layer on a screen, mesh tray, or even a paper plate in a warm, dry, and well-ventilated area away from direct sunlight. Allow them to cure for at least one to three weeks; the goal is for them to be completely brittle before you attempt to extract the seeds.
Processing and Storing Your Zinnia Seed Treasure
With your zinnia heads properly harvested and cured, the next phase is to extract and store the seeds correctly. Proper processing is vital for long-term viability and will prevent disappointing germination rates next spring. This is also where you get a fascinating look at the zinnia’s unique seed structure.
Step 4: Extracting and Understanding Zinnia Seeds
Gently break apart a completely dry flower head over a bowl or tray. You will notice the seeds are attached to the base of the dried petals. Each zinnia head produces two distinct types of seeds: the pointed, arrowhead-shaped seeds from the outer ray petals and the flatter, more shield-shaped seeds from the inner disc florets. Both types are viable and worth saving.
Step 5: Cleaning and Sorting for Quality
Separate the seeds from the chaff (the leftover dried petals and plant material) by hand. While perfect separation isn’t necessary, removing the bulk of the debris reduces the risk of mold during storage. For an extra quality check, you can perform a “water test” on a small sample; viable seeds will typically sink, while non-viable seeds and chaff will float. Just be sure to thoroughly dry any seeds you test before storing them.
Step 6: Ensuring Long-Term Viability with Proper Storage
The golden rule for seed storage is to keep them cool, dark, and dry. Paper envelopes or small, labeled glass jars are ideal containers. To combat any trace of humidity, you can add a small silica gel desiccant packet to your storage container. Store your labeled seeds in a closet, a drawer, or a basement where the temperature remains stable.
| Storage Factor | Do | Don’t |
|---|---|---|
| Container | Use breathable paper envelopes or airtight glass jars. | Store in plastic bags that can trap moisture. |
| Location | Choose a cool, dark place with stable temperatures (e.g., a closet or basement). | Store near sources of heat, light, or in a humid area like a bathroom. |
| Labeling | Clearly label each packet with the zinnia variety and harvest year. | Mix different varieties or forget to date your seeds. |
| Moisture Control | Ensure seeds are 100% dry before storage; consider using a desiccant packet. | Seal jars or envelopes if there is any doubt about seed dryness. |
Troubleshooting Common Post-Frost Harvesting Issues
Even with careful planning, you might encounter some challenges when harvesting zinnia seeds after a frost. Addressing these common problems promptly can save your seed stash and ensure a successful planting season next year. The key is knowing what to look for and how to react.
What If I Find Mold on the Seed Heads?
Discovering mold on your drying seed heads is a common issue, especially if the post-frost weather turned damp. If you spot mold, immediately increase air circulation in your drying area. Discard any heavily molded heads, but for those with only minor spots, you can often salvage the seeds by carefully extracting them and allowing the seeds themselves to dry thoroughly in a single, well-spaced layer.
Addressing Low Germination Rates
If you experience poor germination next spring, several factors could be the cause. The seeds may have been harvested before they were fully mature, or they might have been damaged by a hard freeze rather than a light frost. Improper storage that exposed the seeds to moisture or heat is another common culprit. Reflecting on your process can help pinpoint the issue for the following year, which is why ensuring your plants are robust and well-cared-for, much like providing proper bush bean support ideas for vegetables, creates a foundation for healthy seed production.
Advanced Insights for the Avid Zinnia Saver
Once you master the basic technique of saving zinnia seeds, you can explore more advanced aspects of this rewarding practice. Understanding the genetics of your plants and refining your selection process can elevate your gardening experience from simple propagation to thoughtful cultivation. A well-organized workspace, perhaps improved by considering ideas like adding recessed lighting to a first floor, can make the detailed work of sorting and labeling seeds even easier.
Heirlooms vs. Hybrids: A Crucial Distinction
It is critical to know whether you are saving seeds from open-pollinated (heirloom) or hybrid zinnia varieties. Seeds from open-pollinated zinnias will grow “true to type,” meaning the offspring will look just like the parent plant. Seeds saved from F1 hybrids, however, will not produce plants with the same characteristics and may result in a wide, unpredictable variety of colors and forms. Always start with heirloom seeds if your goal is to preserve a specific look. And as you work, remember that proper cleanup is part of the process; avoiding simple mistakes, like understanding the answer to does Comet clog drains, can keep your entire home and garden workspace functioning smoothly.
The Art of Selective Saving
Take your seed saving to the next level by being highly selective. Do you have a zinnia that produced an unusual color, had exceptionally strong stems, or showed remarkable resistance to powdery mildew? Mark these specific plants during the growing season with a ribbon. Prioritizing their seeds ensures you are actively cultivating desirable traits in your garden’s future generations.