First Floor Recessed Lighting: Don’t Cut a Single Hole Until You Read This
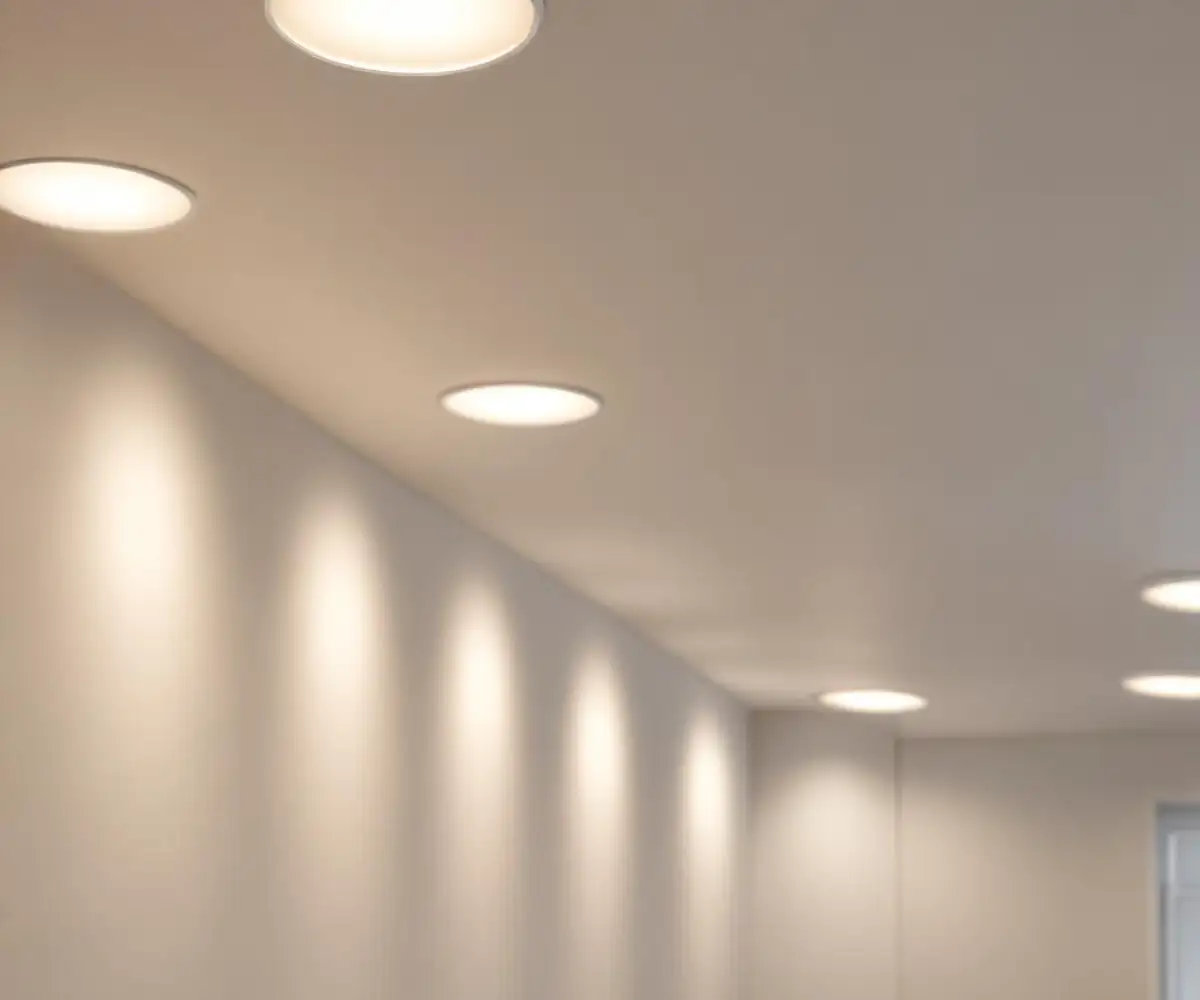
The dream of a modern, sleek first floor is often illuminated by recessed lighting. This upgrade promises clean lines, an open feel, and perfect ambiance, replacing dated, clunky fixtures.
But the reality of installing these lights on a ground floor is fraught with unique challenges hidden just above the ceiling. Unlike a top floor with attic access, a first-floor ceiling is the floor of the level above, creating a minefield of structural, plumbing, and electrical obstacles.
This comprehensive guide will navigate the specific complexities of a first-floor recessed lighting installation. We’ll show you how to plan, execute, and avoid the common pitfalls that turn a dream upgrade into a costly nightmare.
You'll Learn About
Why a First-Floor Installation is a Completely Different Challenge
Installing recessed lights on a top floor is often straightforward; you have an open attic to move around in, run wires, and see exactly what you’re dealing with. The first floor, however, is a blind installation. The ceiling cavity is an enclosed, unseen space.
This space is typically packed with obstacles you can’t see until you start cutting. These include solid wood floor joists that provide the structure for the floor above, plumbing lines for bathrooms, HVAC ducts circulating air, and existing electrical wiring.
Without proper planning, you risk cutting into a critical pipe, a load-bearing joist, or a live wire. The key to success is knowing what you’re up against and choosing the right strategy and equipment from the very start.
The Blueprint for Success: Planning Your Lighting Layout
Before you even think about tools, you need a precise plan. A well-designed layout ensures even, functional light, while a poor one can create a space that feels like a landing strip or is full of dark, awkward shadows.
First, determine the purpose of the lighting. Are you aiming for general ambient light, focused task lighting over a kitchen island, or accent lighting to highlight artwork? The function will dictate the placement.
Spacing is Everything
A common rule of thumb for general lighting is to divide the ceiling height by two. For an 8-foot ceiling, this means placing your lights about 4 feet apart. You should also keep them between 1.5 to 3 feet away from the walls.
Use painter’s tape or cardboard cutouts on the ceiling to visualize the placement before you commit. Turn off the existing lights and use flashlights at the proposed locations to see how the light will fall. This simple step can save you from major regret later.
The Game-Changer: Choosing the Right Type of Recessed Light
The single most important decision for a first-floor project is the type of recessed lighting fixture you use. The traditional “can” or “housing” style lights are quickly being replaced by a far superior technology for this specific application: ultra-thin canless LED wafer lights.
Traditional remodel cans require several inches of clearance in the ceiling to fit the housing. If a floor joist is in your desired spot, you are simply out of luck. Canless LEDs, however, are often less than an inch thick and don’t use a can; the fixture and junction box are separate, connected by a flexible cable.
This design means you only need enough space for the drywall itself. You can place them almost anywhere, even directly under a joist. For a first-floor remodel, they are not just an option; they are the most logical solution.
Critical Safety Feature: IC-Rating
Whether you choose canless or traditional fixtures, they must be IC-rated (Insulation Contact). This is a non-negotiable safety requirement. An IC rating means the fixture is designed to be in direct contact with insulation without creating a fire hazard.
Older, non-IC rated fixtures require a minimum of 3 inches of clearance from any insulation. In a closed first-floor ceiling cavity, you cannot guarantee this clearance, making IC-rated fixtures the only safe choice.
Remodel Cans vs. Canless LEDs: A First-Floor Comparison
Understanding the fundamental differences in hardware will directly impact your project’s difficulty, cost, and final outcome. While you might be tempted by an older style of fixture, the advantages of modern technology for this specific job are overwhelming.
The table below breaks down the key considerations when choosing between traditional remodel-style cans and the newer canless LED wafer lights for a ground-floor installation. This decision is often the difference between a smooth project and a frustrating one.
| Feature | Traditional Remodel Cans | Canless LED Wafer Lights |
|---|---|---|
| Vertical Clearance Needed | High (5-7 inches) | Extremely Low (0.5-1 inch) |
| Joist Interference | Major issue; placement is restricted by joist locations. | Minimal issue; can often be installed directly under joists. |
| Installation Complexity | More complex; requires fitting a bulky housing into the ceiling. | Simpler; spring-loaded clips hold the thin light directly to the drywall. |
| Flexibility in Placement | Low; you must work around the joist layout. | Very High; place lights almost anywhere you want. |
| Air Leakage | Can be a source of drafts if not properly air-sealed. | Often designed to be airtight, improving energy efficiency. |
| Best Use Case | New construction with open ceilings or attics with ample space. | Ideal for remodels, especially in limited-clearance first-floor ceilings. |
The Step-by-Step Installation Guide
With a solid plan and the right lights, you can begin the installation. This process requires patience, precision, and an unwavering commitment to safety. If you are ever unsure, stop and call a licensed electrician.
Step 1: Shut Off the Power
This is the most critical step. Go to your breaker box and turn off the circuit powering the room you’ll be working in. Use a non-contact voltage tester to confirm there is absolutely no power to any of the wires you might encounter. Test the switch and any existing fixtures.
Step 2: Locate Joists and Obstacles
Use a high-quality electronic stud finder to map out the joists in your ceiling. Mark them lightly with a pencil. This map is your guide to avoiding structural elements. Remember that pipes and ducts often run alongside joists, so be extra cautious in those areas.
While an initial plan is good, you must be prepared for surprises. Sometimes unseen obstacles, like the ones that cause an AC filter to get stuck, are hidden in ceiling cavities and require you to adapt your layout on the fly.
Step 3: Cut the Holes
Most recessed lights come with a paper template for the cutout size. Use this template to mark the precise circle on your ceiling. For perfect cuts, use a hole saw attached to your drill that matches the exact size specified by the manufacturer.
Wear safety glasses and a dust mask. Drywall dust is incredibly fine and will get everywhere. Hold the drill straight and apply steady pressure for a clean, professional-looking hole.
Step 4: Run the Electrical Wiring
This is where a first-floor installation gets tricky. You’ll need to run electrical cable (typically 14/2 Romex for a 15-amp circuit) from your power source (a switch or existing fixture) to the location of each new light.
Use fish tape and a flexible drill bit to navigate the wire through the enclosed ceiling cavity. This often involves making a small, temporary access hole in the drywall to help guide the wire around obstacles. The goal is to “daisy-chain” the wire from one light hole to the next.
Step 5: Connect and Install the Fixtures
With the wires in place, you can now connect your lights. For canless LEDs, you’ll first wire up the remote junction box. Follow the manufacturer’s instructions carefully, matching the black (hot), white (neutral), and copper (ground) wires.
Once the junction box is wired, place it into the ceiling, plug the low-voltage cable into the light fixture itself, and then push the fixture into the hole. Spring-loaded clips will engage and hold it securely against the drywall. It’s a much simpler process than a full remodel can, and if you ever want to upgrade again, a 4.5 inch recessed light retrofit is often just as easy.
The Overlooked Problem: Soundproofing Your Ceiling
Here is something most guides will never mention: every hole you cut in your ceiling is a potential pathway for sound. After installing recessed lighting, many homeowners are surprised by a sudden increase in noise from the floor above—footsteps, voices, and music become much clearer.
This is because you have removed sound-dampening drywall and insulation. To mitigate this, consider adding soundproofing putty pads to the back of the junction box or using specialized soundproof covers designed to fit over recessed fixtures. This small extra step can preserve the peace and quiet of your home.
Do You Need an Electrician and a Permit?
While experienced DIYers may be able to handle parts of the installation, electrical work carries inherent risks. If you are connecting to an existing circuit, some local codes may allow for it. However, if you are creating a brand new circuit, you will almost certainly need a permit and a licensed electrician.
For your safety and to comply with codes, it is always recommended to hire a professional. They can ensure the wiring is done correctly, the load on the circuit is safe, and the final installation is reliable and hazard-free. An expert touch can also improve your home’s overall lighting design, from interior aesthetics to exterior enhancements like fixing poor gable peak lighting.
Elevate Your Lighting with Advanced Features
Basic on-off functionality is just the beginning. To truly transform your space, consider integrating modern features that give you complete control over your new lighting.
Installing a dimmer switch is one of the most impactful upgrades. It allows you to adjust the brightness from full task lighting down to a soft ambient glow. For the ultimate in convenience, consider smart lights that can be controlled from your phone or voice assistant, allowing you to change color temperature and brightness on demand.
A Brighter, More Modern Home Awaits
Adding recessed lighting to your first floor is a high-impact upgrade that can dramatically modernize and brighten your living space. While the challenges are unique due to the floor above, they are entirely surmountable with careful planning, the right equipment, and a focus on safety.
By opting for modern canless LED fixtures, you can easily bypass the biggest obstacle—the floor joists. By taking the time to create a thoughtful layout and considering details like sound transmission, you can ensure a professional, beautiful, and functional result that you will enjoy for years to come.