Ground Prong Stuck In Outlet? Here’s How to Fix It FAST
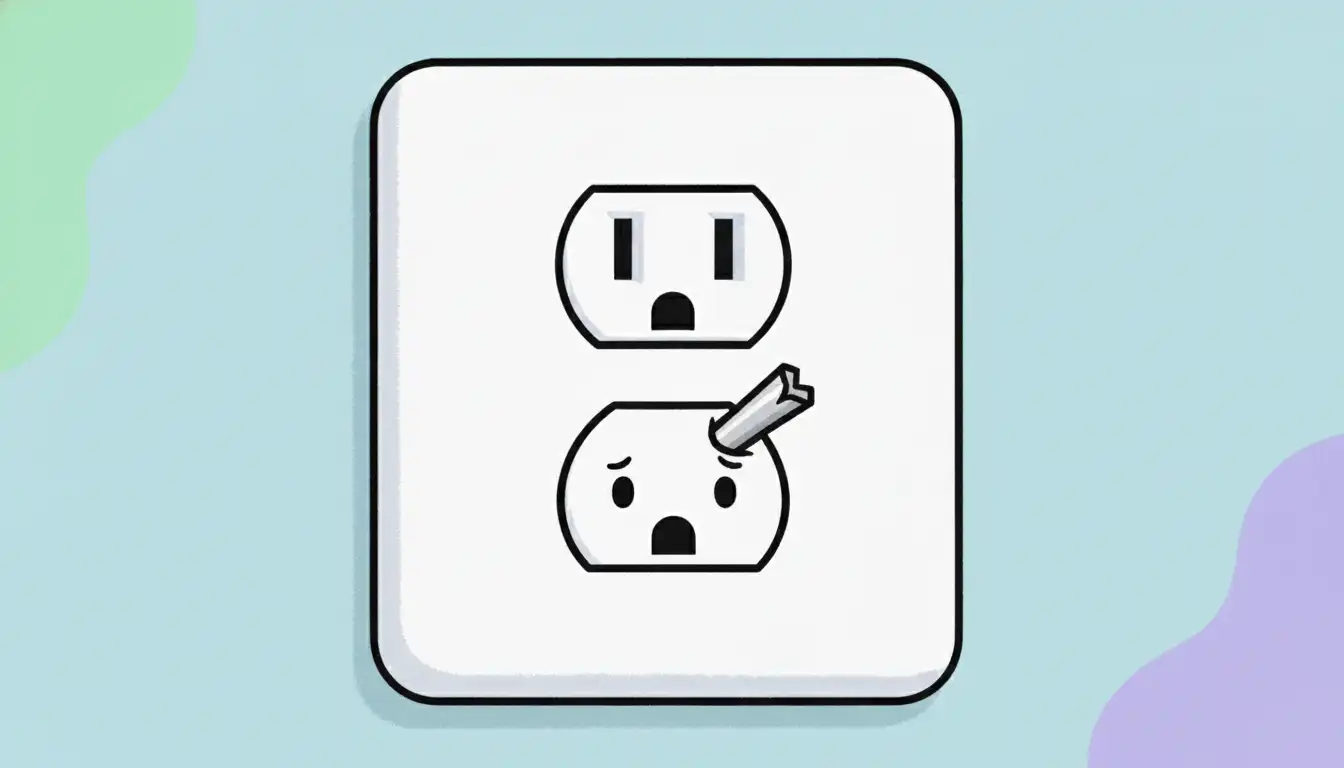
It’s a frustrating moment anyone can experience. You go to unplug an appliance, give it a tug, and the cord comes free—but the small, round ground prong remains firmly lodged in the electrical outlet. This common problem is not just an inconvenience; it can pose a significant safety risk if not handled correctly.
Ignoring a broken ground prong stuck in an outlet can lead to serious hazards, including electrical shock and potential fire risks. This guide provides a comprehensive, step-by-step approach to safely removing the broken piece and restoring your outlet to a safe, usable condition.
You'll Learn About
First Things First: Understanding the Immediate Dangers
Before you touch anything, it’s crucial to understand why a broken ground prong is more than a simple annoyance. The ground prong is a critical safety feature designed to protect you and your electronics from electrical faults.
Its primary job is to provide a safe path for electricity to travel in case of a short circuit, directing the current away from the appliance’s metal casing and preventing electric shock. When this prong is broken, that safety feature is gone, and the outlet itself becomes a hazard until the obstruction is removed.
The Unseen Risks of a Compromised Outlet
A ground prong stuck in an outlet creates several immediate dangers. First, attempting to remove it with metal tools without shutting off the power can lead to a severe electric shock. Second, the broken piece can prevent other plugs from seating correctly, creating a loose connection that can cause arcing—a major fire hazard. Finally, the appliance cord that broke now lacks its grounding protection, making it unsafe to use until repaired.
Never attempt any removal method without first completely cutting power to the outlet. Your safety is the absolute top priority, and no shortcut is worth the risk of electrocution or fire.
The Critical First Step: Safely De-Energizing the Outlet
Before you can even think about removing the prong, you must ensure the outlet is completely dead. Do not assume that just because the ground slot doesn’t carry a current in normal operation, it’s safe to work on. Faulty wiring or internal damage could energize any part of the outlet.
Follow these steps precisely:
- Locate Your Circuit Breaker Box: Find your home’s main electrical panel, which is usually in a basement, garage, or utility closet.
- Identify the Correct Breaker: The breakers should be labeled by room or area. If they are not clearly marked, plug a lamp or a small radio into the affected outlet and turn it on.
- Turn Off the Breaker: Flip breakers one by one until the lamp or radio turns off. This confirms you have cut power to that specific circuit.
- Leave a Note: Place a piece of tape and a note over the breaker switch to prevent someone from accidentally turning it back on while you are working.
- VERIFY the Power is Off: This is a non-negotiable step. Use a voltage tester or plug the lamp back into both sockets of the outlet to confirm there is no power.
Methods for Removing a Stuck Ground Prong
With the power confirmed off, you can now safely proceed with removing the broken prong. The best method will depend on how much of the prong is accessible.
Method 1: Using Needle-Nose Pliers (Easiest Method)
This is the ideal solution if any part of the prong is sticking out from the face of the outlet. The key is to get a firm grip without damaging the surrounding plastic.
Tools Needed: A quality pair of needle-nose pliers.
Firmly grasp the exposed end of the ground prong with the pliers. Pull straight out with slow, steady pressure. Avoid wiggling or twisting, as this can break the prong further or damage the internal contacts of the outlet.
Method 2: The Precision Tweezer Technique
If the prong is broken off flush with the outlet’s surface, pliers won’t work. You’ll need a tool that can grip the very thin edge of the hollow prong.
Tools Needed: Strong, pointed tweezers or a very small, flathead screwdriver.
Use the sharp point of the tweezers or screwdriver to carefully dig into one side of the hollow prong. The goal is to create just enough of a lift to get a grip and pry it out. Be extremely careful not to scratch or gouge the outlet face.
Method 3: The Superglue Method (Use with Extreme Caution)
This method should be considered a last resort before replacing the outlet entirely, as it carries the risk of permanently damaging the outlet if done incorrectly.
Tools Needed: A drop of cyanoacrylate (superglue) and a thin, disposable object like a toothpick or the end of a cut cotton swab.
Apply a minuscule amount of superglue to the tip of your stick. Carefully press the glued tip onto the center of the broken prong and hold it there for at least 60 seconds to create a bond. Let it cure for several minutes, then pull straight out. Do not allow any glue to touch the outlet faceplate.
A Hidden Danger: When the Prong Falls Inside the Wall
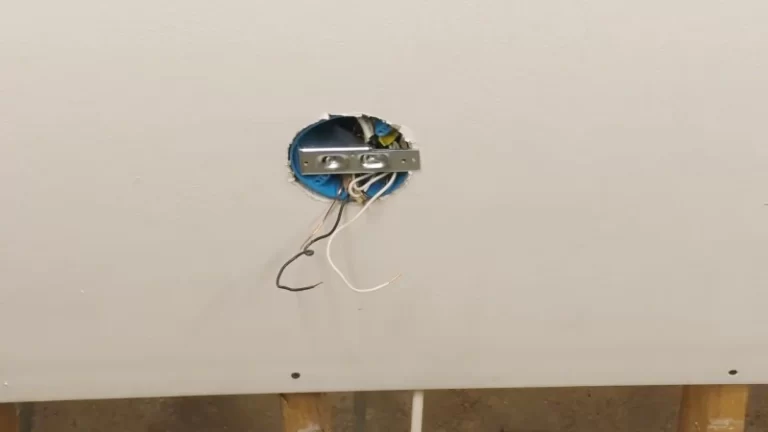
In rare cases, the prong may not be stuck but could be pushed completely through the outlet’s contact and fall into the electrical box behind the wall. This creates a far more dangerous situation than a simple obstruction. A loose piece of metal inside a junction box is a ticking time bomb.
That stray metal fragment can easily come into contact with the live screw terminals on the side of the outlet, causing an immediate and dangerous short circuit. This can lead to a fire within your walls. If you attempt a removal and hear the prong fall back into the wall, the only safe solution is to replace the entire outlet and retrieve the lost piece.

When Is It Time to Replace the Entire Outlet?
Sometimes, removing the prong isn’t the best solution. If the outlet is old, discolored, cracked, or if the prong broke because the internal contacts were excessively tight, replacement is the safest option. A new outlet is inexpensive and ensures a safe connection for years to come.
Replacing an outlet is a manageable DIY task for some, much like other home projects that require careful attention to detail, such as learning to install a Kerdi niche in cement board for a bathroom renovation. However, if you are not 100% confident in your ability to perform electrical work safely, it is always best to call a professional.
A related issue you might encounter is plastic blocking the outlet slots, which presents its own set of challenges. Some modern outlets have tamper-resistant shutters, but older outlets can become blocked by foreign objects or damage.
| Removal Method | Tools Required | Difficulty | Risk Level |
|---|---|---|---|
| Needle-Nose Pliers | Needle-nose pliers | Low | Low (with power off) |
| Precision Tweezers | Pointed tweezers, small screwdriver | Medium | Low (with power off) |
| Superglue Trick | Superglue, toothpick/stick | High | High (risk of ruining outlet) |
| Outlet Replacement | Screwdrivers, voltage tester, new outlet | Medium-High | Low (if done correctly) |
Preventing Future Breakage: Why It Happened and How to Stop It
Understanding the root cause can help you avoid this problem in the future. Ground prongs typically break for a few common reasons.
One primary cause is yanking the cord out of the wall from an angle instead of pulling the plug straight out. This puts immense stress on the longest prong—the ground pin. Always grip the plug head firmly and pull it directly away from the wall.
Inspect Your Cords and Outlets Regularly
Low-quality plugs made from brittle metal are more prone to snapping. Additionally, old and worn-out outlets can have extremely tight contacts, requiring excessive force to unplug cords, which increases the risk of breakage.
Regularly inspect your appliance plugs for signs of damage, and consider replacing any outlets that are difficult to use. Addressing these issues proactively is much safer than dealing with a broken-off prong.
When You Absolutely Must Call a Professional Electrician
While many of these removal techniques are effective, there are times when calling a licensed electrician is the only safe choice. Do not hesitate to call for professional help if you encounter any of the following:
- You are unable to remove the prong with the basic methods.
- The outlet shows any signs of scorching, melting, or cracking.
- You are not confident in your ability to safely turn off the power at the breaker.
- You suspect the prong has fallen into the electrical box behind the wall.
Remember that some household problems are best left to experts. Just as you would call a professional if you needed to get rid of mice behind cabinets, electrical issues demand a similar level of caution. The cost of an electrician is a small price to pay for the safety of your home and family.


