Garbage Disposal Switch on Island: The #1 Code-Compliant Fix
You have designed the perfect kitchen island. It is the centerpiece of your home, a hub of culinary creativity with a sleek, modern sink. Then comes the frustrating question: where do you put the garbage disposal switch? A standard wall switch is not an option, and the thought of an ugly, poorly placed switch cluttering your beautiful design is a nightmare.
This is not just an aesthetic issue; it is a significant safety and electrical code challenge. Running wires improperly to an island can create a dangerous situation and fail inspections. Fortunately, the solution is simpler and more elegant than you might imagine.
You'll Learn About
Why a Standard Wall Switch Is the Wrong Choice for an Island
The core problem with a kitchen island is the lack of adjacent walls. Traditionally, a garbage disposal is controlled by a toggle switch mounted in a backsplash. Without a wall, homeowners are often tempted by unsafe and non-compliant workarounds.
Attempting to mount a standard electrical box on the side of the island cabinet can look out of place and may not meet local electrical code requirements for protection and placement. Running wires under the floor and up into the island requires careful planning and is often not a simple DIY job. These old-school methods compromise the clean lines of your island and introduce unnecessary safety risks.
The Modern Solution: Ditching the Wall Switch Entirely
The safest, most stylish, and code-compliant way to control a garbage disposal on an island is to use a dedicated island-friendly switch. The two best technologies for this are the air switch and the wireless switch. These devices are specifically designed for this exact problem, offering a seamless and safe integration into your island countertop or cabinetry.
They eliminate the need for a high-voltage wire running to a physical switch near your sink, which is a major safety upgrade. If you are new to the basics of wiring these units, understanding the core principles can be helpful. A general guide to installing a garbage disposal switch provides a great foundation for the electrical concepts involved.
The Air Switch: Your Best Bet for Safety and Style
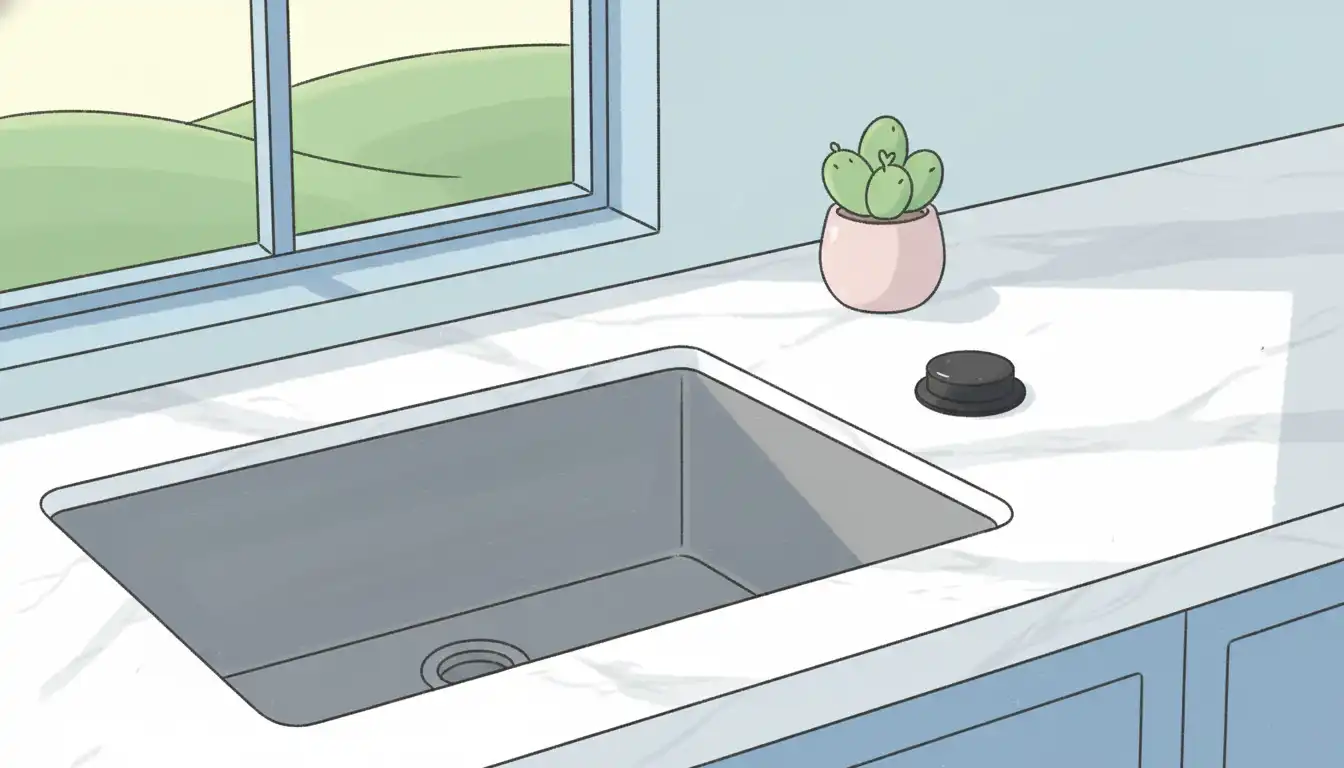
An air switch is the most popular and trusted solution for island installations. It uses air pressure, not electricity, to activate the garbage disposal, making it inherently safe for use with wet hands. The system consists of two parts: a button mounted on your countertop and a power control unit under the sink.
When you press the button, it sends a puff of air through a flexible tube to the power control unit, which then turns the disposal on or off. Because there are no electrical components in the button itself, you get total peace of mind. This separation of electricity from the point of contact is what makes it a superior choice for a wet environment like a kitchen sink.
Step-by-Step: How to Install a Countertop Air Switch
Installing an air switch is a straightforward project that most homeowners can complete in under an hour. It provides a clean, custom look that elevates your kitchen’s functionality.
Tools and Materials Needed:
- Air Switch Kit (button, power control unit, air tubing)
- Drill
- Hole Saw (typically 1 1/4″ or 1 3/8″, check your kit’s instructions)
- Safety Glasses
- Adjustable Wrench
Step 1: Choose the Perfect Location
Select a spot on your countertop for the switch button. It should be easily accessible but not in a place where it could be pressed accidentally. A common location is on the opposite side of the faucet from the soap dispenser. Ensure there is enough clearance underneath the counter for the button’s body.
Step 2: Drill the Mounting Hole
This is the most critical step. Measure twice, drill once. Use the hole saw specified by your air switch manufacturer. If drilling into stone like granite or quartz, use a diamond-tipped hole saw and apply slow, steady pressure with water to keep the bit cool. For wood or laminate countertops, a standard hole saw will work perfectly.
Step 3: Install the Button and Connect the Tube
Feed the air switch button through the newly drilled hole. From underneath the sink, tighten the retaining nut to secure it. Then, firmly push one end of the flexible air tubing onto the nipple at the bottom of the air switch button. It should be a snug fit.
Step 4: Mount and Connect the Power Unit
Find a convenient spot under the sink to mount the power control unit. Plug the unit into the GFCI outlet designated for your garbage disposal. Next, plug the garbage disposal’s power cord directly into the outlet on the power control unit. Finally, connect the other end of the air tube to the port on the control unit.
Step 5: Test Your New Switch
Turn on the water and press the air switch button. Your garbage disposal should roar to life. Press it again to turn it off. Congratulations, you have successfully installed a safe and stylish switch on your kitchen island.
The Wireless Switch: The Ultimate in Flexibility
Another excellent option is a wireless garbage disposal switch. This system works like a remote control. A battery-powered transmitter button sends a radio signal to a receiver module that plugs in between the disposal and the outlet. Its biggest advantage is that it requires no drilling into your countertop.
This makes it a perfect choice for renters or for those who are hesitant to permanently alter their expensive countertops. The switch can be mounted anywhere: on the side of the island cabinet, on the inside of a cabinet door, or even placed in a nearby drawer. The flexibility is unmatched.
Comparing Your Island Switch Options
Both air and wireless switches are fantastic solutions, but they have different strengths. Choosing the right one depends on your priorities for installation, aesthetics, and long-term convenience.
| Feature | Air Switch | Wireless Switch |
|---|---|---|
| Installation | Requires drilling a hole in the countertop. | No drilling required; plug-and-play setup. |
| Aesthetics | Sleek, built-in button available in many finishes. | Button is surface-mounted; can be hidden for a seamless look. |
| Safety | Excellent. No electricity at the point of contact. | Excellent. Remote operation keeps hands away from the outlet. |
| Power Source | Powered by the electrical outlet; no batteries. | Transmitter button requires a battery (e.g., CR2032). |
| Best For | Homeowners wanting a permanent, high-end, integrated look. | Renters or anyone wanting maximum placement flexibility without drilling. |
Troubleshooting Common Island Switch Issues
While these switches are very reliable, you might occasionally run into a snag. Most problems are easy to fix and do not require an electrician.
If your air switch stops working:
- Check the Outlet: Ensure the power control unit is plugged into a working GFCI outlet. Press the “Reset” button on the outlet to be sure.
- Inspect the Air Tube: Make sure the tube is securely connected at both the button and the control unit. A loose connection is the most common cause of failure. Also, check that the tube is not kinked or pinched.
- Test the Disposal: Plug the garbage disposal directly into the wall outlet. If it still does not work, the issue is with the disposal itself. A humming sound could indicate a jam. A stuck flywheel can sometimes be mistaken for a switch problem, and you might need to investigate if a garbage disposal blade broke off, causing the blockage.
If your disposal itself has issues:
Sometimes, the switch works fine, but the disposal unit itself is the source of the problem. If you’re dealing with frequent jams or leaks with a specific model, it might be time to look into model-specific fixes. For example, some users experience recurring problems with the Kenmore 60514 garbage disposal that have known solutions.
Beyond Convenience: The Long-Term Value of an Island Switch
Choosing the right switch for your island is more than just a practical decision; it is an investment in your home’s value and accessibility. A properly installed air switch adds a touch of luxury and custom design that prospective buyers notice. It signals a well-thought-out kitchen that does not cut corners on safety or style.
Furthermore, these switches enhance the kitchen’s accessibility. A wireless switch can be placed at a lower, more convenient height for a family member who uses a wheelchair. An air switch button requires very little force to operate, making it easier for individuals with arthritis or limited hand strength compared to a stiff, traditional toggle switch. This forward-thinking approach to universal design makes your kitchen more comfortable for everyone.
A Final Word on Professional Installation
While installing an air or wireless switch is a manageable DIY project, never hesitate to call a licensed electrician if you are uncomfortable with any part of the process. This is especially true if you need a new electrical outlet installed under your sink. Your safety is always the top priority.
Your Perfect Kitchen Island Is Within Reach
The challenge of placing a garbage disposal switch on a kitchen island has been solved. By choosing an air switch or a wireless switch, you can achieve a safe, code-compliant, and beautifully integrated result. You no longer have to compromise the design of your kitchen’s centerpiece.
With a little planning, you can install a modern switching solution that is not only practical but also enhances the overall value and sophistication of your home. Say goodbye to awkward switch placements and embrace the sleek, safe functionality of a system designed for the modern kitchen island.