Framing a Door at the Bottom of Stairs [Step by Step]
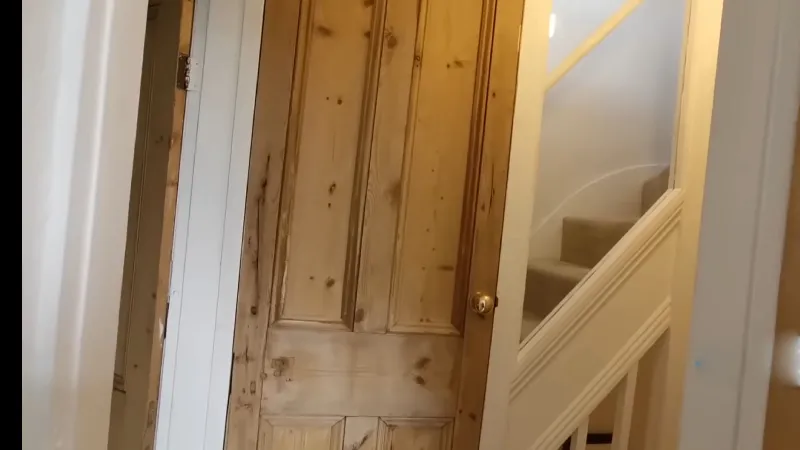
To frame a door at the bottom of a set of stairs, you should build the door frame and threshold 3 feet past the nosing (the edge of the step that sticks out) of the bottom tread. The door frame should be built on the actual floor, not on the last step of the stairs.
It is important to follow local building codes and obtain the necessary permits for any home improvement projects. It is also a good idea to consult with a professional contractor or a building inspector to ensure that the project is safe and up to code.
You'll Learn About
Tools Needed
When framing a door at the bottom of stairs, you will need a variety of tools to complete the project. Some of the tools that you may need include:
- Measuring tape: A measuring tape is essential for accurately measuring the space where the door will be located and for cutting the lumber to size.
- Pencil: A pencil is useful for marking measurements and for making any necessary marks on the lumber.
- Saw: A saw, such as a circular saw or a hand saw, is necessary for cutting the lumber to size.
- Screwdriver: A screwdriver is necessary for attaching the door hinges to the frame and for securing the door to the frame.
- Hammer: A hammer is useful for assembling the frame and for installing any hardware on the door.
- Wood putty: Wood putty is used to fill any nail or screw holes and to smooth the surface of the door and frame.
- Paint or stain: Paint or stain is used to finish the door and frame and to protect the wood from moisture and other environmental factors.
To use these tools, you will need to follow the manufacturer’s instructions and use them safely. This may involve wearing protective gear, such as safety glasses, and following proper safety procedures. By using these tools correctly, you can help ensure that your door framing project is a success.
Planning and Preparation
Measure the Space
It is important to accurately measure the space where the door will be located in order to determine the size of the door and frame. This will ensure that the door fits properly and functions correctly.
Determine the Type of Door
There are several types of doors that can be used at the bottom of a set of stairs, including hinged doors, sliding doors, and pocket doors. Each type of door has its own unique features and benefits, so it is important to consider which type will work best for your specific needs and space constraints.
Gather Necessary Tools
In order to frame a door at the bottom of stairs, you will need a variety of tools and materials. These may include lumber for the frame, door hinges, screws, nails, and a saw. It is important to have all of the necessary tools and materials on hand before beginning the project to ensure that the process goes smoothly.
Obtain Any Necessary Permits
Depending on your location, you may be required to obtain a building permit before framing a door at the bottom of stairs. It is important to check with your local building department to determine what is required and to ensure that your project meets all necessary codes and regulations.
Consult With a Professional
If you are not confident in your ability to properly frame a door at the bottom of stairs, it may be a good idea to consult with a professional contractor or building inspector. They can provide guidance and ensure that the project is completed safely and up to code.
Building the Frame
It is important to follow proper steps and guidelines when building the frame for a door at the bottom of stairs. This will ensure that the door is properly supported and functions correctly.
Cut the Lumber for the Frame to Size
Once you have determined the size of the door and frame, you will need to cut the lumber to the appropriate size. You can use a saw to cut the lumber to the correct dimensions. It is important to measure and mark the lumber carefully to ensure that the cuts are precise.
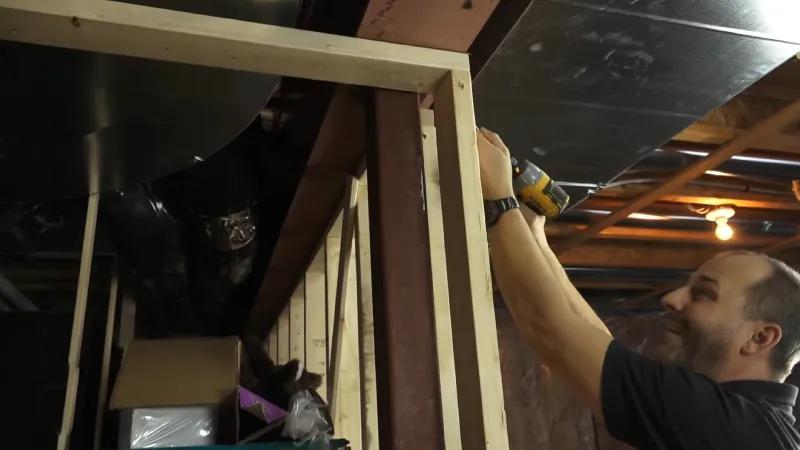
Assemble the Frame
Once the lumber is cut to size, you can begin assembling the frame. You will need to connect the pieces of lumber together using nails or screws. It is important to use enough fasteners to ensure that the frame is strong and stable.
Install the Door Hinges Onto the Frame
Once the frame is assembled, you can attach the door hinges. You will need to attach one hinge to the frame and one to the door. You will want to place the hinges evenly along the side of the door and frame, making sure that they are level. You may need to drill pilot holes for the screws to help ensure that the hinges are installed correctly.
Installing the Door
Installing the door correctly is important to ensure that it functions properly and is safe to use. It is also important to follow all necessary steps and guidelines to ensure that the door is installed correctly and meets all necessary codes and regulations.
Place the Door and Adjust
Once the frame is complete, you can place the door into the frame. You will need to adjust the door as necessary to ensure that it fits properly and swings smoothly. This may involve adjusting the hinges or trimming the door to fit.
Secure the Door to the Frame Using Screws or Nails
Once the door is in place, you will need to secure it to the frame using screws or nails through the hinges. It is important to use enough fasteners to ensure that the door is stable and secure.
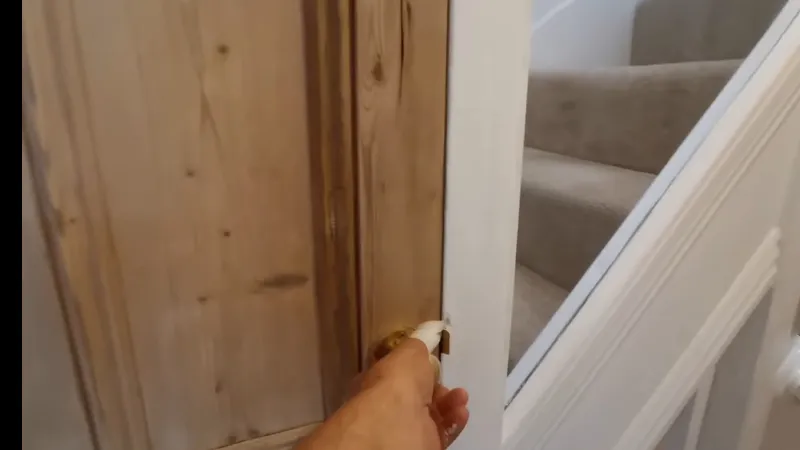
Install Any Necessary Hardware
Finally, you will need to install any necessary hardware on the door, such as handles, locks, or latch mechanisms. It is important to follow the manufacturer’s instructions when installing hardware to ensure that it is installed correctly and functions properly.
Finishing Touches
Finishing touches are important to complete the look of the door and frame and to protect the wood from moisture and other environmental factors. It is important to take the time to properly fill nail or screw holes and apply paint or stain to achieve a professional, finished look.
Fill Any Nail or Screw Holes
Once the door is installed, you will want to fill any nail or screw holes with wood putty and sand the surface smoothly. This will help to create a seamless, finished look and will also help to protect the wood from moisture and other environmental factors.
Paint or Stain the Door and Frame
After the wood putty has dried, you can paint or stain the door and frame to match the surrounding area. You can use a brush or roller to apply the paint or stain, and you may need to apply multiple coats to achieve the desired finish.
It is important to follow the manufacturer’s instructions when applying paint or stain to ensure that it is applied correctly and achieves the desired results.
Which Things You Should Care for When Installing Door Frame?
Here are some additional tips to consider when framing a door at the bottom of stairs:
Consider the Location of the Door
When framing a door at the bottom of stairs, it is important to consider the location of the door in relation to the surrounding area. For example, you may want to consider the location of plumbing or electrical lines, or the proximity of the door to other doors or windows.
Check for Any Potential Obstacles
Before beginning the project, it is a good idea to check for any potential obstacles that may impact the installation of the door. This may include any structural elements, such as beams or support columns, or any other objects that may be in the way.
Use a Level and a Square
To ensure that the door is properly aligned and level, it is important to use a level and a square during the framing process. This will help to ensure that the door swings smoothly and that the frame is straight and square.
Install Weatherstripping
To help seal the door and keep out drafts, it is a good idea to install weatherstripping around the edges of the door. This will help to improve the energy efficiency of your home and make the door more comfortable to use.
Test the Door
After the door is installed, it is important to test it to ensure that it functions properly. This may include opening and closing the door, as well as testing any locks or other hardware.
By following these additional tips, you can help ensure that your door framing project is a success and that the finished door is safe and functional.
Conclusion
In conclusion, framing a door at the bottom of stairs is a relatively straightforward DIY home improvement project that can offer a number of benefits. By following proper steps and guidelines, you can ensure that the door is installed safely and functions correctly.
In addition to increasing privacy and adding storage space, installing a door at the bottom of stairs can also add value to your home and give you a sense of accomplishment. Whether you are an experienced DIYer or a beginner, framing a door at the bottom of stairs is a project that can be completed with the right tools, materials, and guidance.