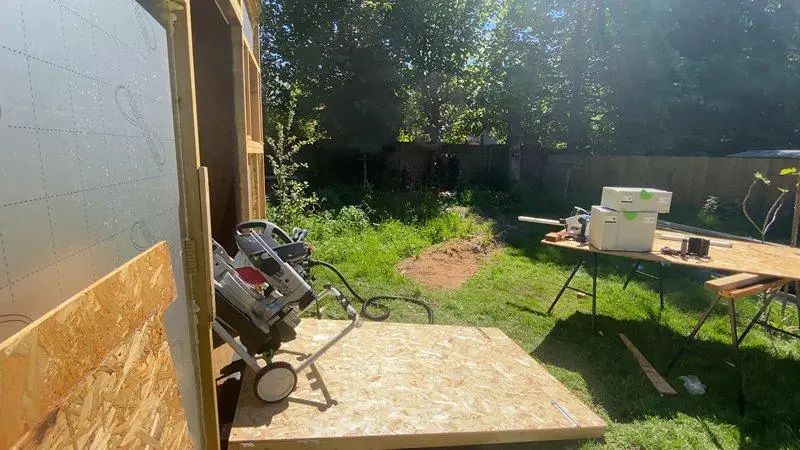
Hinged Shed Ramp [Everything You Need to Know]
An anti-slip tape for ramps is a type of adhesive safety tape that is designed to provide increased traction on sloped or inclined surfaces. This type of tape is commonly used on ramps, stairs, and other areas where falls and slips are a potential hazard.
It is typically made from a durable, non-slip material that can withstand a wide range of weather conditions and resist water and chemicals. Anti-slip tape for ramps is an effective and cost-efficient way to improve the safety of any inclined surface.
You'll Learn About
What is Hinged Shed Ramp and Why It’s Important?
A hinged shed ramp is a type of ramp that is attached to a shed or other building using hinges. This allows the ramp to be easily opened and closed, providing access to the shed when needed.
Hinged shed ramps are important because they provide a safe and convenient way to transport items in and out of a shed. This is especially useful for items that are too large or heavy to be carried by hand, such as lawnmowers or snow blowers.
Hinged shed ramps also make it easier for people with mobility impairments to access the shed. Traditional sheds can be difficult for individuals with disabilities to enter and exit, but a hinged ramp can provide a safer and more accessible alternative.
In addition to providing access to the shed, hinged ramps can also serve as a security measure. When the ramp is closed and locked, it can prevent unauthorized access to the shed and the items stored inside.
Hinged shed ramps are also an important safety feature. Without a ramp, individuals may be tempted to climb onto the shed roof or use unsafe methods to access the shed. A hinged ramp eliminates this risk and provides a safe and stable way to enter and exit the shed.
How Do I Make My Outdoor Ramp Non-Slip?
- Clean the ramp surface thoroughly to remove any dirt, debris, or other substances that may prevent the tape from sticking properly. Use a mixture of warm water and mild detergent, and scrub the surface with a stiff-bristled brush. Rinse the surface with clean water and allow it to dry completely. Don’t use green/blue water.
- Measure the length and width of the ramp to determine how much anti-slip tape you will need. Consider the width and spacing of the tape when making your calculations.
- Cut the anti-slip tape to the appropriate length using a sharp knife or scissors. Make sure the edges of the tape are straight and even.
- Peel the backing off of the tape and carefully apply it to the ramp surface, starting at one end and working your way to the other. Use a ruler or straightedge to ensure that the tape is applied in a straight line and is evenly spaced.
- Use a roller or other tool to press the tape onto the ramp surface, making sure it has securely adhered. Pay particular attention to the edges and corners of the tape, as these areas may be more likely to peel or come loose.
- Repeat the process until the entire ramp surface is covered with anti-slip tape. Make sure the tape is applied smoothly and evenly, with no gaps or overlapping sections.
- Allow the tape to dry and cure according to the manufacturer’s instructions. This may take several hours or up to a day, depending on the type of tape and the conditions.
- Test the ramp to make sure the anti-slip tape is effective. Walk or roll over the surface of the ramp and make sure it provides good traction and does not slip or shift.
- If necessary, make any adjustments to the tape placement or application to improve its performance. Continue testing and adjusting until the ramp is safe and slip-resistant.
- Regularly inspect the anti-slip tape to make sure it is still in good condition and providing adequate traction. Replace the tape if it becomes worn, damaged, or no longer effective.
What is a Good Slope for a Shed Ramp?
The ideal slope for a shed ramp is between 11 and 12 degrees. This means that for every 12 inches of horizontal distance, the ramp should rise by approximately 2 inches.
A slope of 11 to 12 degrees is considered to be safe and easy to use for most people and purposes. It is not too steep, so it is less likely to be slippery or cause accidents.
This slope is also suitable for a wide range of items, including lawnmowers and other large equipment. A steeper slope may be difficult for these items to traverse, particularly if they have a low clearance.
In addition to safety and usability, a slope of 11 to 12 degrees is also easier to construct and maintain. A steeper ramp may require additional support beams or braces, and it may be more prone to damage or wear over time.
While a slope of 11 to 12 degrees is generally considered to be ideal, it may not be suitable for every situation. If the shed is located on uneven ground or the ramp will be used by individuals with mobility impairments, a different slope may be necessary. It is important to carefully consider the specific needs and requirements of the shed and its users when determining the best slope for the ramp.
How Steep is Too Steep for a Ramp?
The maximum slope for a ramp is determined by the Americans with Disabilities Act (ADA), which specifies that a ramp must have a slope of no more than 1:12. This means that for every 12 inches of horizontal distance, the ramp should rise by no more than 1 inch. A slope that is steeper than this may be difficult or dangerous for individuals with disabilities to use, and it may not meet the requirements for accessibility.
In some cases, a slope of 1:12 may still be too steep for certain individuals or purposes. For example, a person using a wheelchair may have difficulty navigating a ramp with this slope, particularly if the wheelchair has a low clearance. In these cases, a gentler slope may be necessary to ensure that the ramp is safe and accessible for all users.
It is important to carefully consider the intended use of the ramp and the needs of its users when determining the appropriate slope. If the ramp will be used by individuals with disabilities or for large items such as lawnmowers, a gentler slope may be necessary to ensure safety and usability.
How Long Should My Shed Ramp Be?
The length of a shed ramp is determined by the height of the shed and the desired slope of the ramp. As a general rule, a shed ramp should be at least eight inches long for every inch of height between the ground and the floor of the shed. For example, if the shed is three feet off the ground (7 inches), the ramp should be at least 84 inches (7 feet) long. That is 1:12.
However, this rule of thumb may not be applicable in all cases. If the ramp will be used by individuals with disabilities, a gentler slope may be necessary. In this case, the ramp may need to be longer to achieve the desired slope while still providing safe and easy access to the shed.
Additionally, the length of the ramp may be affected by other factors, such as the available space and the intended use of the ramp. If the ramp will be used to transport large or heavy items, it may need to be longer to provide a stable and secure platform. It is important to carefully consider these factors when determining the appropriate length for the shed ramp.
Calculating the Length of a Shed Ramp
To determine the length of a shed ramp, you will need to know the height of the shed and the desired slope of the ramp. Once you have this information, you can use the following steps to calculate the length of the ramp:
- Measure the height of the shed from the ground to the floor. This will be the vertical rise of the ramp.
- Determine the desired slope of the ramp. As mentioned above, the maximum slope allowed by the ADA is 1:12. However, you may want to use a gentler slope if the ramp will be used by individuals with disabilities or for large or heavy items.
- Calculate the horizontal distance (run) of the ramp using the desired slope and the vertical rise measured in step 1. For example, if the shed is 7 inches off the ground and the desired slope is 1:12, the horizontal distance of the ramp would be 7 x 12 = 84 inches (7 feet).
- Multiply the horizontal distance by 8 to determine the minimum length of the ramp. As mentioned above, a shed ramp should be at least eight inches long for every inch of height between the ground and the shed floor. Using the example above, a shed that is three feet off the ground would require a minimum ramp length of close to 7 x 12 = 84 inches (7 feet).
- Take into account other factors.
Top 25 Tips for Hinged Shed Ramp
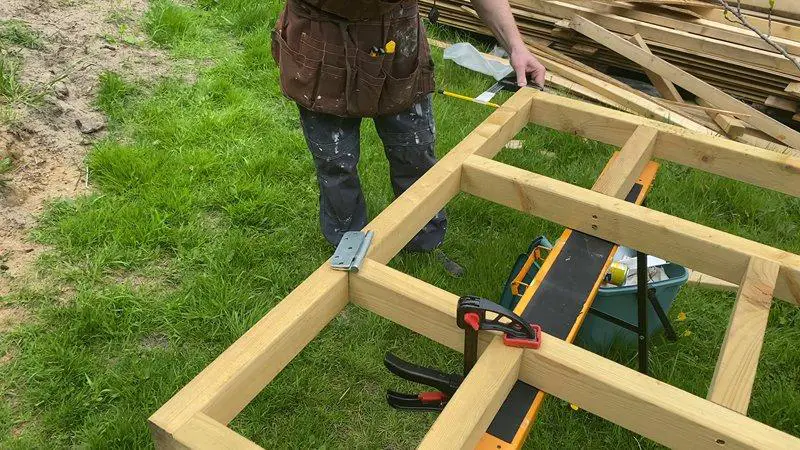
- Plan out your shed ramp design and gather the necessary materials before beginning construction.
- Choose sturdy, durable materials for the ramp platform such as pressure-treated lumber or composite decking.
- Use a level to ensure the ramp is properly aligned and leveled.
- Install the ramp onto the shed using heavy-duty hinges that can support the weight of the ramp and any items placed on it.
- Use screws or bolts to attach the hinges to the ramp and shed, making sure they are securely fastened.
- Consider adding additional support beams or braces underneath the ramp to provide extra stability.
- Install handrails on both sides of the ramp to provide support and safety for users.
- Make sure the ramp has enough slope for easy access but is not so steep that it becomes difficult to use.
- Use non-slip materials on the ramp surface to prevent accidents.
- Keep the ramp clear of debris and snow to ensure it is always safe to use.
- Regularly inspect the ramp for signs of wear or damage, and make repairs as needed.
- Use a padlock or other security measure to prevent unauthorized access to the ramp and shed.
- Install a latch or other locking mechanism to keep the ramp in the closed position when not in use.
- Consider using gas shocks or other mechanical devices to assist with opening and closing the ramp.
- Make sure the ramp is properly anchored to the ground to prevent it from tipping or shifting.
- If the ramp is attached to a wall, make sure it is securely attached and will not damage the wall.
- Consider the location and placement of the ramp to ensure it is easily accessible and does not interfere with other objects or structures in the area.
- Use a level to check the ramp for proper alignment and levelness before and after installation.
- Make sure the ramp is wide enough for the intended use and the items being transported up and down it.
- If the ramp will be used by people with mobility impairments, make sure it meets the necessary requirements for accessibility.
- Follow all local building codes and regulations when constructing the ramp.
- Consider adding lighting to the ramp area for added safety and visibility.
- Make sure the ramp has a sturdy and secure handrail on at least one side.
- Regularly clean and maintain the ramp to ensure it remains in good condition and safe to use.
- Be sure to test the ramp before use to make sure it is safe and stable.
Final Words
An anti-slip tape for ramps is an essential safety measure for any inclined or sloped surface. It provides increased traction and reduces the risk of falls and slips, making the ramp safer and more accessible for all users. This type of tape is easy to apply, durable, and resistant to a wide range of weather conditions.
By using an anti-slip tape for ramps, you can help ensure that your ramp is safe and slip-resistant, protecting yourself and others from potential injuries.