External Thermostat For A Garage Heater [Wiring, Installation, Maintaince]
An external thermostat for a garage heater can provide a number of benefits, including improved convenience and energy efficiency. With an external thermostat, you can easily adjust the temperature of your garage from a more accessible location, rather than having to reach up high to access the internal thermostat.
Additionally, an external thermostat can help you save money on your energy bills by allowing you to set a more precise temperature and turn off the heater when it is not needed. It is important to carefully follow the manufacturer’s wiring instructions when installing an external thermostat to ensure a successful installation and avoid any potential hazards.
You'll Learn About
Factors To Consider When Choosing An External Thermostat
When choosing an external thermostat for your garage heater, there are several factors you should consider:
Compatibility
It is important to make sure that the thermostat you choose is compatible with your specific make and model of a garage heater. Some thermostats may only be compatible with certain types of heaters, so be sure to check the manufacturer’s recommendations before making a purchase.
Features And Functionality
There are a variety of different thermostats available on the market, each with its own unique features and functionality. Some thermostats may be programmable, allowing you to set a schedule for the heater to turn on and off. Others may have a digital display or offer remote control capabilities. Consider which features are most important to you and choose a thermostat that meets your needs.
Price And Value For Money
The price of a thermostat can vary widely, so it is important to consider your budget when making a purchase. However, it is also important to consider the value for money that a particular thermostat offers.
Some thermostats may be more expensive, but they may also offer more advanced features or a higher-quality build. Consider the long-term benefits of investing in a more expensive thermostat and weigh it against your budget.
How To Wire An External Thermostat For A Garage Heater?
Tools and Materials
To wire an external thermostat for a garage heater, you will need the following materials and tools:
- External thermostat (make sure it is compatible with your specific make and model of garage heater)
- Wire stripper/crimper tool
- Screwdriver
- Wire nuts
Step By Step Guide for Wiring
Once you have gathered these materials, you can follow these step-by-step instructions to wire the thermostat:
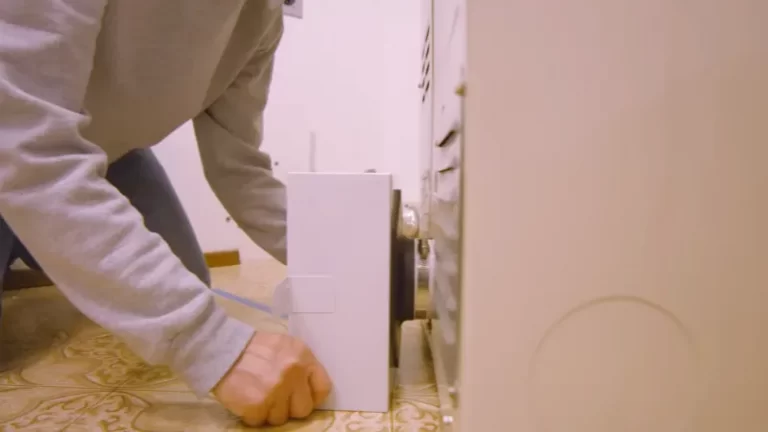
- Turn off the power to the heater. Before you begin the installation process, it is important to make sure that the power to the heater is turned off to avoid any electrical hazards.
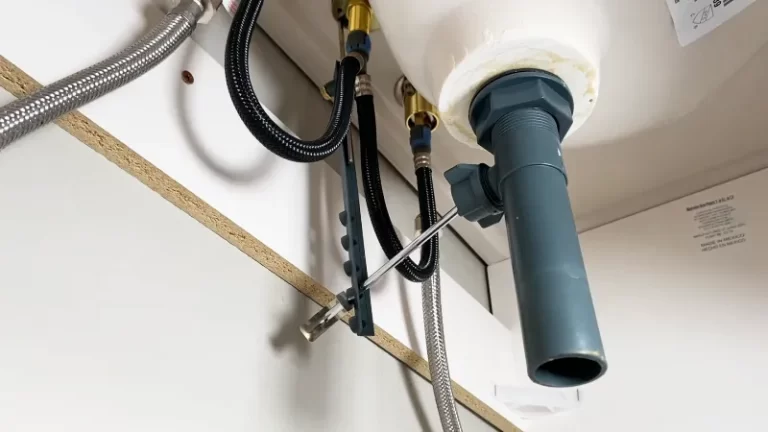
- Identify the line wire and the load wire. The line wire is usually a red wire and is the power supply for the thermostat. The load wire is usually a black wire and controls the power to the heater.
- Strip the ends of the line and load wires. Use a wire stripper/crimper tool to remove about 1/2 inch of insulation from the ends of the line and load wires.
- Connect the line wire to the thermostat. Locate the terminal labeled “line” or “l1” on the thermostat and attach the line wire to it using a wire nut.
- Connect the load wire to the thermostat. Locate the terminal labeled “load” or “l2” on the thermostat and attach the load wire to it using a wire nut.
- Connect the other end of the line wire to the heater. Locate the terminal labeled “l1” on the heater and attach the other end of the line wire to it using a wire nut.
- Connect the other end of the load wire to the heater. Locate the terminal labeled “l2” on the heater and attach the other end of the load wire to it using a wire nut.
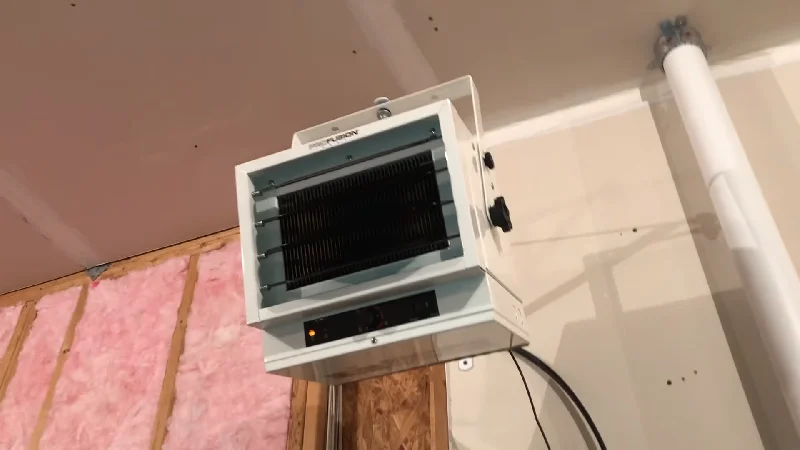
- Secure the thermostat to the wall. Use the screws and screwdriver provided with the thermostat to mount it to the wall in a convenient location.
Check the Things While Working
Here are some tips for ensuring a successful installation:
- Make sure to use a double pole line thermostat, as recommended by the manufacturer, as this type of thermostat is designed to handle the high wattage of the heater.
- Use an appropriately rated thermostat, as some thermostats may not be capable of handling the load of a 5,000W heater.
- Carefully follow the manufacturer’s wiring instructions to ensure that the thermostat is wired correctly.
- Test the thermostat to make sure it is functioning properly before using it to control the heater.
If you are unsure about any aspect of the installation process, it is always a good idea to seek the help of a professional electrician to ensure that the thermostat is installed safely and correctly.
Common Issues And How To Troubleshoot Them
There are a few common issues that can arise when using an external thermostat for a garage heater, and it is important to know how to troubleshoot them. Here are some common issues and how to troubleshoot them:
Incorrect Wiring Or Miswiring
If the thermostat is not functioning properly, it is possible that it was wired incorrectly. Double-check the wiring to make sure that it is correct and that all of the connections are secure. If you are unsure about the wiring, it is a good idea to consult the manufacturer’s instructions or seek the help of a professional electrician.
Thermostat Not Functioning Properly
If the thermostat is not turning the heater on or off at the desired temperature, there could be a problem with the thermostat itself. Check the battery if the thermostat is battery-powered, and make sure that it is properly calibrated. If the problem persists, it may be necessary to replace the thermostat.
Heater Not Turning On Or Off At The Desired Temperature
If the heater is not turning on or off at the desired temperature, there could be a problem with the heater itself. Check to make sure that the heater is receiving power and that there are no obstructions blocking the flow of air. If the problem persists, it may be necessary to call a professional to diagnose and fix the issue.
If you are unable to troubleshoot the issue on your own, it is always a good idea to seek the help of a professional electrician to ensure that the problem is properly addressed.
Tips for Successful Installation
Here are some additional tips to consider when using an external thermostat for a garage heater:
Keep the thermostat away from direct sunlight or other sources of heat: To ensure accurate temperature readings, it is important to keep the thermostat away from direct sunlight or other sources of heat that could affect its performance.
Make Sure The Thermostat Is Located In A Central Location
For optimal performance, it is best to place the thermostat in a central location within the garage. This will allow it to accurately measure the temperature of the entire space and provide even heating.
Choose a thermostat with a backlit display: If you plan on using the thermostat in a garage with low light, it is a good idea to choose a thermostat with a backlit display so that you can easily see and adjust the temperature settings.
Consider The Placement Of The Thermostat
When installing the thermostat, make sure it is placed at a height that is easily accessible and within reach. You should also consider the placement of the heater and ensure that the thermostat is not too far away from it to ensure reliable communication between the two.
Use A Programmable Thermostat To Save Energy
If you plan on using the garage heater regularly, it is a good idea to invest in a programmable thermostat. This will allow you to set a schedule for the heater to turn on and off, which can help you save energy and money on your energy bills.
Regularly check and replace the batteries: If your thermostat is battery-powered, it is important to regularly check and replace the batteries to ensure that it is functioning properly.
Keep The Thermostat Clean
To ensure that the thermostat is functioning correctly, it is important to keep it clean and free of dust and debris. Simply use a dry cloth to wipe down the surface of the thermostat regularly to keep it clean.
Important Note on Wiring
To wire an external thermostat to your garage heater, you will need to follow the wiring diagram provided by the manufacturer.
From the wiring diagram, you will see that you need to connect the line wire (usually red) to the terminal labeled “Line” or “L1” on the thermostat. The load wire (usually black) should be connected to the terminal labeled “Load” or “L2” on the thermostat.
Then, you will need to connect the other end of the line wire to the terminal labeled “L1” on the heater, and the other end of the load wire to the terminal labeled “L2” on the heater.
It’s important to note that you should only use a double pole line thermostat, as recommended by the manufacturer, as this type of thermostat is designed to handle the high wattage of the heater. Also, make sure to use an appropriately rated thermostat, as some thermostats may not be capable of handling the load of a 5,000W heater.
Finally, be sure to turn off the power to the heater and use caution when working with electrical wiring to avoid any potential hazards.
Conclusion
In conclusion, using an external thermostat for a garage heater can provide a number of benefits, including improved convenience and energy efficiency. With an external thermostat, you can easily adjust the temperature of your garage from a more accessible location.
You can save money on your energy bills by setting a more precise temperature and turning off the heater when it is not needed. If you are considering installing an external thermostat for your garage heater, we encourage you to take the time to research and choose a thermostat that meets your needs and budget.
By following the manufacturer’s wiring instructions and properly installing and maintaining the thermostat, you can enjoy the benefits of improved convenience and energy efficiency in your garage.