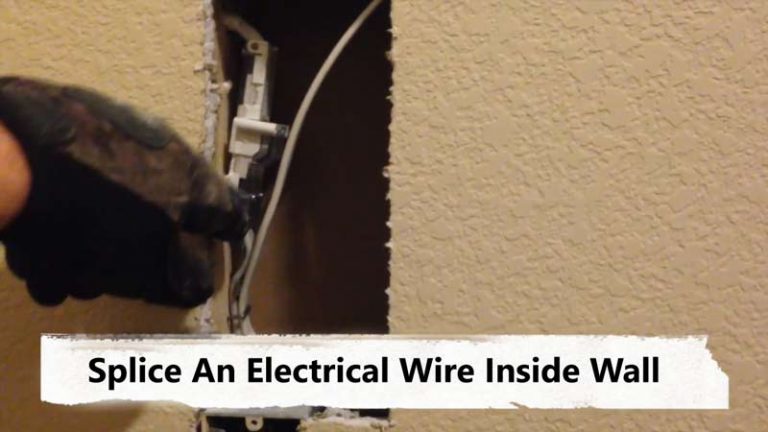
Why Does My Switch Have 3 Black Wires? [What to Do?]
When replacing a light switch, it is not uncommon to encounter a wiring configuration with three black wires. These wires serve different functions in the electrical circuit. It is important to properly identify and connect them to ensure the light switch functions correctly and safely.
In this article, we will provide an overview of the common wiring configurations for light switches. We will explain the function of each wire. We will also provide step-by-step instructions for wiring both single-pole and three-way light switches with three black wires.
It is important to follow proper wiring procedures and safety precautions when working with electrical wires. We encourage you to seek assistance from a licensed electrician if you are unsure of how to proceed.
You'll Learn About
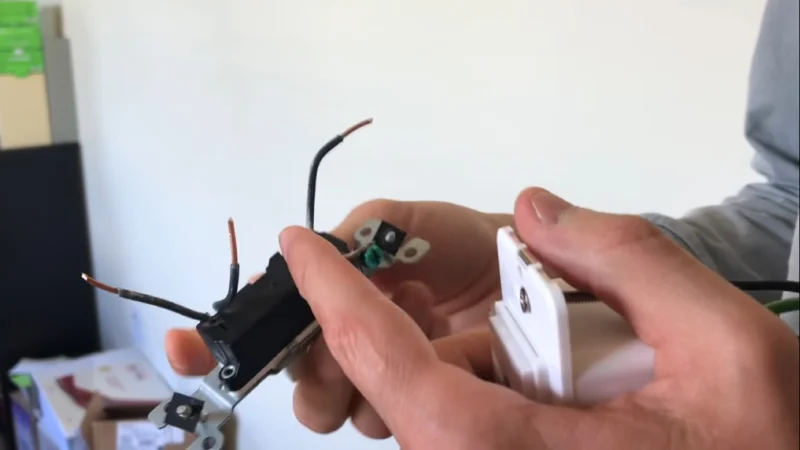
Understanding The Three Black Wires In A Light Switch
In a standard light switch wiring configuration, the black wire is typically the hot wire. It carries power from the source to the light fixture. The white wire is the neutral wire. It carries the power back to the source after it has been used by the light fixture.
The green or bare wire is the ground wire. It provides a path for electrical current to follow in the event of a fault or short circuit.
In a three-way light switch, the three wires are used to create an alternate path for the electrical current to follow. In this case, the black and red wires are the traveler wires. They are connected to screw terminals on the switch.
The green wire is still used as the ground wire. By using two three-way switches, you can control a light from two different locations. For example, you might have a light switch at the top and bottom of a staircase. This allows you to turn the light on or off from either location.
It is important to properly identify and connect each of the three wires. This ensures the light switch functions correctly and safely. In the following sections, we will provide step-by-step instructions for wiring both single-pole and three-way light switches with three black wires.
What Is A Three-Wire Light Switch?
A three-wire light switch is a type of switch used in a three-way circuit. It allows you to control a light from two different locations. These circuits are commonly used in homes with multiple entrances or multiple floors. They allow you to turn a light on or off from more than one location.
In a three-wire light switch, there are three wires present: a power feed, a switch leg, and a feed for other loads. The power feed is the black wire that carries power to the switch. The switch leg is the black wire that carries power from the switch to the light fixture.
The feed for other loads is a black wire that carries power to other electrical loads. These include outlets or other light fixtures. It’s important to understand the purpose of each wire to correctly wire the light switch.
How To Wire A Three-Wire Light Switch
To wire a three-wire light switch, it’s important to first turn off the power to the circuit you’ll be working on. This is essential for your safety and to prevent any damage to the electrical system.
Once the power is off, you’ll need to determine which black wire is the power feed, switch leg, and feed for other loads. To do this, you can follow these steps:
- Connect the power feed (the black wire that is carrying power) to one of the screws on the switch.
- Turn the power back on and turn the switch on.
- Connect one of the other two black wires to the other screw on the switch.
- If the light turns on, then the connected black wire is the switch leg. The unconnected wire is the feed for other loads. If the light doesn’t turn on, then it’s the other way around. The connected wire feeds the other loads. The disconnected wire is the light feed.
Once you’ve determined which wire is which, you can mark them and turn the power off again. Then, you can connect the wires to the new switch as follows:
- Connect the power feed (the black wire that carries power to the switch) to one of the screws on the new switch.
- Splice the hot wire, the feed for the other loads, and a short black pigtail together. Trim and cap the splice.
- Connect the pigtail to the other screw on the new switch.
It’s important to follow these instructions carefully. This ensures that the light switch is wired correctly and safely. If you are unsure about any aspect of the wiring process, it’s best to hire a licensed electrician to handle the job.
How to Determine the Hot Wire?
It is extremely important to turn off the power before working on electrical wires. This will help to prevent accidents and injuries while you are handling live wires. To turn off the power, locate the breaker box in your home. Switch off the breaker that controls the circuit you will be working on. It is also a good idea to double-check that the power is off. Use a voltage tester to ensure that there is no electricity flowing through the wires.
Once the power is off, you can start the process of replacing the light switch. The first step is to determine which of the black wires is the hot wire. The hot wire is the one that is connected to the power source. It carries the electrical current. You can use a voltage tester to identify the hot wire. Simply touch the tester to each of the black wires and see which one registers as live.
It is important to properly identify the hot wire. You will need to connect it to the switch for the switch to function properly. If you accidentally connect the hot wire to one of the traveler wires, the switch will not work as intended. It could potentially cause a safety hazard.
Once you have identified the hot wire, you can proceed to the next step of replacing the light switch. Remember to use caution and follow all safety precautions when working with electrical wires. If you are unsure about how to safely handle the wires, it is always best to seek the help of a licensed electrician.
How to Connect the Hot Wire to the Switch?
Once you have determined which of the black wires is the hot wire, you can proceed to connect it to the switch. It is important to use a wire stripper to remove a small portion of the insulation from the wire before making the connection. This will help to ensure that the wire is properly secured to the switch.
To connect the hot wire to the switch, you can use wire nuts to splice the wire to a short pigtail wire. The pigtail can then be connected to one of the screws on the switch. Make sure to use the correct size wire nuts for the wires you are splicing together. It is also a good idea to wrap the splice with electrical tape. This provides an extra layer of insulation and protection.
Once the hot wire is properly connected to the switch, you can proceed to the next step of replacing the light switch. Remember to use caution and follow all safety precautions when working with electrical wires. If you are unsure about how to safely handle the wires, it is always best to seek the help of a licensed electrician.
How to Connect the Traveler Wires to the Switch?
In a three-way switch setup, the traveler wires are used to connect the two switches that control the same light or group of lights. These wires are called “travelers” because they “travel” between the two switches. When one switch is turned on, it sends a signal to the other switch to turn on or off the light.
To connect the traveler wires to the switch, you can use wire nuts to splice them together with a short pigtail wire. The pigtail can then be connected to the other screw on the switch. Make sure to use the correct size wire nuts for the wires you are splicing together. It is also a good idea to wrap the splice with electrical tape. This provides an extra layer of insulation and protection.
Once the traveler wires are properly connected to the switch, you can proceed to the next step of replacing the light switch. Remember to cap any unused wires to prevent them from touching any live wires or conducting electricity. This will help to ensure the safety of your electrical system.
If you are unsure about how to safely connect the traveler wires to the switch, it is always best to seek the help of a licensed electrician. Remember to use caution and follow all safety precautions when working with electrical wires.
How to Test the Switch?
Once you have connected all of the wires to the switch, you can turn the power back on and test the switch to see if it is functioning properly. To safely turn the power back on, locate the breaker box in your home. Switch on the breaker that controls the circuit you were working on.
Once the power is back on, you can test the switch by flipping it on and off. See if the light or lights turn on and off as expected. If the switch is functioning properly, then you have successfully replaced the light switch with three black wires.
If the switch is not working as expected, there may be an issue with the wiring or the switch itself. In this case, it is best to turn the power off again. Double-check your work to see if there are any errors or loose connections. If you are unsure about how to troubleshoot the issue, it is always best to seek the help of a licensed electrician.
Remember to use caution and follow all safety precautions when working with electrical wires. Never touch live wires or attempt to repair electrical systems if you are not properly trained and equipped to do so.
Wiring A Single-Pole Light Switch With Three Black Wires
Wiring a single-pole light switch with three black wires involves properly identifying and connecting each of the three wires.
Step By Step Guide
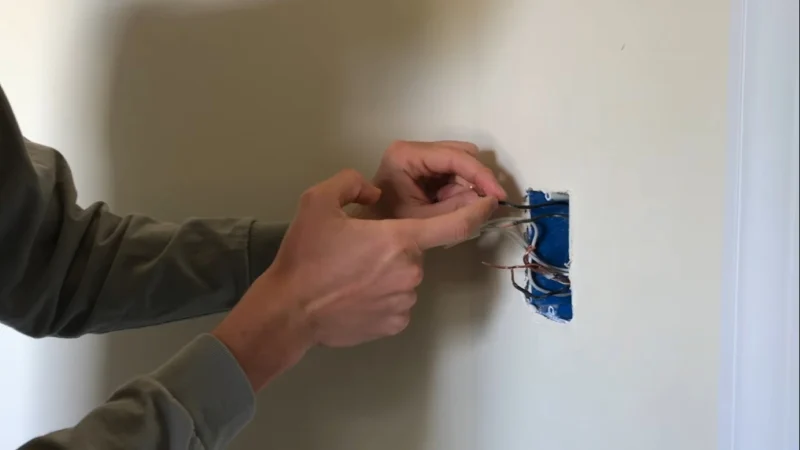
- Turn off the power to the circuit by switching off the circuit breaker or removing the fuse. Use a voltage tester to confirm that the circuit is off before proceeding.
- Remove the old light switch and take note of the wire connections. It is helpful to mark the wires with tape or labels. This ensures that you know which wire goes where when you are ready to install the new switch.
- Identify the hot wire. This is typically the black wire, but it is important to verify this by testing the wires with a voltage tester. The hot wire carries power from the source to the light fixture.
- Connect the hot wire to the switch. Most light switches have a terminal marked “hot” or “line.” This is where the hot wire should be connected.
- Identify the light feed wire. This is typically one of the remaining two black wires. To determine which one is the light feed, turn the power back on and flip the switch. If the light turns on, then the wire you connected to the switch is the light feed. If the light does not turn on, then the other black wire is the light feed.
- Connect the light feed wire to the switch. Most light switches have a terminal marked “load” or “light.” This is where the light feed wire should be connected.
- Identify the feed for other loads. This is typically the remaining black wire.
- Splice the feed for other loads with a short pigtail wire. To do this, strip the ends of the black wire and the pigtail wire and twist them together. Secure the connection with a wire nut.
- Connect the pigtail wire to the switch. Most light switches have a terminal marked “load” or “light.” This is where the pigtail wire should be connected.
- Properly secure all wire connections and test the switch to ensure it is functioning properly.
Tips for Successful Installation
- Be sure to properly mark the wires before you disconnect them. This ensures that you know which wire goes where when you are ready to install the new switch.
- Do not use backstabs, even if the new switch has them. Instead, use the screws on the side of the switch to secure the wires.
- Follow proper wire splicing procedures. This ensures that the spliced connection is secure and safe.
- Test the switch to ensure it is functioning properly before restoring power to the circuit.
Wiring A Three-Way Light Switch With Three Black Wires
Wiring a three-way light switch with three black wires involves properly identifying and connecting each of the three wires.
Step By Step Guide
- Turn off the power to the circuit by switching off the circuit breaker or removing the fuse. Use a voltage tester to confirm that the circuit is off before proceeding.
- Remove the old light switch and take note of the wire connections. It is helpful to mark the wires with tape or labels. This ensures that you know which wire goes where when you are ready to install the new switch.
- Identify the hot wire. This is typically the black wire, but it is important to verify this by testing the wires with a voltage tester. The hot wire carries power from the source to the light fixture.
- Connect the hot wire to the switch. Most three-way switches have a terminal marked “hot” or “line.” This is where the hot wire should be connected.
- Identify the traveler wires. These are typically the remaining two black wires. To determine which wire is which, turn the power back on and flip the switch. If the light turns on, then the wire you connected to the switch is one of the traveler wires. The other black wire is the other traveler wire. If the light does not turn on, then the other black wire is one of the traveler wires. The wire you connected to the switch is the other traveler wire.
- Connect the traveler wires to the switch. Most three-way switches have two screw terminals marked “traveler.” This is where the traveler wires should be connected.
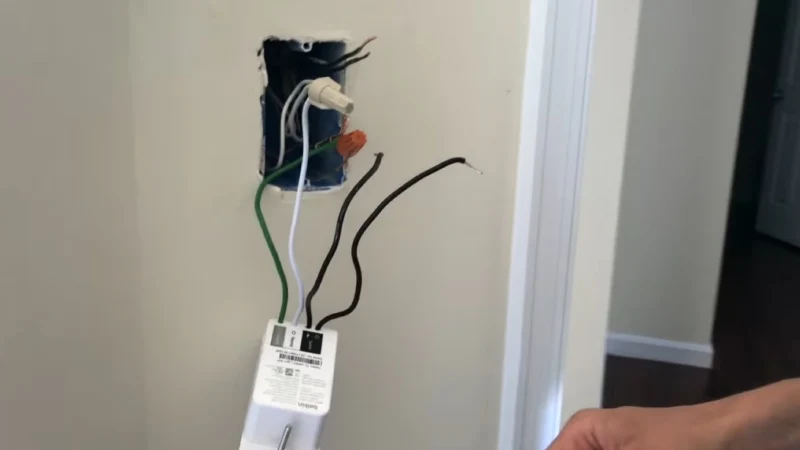
- Identify the ground wire. This is typically the green or bare wire.
- Connect the ground wire to the switch or the electrical box. Most three-way switches have a terminal marked “ground.” This is where the ground wire should be connected. If the switch does not have a ground terminal, then the ground wire should be connected to the electrical box.
- Properly secure all wire connections and test the switch to ensure it is functioning properly.
Tips for Successful Installation
- Be sure to properly mark the wires before you disconnect them. This ensures that you know which wire goes where when you are ready to install the new switch.
- Do not use backstabs, even if the new switch has them. Instead, use the screws on the side of the switch to secure the wires.
- Follow proper wire splicing procedures. This ensures that the spliced connection is secure and safe.
- Test the switch to ensure it is functioning properly before restoring power to the circuit.
Single Pole Light Switch vs Three Way Light Switch
Wires in Three-Way Light Switch
It’s common for a light switch to have three wires. These are typically black, white, and green or bare. The black wire is usually the hot wire. It carries power from the source to the light fixture. The white wire is the neutral wire. It carries the power back to the source after it has been used by the light fixture.
The green or bare wire is the ground wire. It provides a path for electrical current to follow in the event of a fault or short circuit.
Wires in Single Pole Light Switch
In a standard single-pole light switch, the black wire is connected to the switch. The white wire is connected to the neutral terminal on the light fixture. The green or bare wire is typically connected to the ground terminal on the light fixture or to the electrical box itself.
Alternate Path
In a three-way light switch, the three wires are used to create an alternate path for the electrical current to follow. In this case, the black and red wires are the traveler wires. They are connected to screw terminals on the switch. The green wire is still used as the ground wire.
By using two three-way switches, you can control a light from two different locations. Correct wire size is very important.
It’s important to follow proper wiring procedures and to use caution when working with electrical wires. If you are unsure of how to properly wire a light switch, it is recommended that you consult a licensed electrician for assistance.
Things You Should Maintain While Wiring
Here are a few additional tips for wiring a light switch with three black wires:
- Make sure to turn off the power to the circuit before starting any wiring work. This is an important safety precaution. It will prevent you from being electrocuted while working with electrical wires.
- Use a voltage tester to confirm that the power is off before touching any wires. This will help ensure that you do not accidentally come into contact with live electrical current.
- Label the wires before you disconnect them. This will help you keep track of which wire goes where when you are ready to install the new switch.
- Use wire strippers to remove a small portion of the insulation from the ends of the wires. This will make it easier to secure the wire connections. It will also help ensure that the wires are making good contact with the switch terminals.
- Use wire nuts to secure wire connections. Wire nuts are inexpensive, easy to use, and provide a secure connection. They are resistant to vibration and movement.
- Use electrical tape to wrap wire connections. This will help prevent the wires from coming loose. It will also provide additional insulation for added safety.
- Test the switch before restoring power to the circuit. This will help ensure that the switch is functioning properly. It will also ensure that all the wire connections are secure.
- If you are unsure of how to properly wire a light switch, it is recommended that you seek assistance from a licensed electrician. This will help ensure that the wiring is done safely and correctly. It will also provide peace of mind knowing that the work has been completed by a professional.
Conclusion
It is not uncommon to encounter a wiring configuration with three black wires when replacing a light switch. These wires serve different functions in the electrical circuit. It is important to properly identify and connect them to ensure the light switch functions correctly and safely.
The black wire is typically the hot wire. The white wire is the neutral wire. The green or bare wire is the ground wire. In a three-way light switch, the black and red wires are the traveler wires. The green wire is still the ground wire.
By following proper wiring procedures and seeking assistance from a licensed electrician if needed, you can safely and effectively wire a light switch with three black wires. It is important to follow proper wiring procedures and safety precautions when working with electrical wires. We encourage you to seek assistance from a licensed electrician if you are unsure of how to proceed.