That Mystery Pipe in Your Floor: The Ultimate Guide to Electrical Stub Outs
You’ve seen it during a home renovation or new construction: a lone pipe sticking out of the concrete floor or an unfinished wall. It looks out of place, almost like a forgotten piece of the project. This isn’t an accident or a mistake; it’s a critical piece of planning known as an electrical stub out.
Understanding the purpose and proper execution of a stub out can mean the difference between a future-proofed, flexible space and a costly, destructive renovation down the line. Getting it right from the start is paramount.
You'll Learn About
What Exactly Is an Electrical Stub Out?
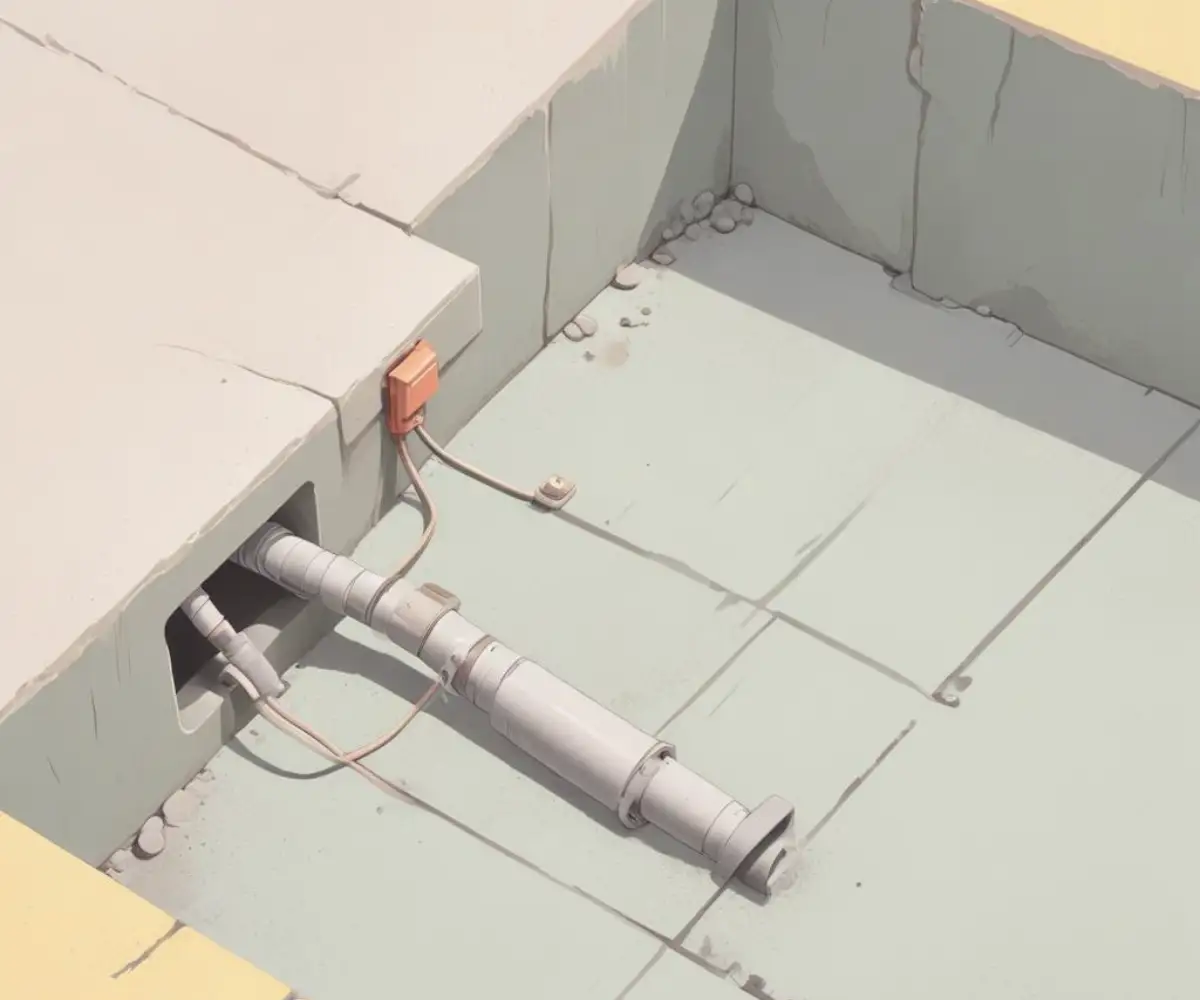
An electrical stub out is a section of conduit—a protective tube for wiring—that is intentionally left exposed during the initial phases of construction. It serves as a designated pathway to run electrical wires to a specific location at a later time. Think of it as a pre-installed tunnel, waiting to bring power to a future kitchen island, outdoor shed, or workshop.
This process, known as “roughing-in,” is all about foresight. By installing these conduits before pouring a concrete slab or putting up drywall, you create a seamless and protected channel for future electrical work. The alternative often involves cutting into finished floors or walls, a messy, expensive, and disruptive process.
Stub Out vs. Stub Up: A Quick Clarification
You might also hear the term “stub up,” which is often used interchangeably with stub out. Generally, a stub up specifically refers to a conduit that comes vertically up through a floor, typically a concrete slab. A stub out is a more general term that can refer to a conduit emerging from a floor, wall, or even a ceiling, ready for a future connection.
The Strategic Importance of a Stub Out: Why You Must Plan Ahead
The primary reason for planning electrical stub outs is future-proofing your property. It’s about anticipating needs you might have months or even years down the road. Proper planning saves an immense amount of time, money, and frustration.
Common applications for electrical stub outs include providing power to kitchen islands, detached garages, workshops, landscape lighting, or even future hot tubs. Without a stub out, powering these features would require disruptive and costly trenching or surface-mounted conduits. Planning ahead avoids the headache of tasks like figuring out how to remove a single paving slab just to run a new electrical line.
Planning Your Electrical Stub Out: A Blueprint for Success
Successful implementation of an electrical stub out hinges entirely on meticulous planning. The decisions made before the concrete is poured or the drywall is installed are permanent. Here’s how to approach it correctly.
Location, Location, Location: Pinpointing the Perfect Spot
Accuracy is everything. For a kitchen island, for example, the stub out must be positioned precisely where it will emerge inside a cabinet, not in an open walkway. This requires careful measurement based on the final floor plans and cabinet layout.
Work closely with your building plans and measure multiple times. For outdoor projects like a shed, determine the exact location of the structure and where the electrical panel will be inside it. A misplaced stub out can be an expensive and difficult problem to fix after the fact.
Choosing the Right Materials: Conduit and Conductor Considerations
The type of conduit you use is critical for ensuring the longevity and safety of your future electrical system. The two main categories are metal and non-metallic (PVC). The environment and local codes will dictate the best choice.
PVC is often preferred for underground or in-slab installations due to its resistance to corrosion and moisture. Metal conduits like EMT or Rigid Metal Conduit (RMC) offer superior physical protection, which is ideal in workshops or garages where it might be exposed to impact. Sizing is also crucial; use a conduit diameter that is large enough to accommodate the number and gauge of wires you anticipate needing.
The Installation Process: From the Ground Up
For installations in a concrete slab, the process must be carefully managed. The conduit must be securely fastened to the rebar or wire mesh before the pour to prevent it from shifting. It’s essential to keep the end of the stub out elevated so it will protrude from the finished floor at the correct height.
Crucially, the open end of the conduit must be sealed with tape or a cap before the concrete is poured. This prevents debris, slurry, and moisture from entering and blocking the pathway. Forgetting this step can render the entire conduit run useless.
| Conduit Type | Common Use Cases | Pros | Cons |
|---|---|---|---|
| PVC (Schedule 40/80) | Underground, in concrete slabs, wet locations | Corrosion-resistant, lightweight, inexpensive | Requires protection from physical damage |
| EMT (Electrical Metallic Tubing) | Exposed indoor runs (walls, ceilings) | Easy to bend, provides good protection | Not for wet locations or direct burial |
| RMC (Rigid Metal Conduit) | Outdoor, exposed to damage, service entrances | Heavy-duty physical protection, can be buried | Heavy, more difficult to work with, expensive |
| FMC (Flexible Metal Conduit) | Final connections to equipment (motors, lights) | Highly flexible for tight spaces | Offers less physical protection |
Common Electrical Stub Out Mistakes and How to Avoid Them
Even with careful planning, mistakes can happen. Being aware of the common pitfalls is the first step toward avoiding them. These errors can range from minor annoyances to major problems requiring significant rework.
The Peril of Incorrect Placement
A stub out that is off by even a few inches can completely disrupt your plans. An island stub out in a walkway is unusable, and one too far from the intended wall can create an awkward and difficult connection. Double-check all measurements against the final blueprints before securing the conduit in place.
In some rare cases, a slightly misplaced stub out in a wood-frame floor can be adjusted, but in a concrete slab, your options are extremely limited and often involve cutting the concrete.
Sizing It Wrong: The Conduit Constriction Problem
One of the most frequent errors is underestimating the future electrical needs and installing a conduit that is too small. It’s far better to have a slightly oversized conduit than one that’s too small to pull the necessary wires through. A larger conduit also makes the wire-pulling process much easier.
Consider not just the initial plan but also potential future upgrades. Adding a dedicated circuit for a powerful tool in a workshop or a secondary appliance in a kitchen island is much easier if the conduit has ample space.
Forgetting to Protect Your Stub Out
During the chaos of a construction site, an unprotected stub out is a magnet for trouble. It can be bent or broken by heavy equipment, or worse, filled with dirt, water, and construction debris. Always cap or securely tape the end of the conduit immediately after installation.
A compromised conduit can sometimes be cleaned out, but often the damage is irreversible. Any opening into your foundation or home should be properly sealed to prevent unwanted entry, not just of debris but also pests. This is similar in principle to why homeowners learn how to keep bugs out of sump pump systems—any entry point must be secured.
Bringing Your Stub Out to Life: The Finishing Touches
Once construction is complete and you’re ready to install your fixture or outlet, the stub out fulfills its purpose. The final connection phase transforms the dormant conduit into a live electrical circuit. This is where the real value of that initial planning becomes clear.
From Stub to Outlet: The Final Connection
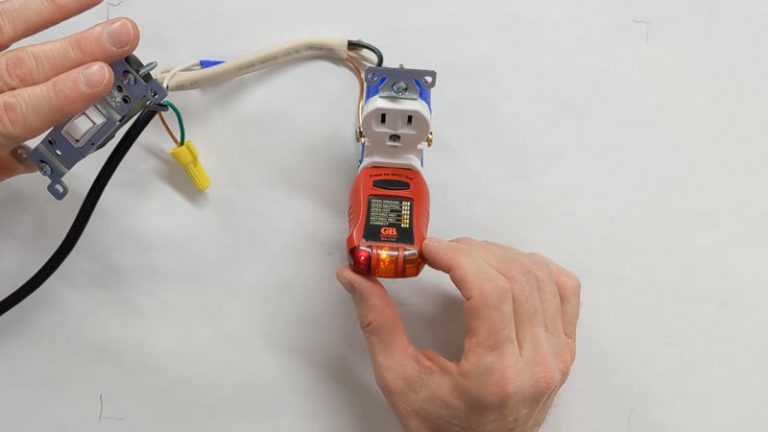
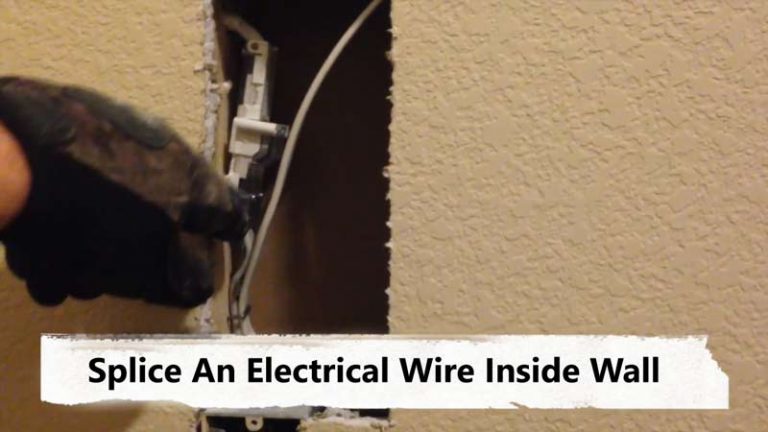
The first step is to run the electrical wires from the main panel through the conduit to the stub out location. This is done using a tool called a fish tape. Once the wires are pulled, they are connected to an electrical box, which is mounted securely at the stub out point.
From there, the receptacle, switch, or light fixture is installed and connected to the wires in the box. This process is very similar to replacing an existing fixture; in fact, understanding how to remove old metal outlet box fixtures can provide context for how new ones are installed and secured.
What If Plans Change? Dealing with an Unused Stub Out
Sometimes, plans change, and a stub out is no longer needed. If this happens, it’s important to address it safely. The best practice is to cut the conduit flush with the floor or wall surface.
After cutting, the opening should be permanently sealed with an appropriate cap and sealant to prevent moisture or pests from entering. The unused conduit simply remains dormant within the slab or wall, causing no harm and remaining available in case plans change again in the future.
Future-Proofing Your Space Is Non-Negotiable
An electrical stub out is more than just a piece of pipe; it’s a testament to smart planning and foresight. By anticipating future needs and investing a small amount of time and material during the rough-in phase, you create endless possibilities for your space.
It allows you to adapt your home or workshop as your needs evolve, without resorting to costly and invasive measures. Whether it’s for that dream kitchen island or a powerful new tool in your garage, a well-planned electrical stub out ensures your property is ready for whatever comes next.