Drywall with Metal Backing: Stop Fearing Your Walls & Hang Anything
You found the perfect spot for that new flat-screen TV. You pull out your stud finder, glide it across the wall, and it beeps. But when you drill a pilot hole, you’re met with the unsatisfying screech of metal instead of the familiar bite of wood. This is a common frustration for many in modern condos, commercial buildings, and even some newer homes.
The discovery of drywall with metal backing or studs can bring a renovation project to a grinding halt. Standard wood screws are useless, and the fear of creating a weak mounting point that could send your expensive electronics crashing to the floor is very real. This guide will transform that uncertainty into confidence, showing you exactly how to conquer metal-framed walls and securely hang anything you desire.
You'll Learn About
What Lies Beneath: Understanding Metal-Backed Walls
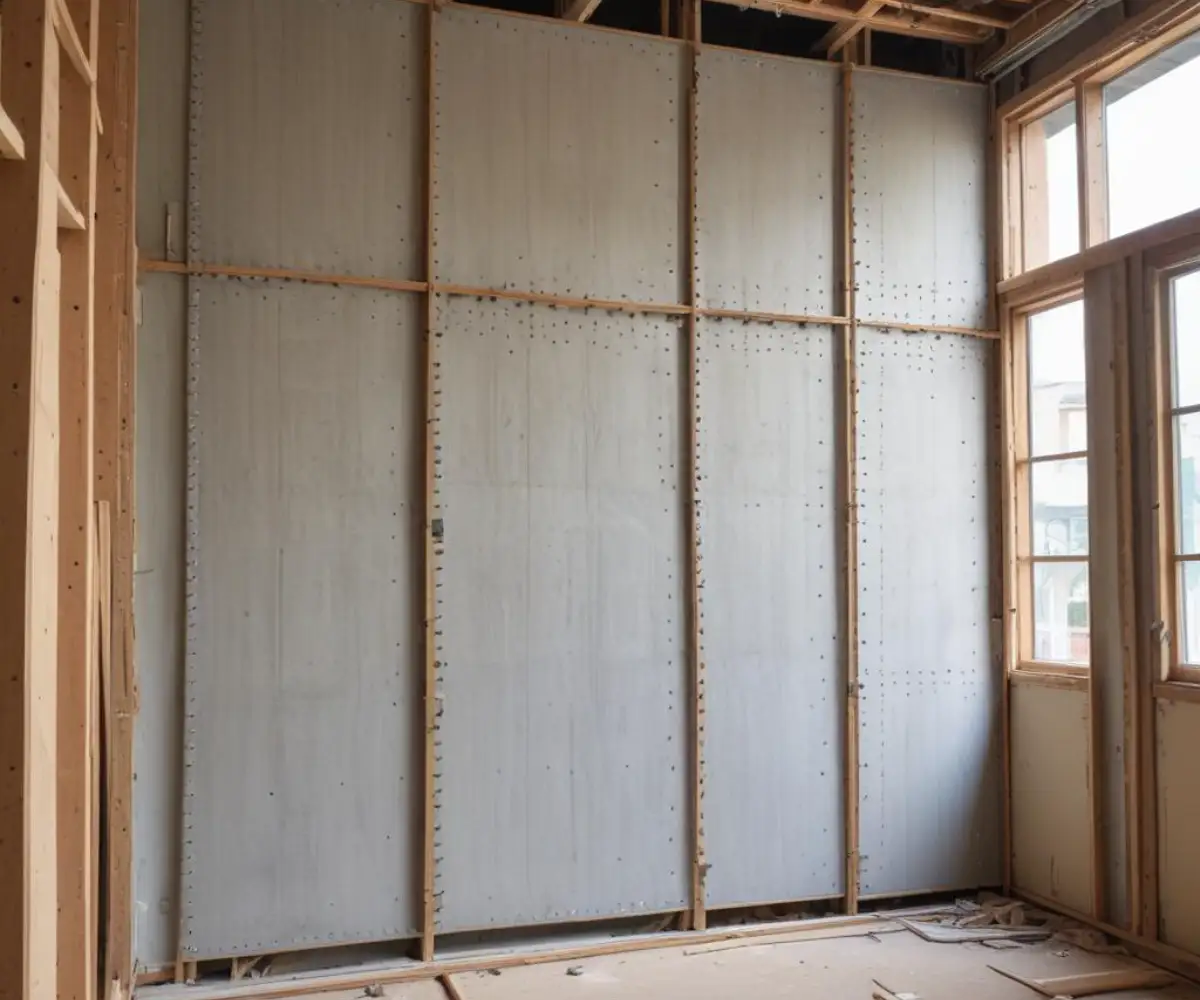
For decades, wood framing was the standard for residential construction. However, metal stud framing has become increasingly popular, especially in commercial and multi-family construction, for several key reasons. Metal studs are lighter than wood, perfectly straight, and resistant to fire, termites, and rot.
These lightweight steel studs are incredibly strong when part of a completed wall system, but individually, the thin metal can be easy to damage or strip with the wrong fasteners. The challenge isn’t that the wall is weak; the challenge is using the right technique to leverage its strength. In many cases, builders will even install horizontal metal or wood backing between studs specifically to provide a solid mounting surface for future installations like cabinets and handrails.
The Problem: Why Traditional Methods Fail
The core issue is simple: fasteners designed for wood don’t work on metal studs. Wood screws are designed to bite into wood fibers, creating a secure hold. When driven into a hollow, thin metal stud, they either fail to penetrate or strip the metal, leaving a hole with no gripping power.
This leaves you with two unappealing options: relying solely on drywall anchors, which may not be strong enough for heavy items, or drilling through the metal stud, a task that requires specific tools and fasteners. Understanding what is behind your walls is critical; sometimes you may encounter more than just studs, which is why knowing how to handle things like ductwork is also essential for larger projects.
Your Toolkit for Success: Gearing Up for Metal Studs
Before you begin, gathering the right tools is crucial for a safe and successful installation. Attempting to work with metal studs using woodworking tools will only lead to frustration and potential damage. Here’s what you’ll need.
First, a high-quality magnetic or electronic stud finder that can specifically detect metal is non-negotiable. You must be able to accurately locate the studs. Next, you will need a good drill and a set of drill bits designed for metal, often labeled as HSS (high-speed steel) bits. Finally, the most important component is the correct type of fastener, which we will explore in detail.
Finding the Center: Precision is Key
Once you have your tools, the first step is to precisely locate the studs. Run your stud finder horizontally across the wall and mark the edges of each stud with a pencil. Most light-gauge metal studs are only about 1.25 inches wide, so finding the exact center is critical for a secure mount.
Use a small drill bit to drill a pilot hole to confirm you’ve hit metal. This will save you from making a large, unnecessary hole in your drywall. Once you’ve confirmed the location, you are ready to choose your anchoring method based on the weight of the object you plan to hang.
Choosing Your Weapon: Anchors and Fasteners for Metal Studs
The secret to mounting heavy objects on metal stud walls lies in choosing the right anchor. Your choice will depend entirely on the weight and size of the item you’re hanging. What works for a picture frame will not work for kitchen cabinets.
For very light items under 10 pounds, like small pictures or decorations, a simple self-drilling drywall anchor in the drywall itself is often sufficient. However, for anything substantial, you must anchor directly into the metal stud. The following table breaks down the best options for various load requirements.
| Anchor Type | Typical Weight Limit (per anchor) | Best Use Cases | Installation Notes |
|---|---|---|---|
| Self-Tapping Metal Screws | 10 – 25 lbs | Light shelving, smoke detectors, smaller mirrors. | Requires a pre-drilled pilot hole. Easy to overtighten and strip the stud. |
| Drill-In Toggle Bolts | 50 – 100+ lbs | TV mounts, medium cabinets, curtain rods, grab bars. | Requires a larger hole to insert the toggle. Provides excellent holding power. |
| Snap-Toggle (Toggler) Bolts | 100 – 300+ lbs | Heavy cabinets, large televisions, shelving units, handrails. | A modern, easier-to-use version of the toggle bolt. Spreads the load against the back of the metal stud. |
| Plywood or Metal Backing | Extremely High | Full kitchen cabinet runs, heavy-duty commercial fixtures. | This is installed behind the drywall during construction for maximum support. |
The Gold Standard: Toggle Bolts
For most heavy-duty applications, from TV mounts to shelving, toggle bolts are the most reliable solution. A toggle bolt has a spring-loaded wing mechanism that you insert through a hole in the drywall and the metal stud. Once inside the hollow stud, the wings expand, creating a large contact area that distributes the weight load securely.
To use a toggle bolt, you’ll drill a hole large enough for the folded toggle to pass through. After inserting it, you pull back on the bolt to ensure the wings have opened before tightening it down. This method provides immense holding power and is the go-to choice for professionals mounting heavy items on metal stud walls.
Step-by-Step Guide: How to Mount a Heavy TV on a Metal Stud Wall
Let’s walk through the most common and nerve-wracking scenario: mounting a large, expensive television. This process uses toggle bolts for a secure, worry-free installation.
Step 1: Locate and Mark Your Studs. Using your stud finder, locate at least two metal studs where you plan to hang the TV. Use a level to mark a straight line for your mounting bracket and indicate the center of each stud you will use.
Step 2: Prepare the Mounting Bracket and Drill Pilot Holes
Hold the TV mounting bracket against the wall on your level line. Mark the desired mounting holes that align with the center of your metal studs. Using a small metal drill bit, drill a pilot hole at each mark to confirm the stud location.
Step 3: Drill the Final Holes for the Toggle Bolts. Check the packaging of your toggle bolts to determine the required hole size—it’s often 1/2 inch. Use the appropriately sized metal drill bit to widen your pilot holes through both the drywall and the metal stud.
Step 4: Install the Toggle Bolts and Secure the Bracket
Disassemble the toggle bolts, feeding the bolt through the mounting bracket hole first. Re-thread the spring-loaded toggle onto the end of the bolt. Pinch the toggle wings flat, push them through the hole, and listen for the “snap” as they open inside the wall. Pull the bolt tight to seat the wings against the back of the stud, and then fully tighten the bolt with a screwdriver or wrench. Repeat for all mounting points.
With the bracket firmly secured to the metal studs, you can confidently hang your television according to the manufacturer’s instructions. This same principle applies to hanging heavy cabinets, shelves, or even bathroom fixtures. For major renovations, especially in areas like bathrooms, you might even consider a temporary shower solution while you get the backing right for permanent fixtures.
Beyond the Basics: Plywood Backing and Advanced Wall Systems
In new construction or major renovations where walls are open, there’s an even better solution: installing backing. Before the drywall goes up, a sheet of 3/4-inch plywood or a heavy-gauge metal plate can be screwed horizontally between the metal studs. This creates a continuous, solid anchor point for anything you might want to hang in the future.
This is standard practice for mounting kitchen cabinets, accessible grab bars, and other fixtures that require precise placement and robust support. While it’s not an option for existing walls without significant demolition, it’s the ultimate solution for strength. For those undertaking a full basement finishing project, it’s also worth exploring modern wall panels that have built-in support, which can be an excellent DRICORE SMARTWALL alternative.
Final Thoughts: Build with Confidence
Discovering drywall with metal backing doesn’t have to be a roadblock. While it presents a different set of challenges compared to traditional wood framing, it is by no means a weaker system. With the right knowledge, the right tools, and the right fasteners, you can master the art of mounting on metal studs.
By using robust solutions like toggle bolts and understanding the principles of how metal framing works, you can hang even the heaviest of items with complete security. So, embrace the metal, drill with confidence, and transform your walls into the functional and beautiful spaces you envision.