How to Install Ductwork in Existing Walls Without Tearing Your Home Apart
Adding central air conditioning or upgrading your heating system is a fantastic home improvement. However, the thought of installing ductwork in a home that wasn’t built for it can be daunting. Many homeowners imagine destructive chaos, with drywall dust coating every surface. Fortunately, with careful planning and the right techniques, it’s entirely possible to retrofit ductwork without completely dismantling your walls and ceilings.
The primary challenge is finding a clear path for the ducts to travel from your HVAC unit to each room. This process requires a strategic approach to minimize disruption while ensuring your new system operates efficiently. The goal is to integrate a modern comfort system into your existing home’s structure seamlessly.
You'll Learn About
Understanding the Challenge: Why Retrofitting Ductwork Is Tricky
Homes built before the widespread adoption of central HVAC systems lack the dedicated chases and soffits designed to conceal ductwork. This means installers must get creative, navigating around plumbing, wiring, and structural framing. It’s a puzzle that requires both technical skill and thoughtful planning to solve effectively.
The main hurdles include preserving the structural integrity of your home and maintaining its aesthetic appeal. Improperly routed ducts can create an unbalanced system, leading to hot or cold spots and reduced efficiency. The key is to find pathways that are both functional and discreet.
Planning Your Ductwork Installation: The Blueprint for Success
Before any cuts are made, a comprehensive plan is non-negotiable. A detailed layout is the most critical step in the entire process. This involves calculating the heating and cooling load for each room to determine the appropriate duct size and placement for optimal airflow.
Your plan should map out the most direct routes for the ducts to minimize length and the number of bends, which can restrict airflow. Consider using closets, attics, basements, and crawlspaces as primary pathways. A well-designed plan saves time, reduces costs, and prevents major headaches during the installation.
Choosing the Right Ductwork for Your Project
The type of ductwork you choose will significantly impact the installation process and the performance of your HVAC system. There are two main types to consider for retrofitting projects: rigid and flexible ducts. Each has distinct advantages and is suited for different parts of the job.
Making the right choice involves balancing cost, ease of installation, and long-term efficiency. Often, a hybrid approach that utilizes both types of ductwork offers the best solution for navigating the complexities of an existing home.
Rigid Ductwork: The Durable Standard
Rigid ducts, typically made from sheet metal like galvanized steel or aluminum, are known for their durability and longevity. Their smooth interior surfaces provide excellent airflow with minimal resistance, which contributes to better energy efficiency. This makes them a great choice for the main trunk lines of your system.
However, their inflexibility can make them challenging to install in tight, unconventional spaces. They require precise measurements and cutting, and their weight may necessitate additional support structures. While more expensive upfront, their durability often makes them a cost-effective choice in the long run.
Flexible Ductwork: The Versatile Solution
Flexible ducts, or “flex ducts,” are lightweight, adaptable, and easier to install in cramped areas. Their ability to bend around obstacles makes them ideal for navigating the tight confines of existing walls and joists. This versatility can significantly speed up the installation process and reduce labor costs.
The primary drawback of flexible ducts is their susceptibility to kinks and sags if not properly supported, which can severely restrict airflow. Their rougher interior surface also creates more friction, slightly reducing efficiency compared to rigid ducts. They are best used for final connections from the main trunk line to individual room vents.
Step-by-Step Guide to Installing Ductwork in Existing Walls
With a solid plan and the right materials, you can begin the installation. This process requires patience and precision. Remember to always prioritize safety by wearing appropriate gear and turning off the power to any circuits near your work area.
Follow these steps for a systematic and efficient installation that minimizes damage to your home. Taking your time here will pay off with a professional-looking and high-performing system.
1. Identify and Prepare Duct Pathways
The first step is to locate the hidden spaces in your home. Attics, basements, and crawl spaces are your best friends for running the main trunk lines. From there, look for vertical pathways inside walls, often by running ducts through closets or building small soffits in corners to conceal them.
Use a stud finder to locate wall studs and plan your cuts accordingly. Small, strategic openings in the drywall are often all that’s needed to fish the ductwork through. Sometimes, a poorly insulated cold air return with no ductwork can even provide an unexpected pathway to utilize.
2. Cut Openings for Vents and Ducts
Once your pathways are marked, it’s time to cut. Use a drywall saw for clean, precise openings. For register locations, you’ll need to cut through the drywall and sometimes the subfloor. Take care to avoid cutting into any plumbing, electrical wires, or structural supports.
Measure twice and cut once is the mantra here. The goal is to make openings that are just large enough for the duct or register boot to fit snugly. This minimizes the amount of patching and finishing work required later.
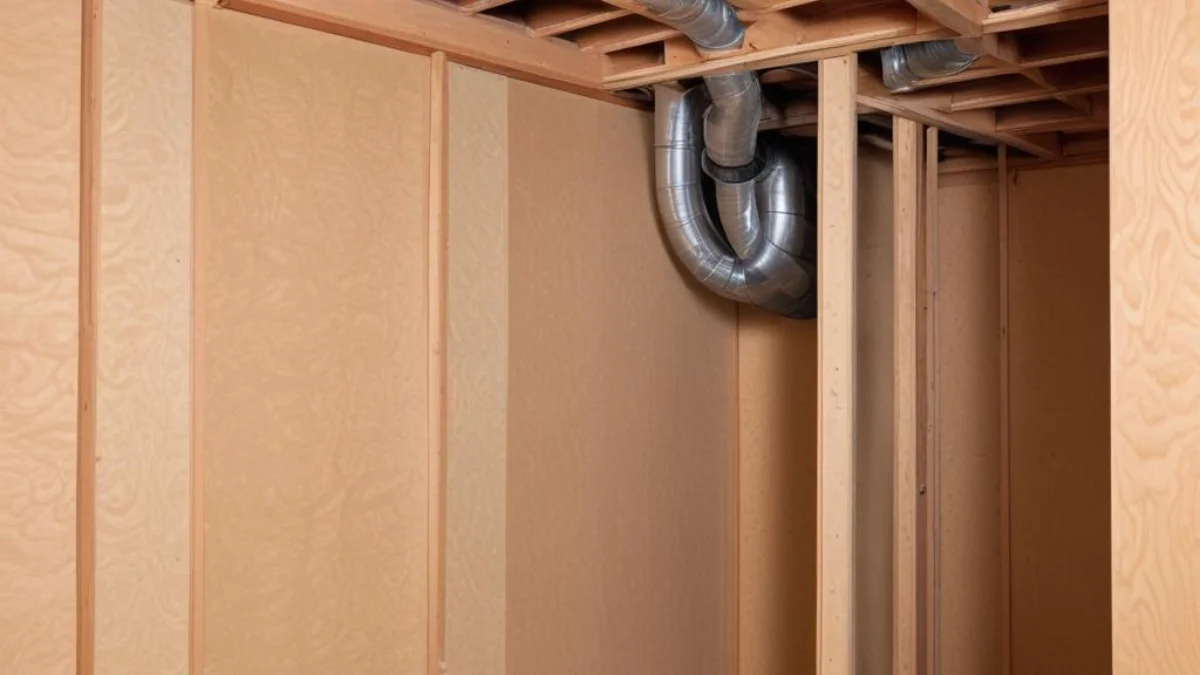
3. Route and Secure the Ductwork
Begin by installing the main trunk lines in your attic or basement. From there, run the smaller branch ducts through the wall cavities and floor joists to the designated vent locations. Use metal straps to support the ducts every few feet to prevent sagging, especially with flexible ductwork.
Ensure all connections are secure. Each joint is a potential point for air leakage, which can drastically reduce your system’s efficiency. A properly supported and routed duct system is essential for balanced airflow throughout your home.
4. Seal Every Seam and Connection
This step is crucial for an energy-efficient system. Seal all joints, seams, and connections with mastic sealant or metal-backed foil tape. Standard duct tape is not suitable for this task, as it will degrade and fail over time due to temperature changes.
Leaky ducts can lose 20-30% of the conditioned air moving through them, wasting energy and driving up your utility bills. Properly sealing the entire system ensures that the heated or cooled air reaches its intended destination. If you ever encounter issues down the line, you might even consider using an ozone generator to kill mold in ductwork, a task made more effective by a well-sealed system.
5. Insulate Your Ductwork
If your ducts run through unconditioned spaces like the attic or crawlspace, they must be insulated. Insulation prevents heat loss in the winter and heat gain in the summer, maintaining the temperature of the air as it travels to the vents. This is another critical step for maximizing energy efficiency.
Without proper insulation, your HVAC system will have to work much harder to maintain the desired temperature, leading to higher energy consumption and increased wear and tear on the equipment. Much like how a dehumidifier for a screened porch manages ambient moisture, duct insulation manages temperature.
6. Install Registers and Grilles
The final step in the installation process is to install the registers and grilles that will cover the openings in your walls, floors, or ceilings. These components direct the airflow into the room and can be chosen to match your home’s decor.
Ensure a snug fit to prevent air from leaking around the edges. With the registers in place, your new ductwork system is ready to be connected to your HVAC unit.
Tools and Materials for the Job
Having the right tools and materials on hand will make the installation process smoother and more efficient. Here is a basic list of what you’ll need for a successful DIY ductwork installation.
| Tool/Material | Primary Use |
|---|---|
| Ductwork (Rigid/Flexible) | The channels for transporting air. |
| Tin Snips/Aviation Snips | Cutting sheet metal for rigid ducts. |
| Utility Knife | Cutting flexible ductwork and insulation. |
| Drywall Saw | Creating openings in walls and ceilings. |
| Drill with Screw Bits | Securing ductwork and components. |
| Mastic Sealant & Foil Tape | Sealing all seams and joints to prevent leaks. |
| Duct Straps/Hangers | Supporting ductwork to prevent sagging. |
| Safety Goggles & Gloves | Protecting yourself during installation. |
When to Call a Professional
While a skilled DIYer can tackle a ductwork installation, it’s a complex job with little room for error. An improperly designed or installed system can lead to poor performance, inefficiency, and even damage to your home. If you are unsure at any stage, it is always best to consult a professional HVAC contractor.
Professionals have the experience and specialized tools to design and install a system that is perfectly tailored to your home’s needs. They can ensure the system is balanced, efficient, and up to code, providing you with peace of mind and reliable comfort for years to come.