Add Drawers to Bathroom Vanity: The Ultimate DIY Storage Upgrade
Bathroom vanities are notorious for becoming cluttered black holes. Deep, dark cabinets with no organization make it impossible to find toiletries without digging through piles of bottles and boxes. The most effective solution to this common problem is to add drawers to your bathroom vanity, transforming wasted air into accessible, organized storage.
Homeowners often assume that adding drawers requires ripping out the entire vanity and starting from scratch. Fortunately, this is rarely necessary. Adding drawers to a bathroom vanity typically involves installing pull-out sliding shelves inside the existing cabinet or converting false drawer fronts into tip-out trays to maximize storage efficiency without replacing the entire unit. By retrofitting your current setup, you can achieve a custom, high-end look and functionality for a fraction of the cost of a renovation.
This guide will walk you through the most practical methods for adding drawers, from simple slide-out trays to building custom U-shaped drawers that fit around your plumbing.
You'll Learn About
Understanding Your Renovation Options
Before you purchase materials or start cutting wood, it is critical to determine which method suits your DIY skill level and your specific vanity structure. Most bathroom vanities are “face-frame” cabinets, meaning they have a solid wood frame attached to the front of the cabinet box. This frame often creates a lip that complicates drawer installation, a nuance many beginners overlook.
Method 1: Installing Roll-Out Trays (The Slide-Out Shelf)
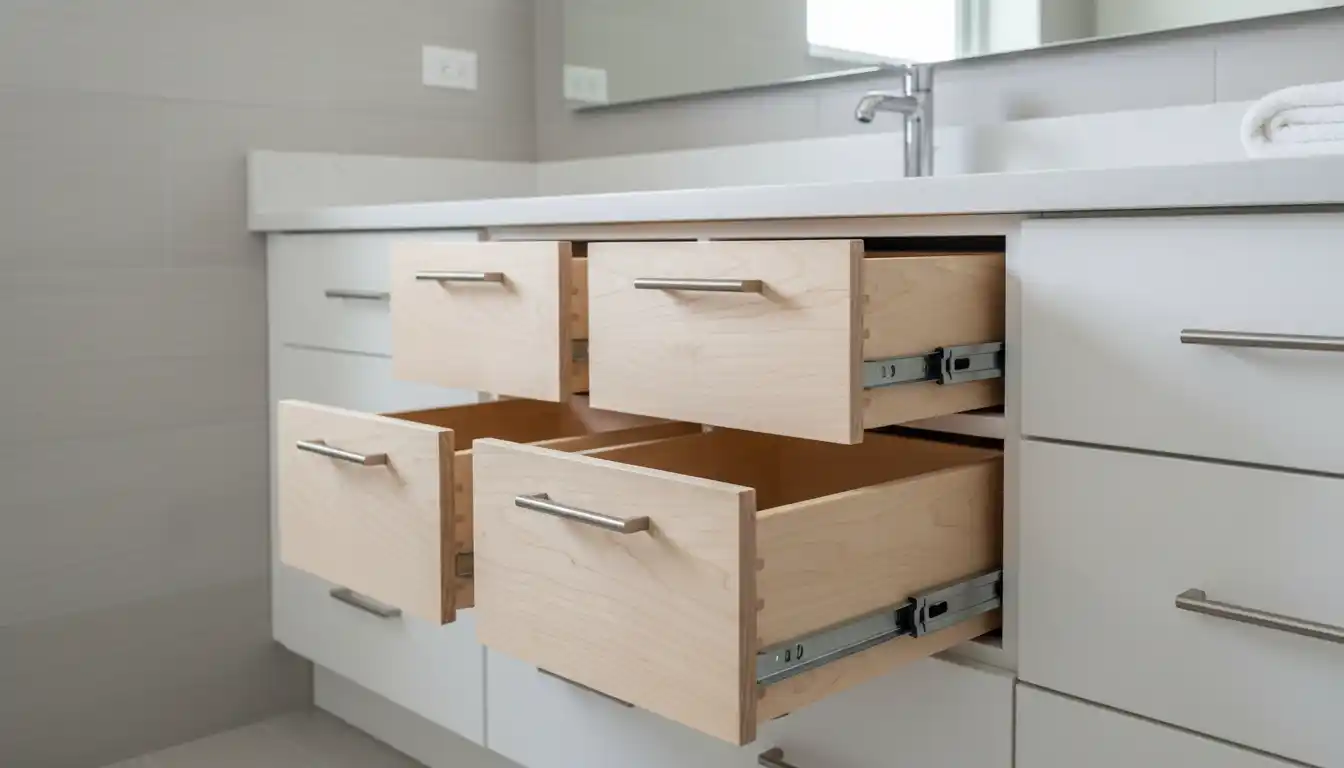
This is the most popular and accessible method for the average homeowner. Instead of removing the cabinet doors, you install drawer slides onto the floor or sides of the cabinet interior. You then mount a shallow wooden box (the tray) onto these slides. When you open the cabinet door, you can pull the entire shelf out towards you. This eliminates the need to crawl on the floor to reach items at the back of the vanity.
Method 2: Converting False Fronts to Tip-Out Trays
Most vanities feature a “false front”—a decorative panel immediately below the countertop that looks like a drawer but doesn’t open. This space is usually wasted. By removing the fixed clips and installing special spring-loaded hinges, you can turn this panel into a small, tilting bin. This is perfect for storing toothpaste, floss, and small items that otherwise clutter the countertop.
Method 3: Building a U-Shaped Drawer
For those with intermediate woodworking skills, building a U-shaped drawer is the ultimate space-saver. Standard drawers cannot be installed directly under the sink because the drain pipe (P-trap) and water supply lines block the way. A U-shaped drawer is constructed with a notch in the center, allowing the drawer to slide past the plumbing while utilizing the space on the left and right sides.
Preparation and Measuring
Precision is the difference between a smooth-gliding drawer and one that scrapes the paint off your cabinet frame. You must account for plumbing obstructions and the quirks of your specific vanity construction.
Assessing Plumbing Obstructions
Open your cabinet doors and carefully measure the position of your P-trap (the curved drain pipe) and the water shut-off valves. If you are installing a bottom roll-out tray, you typically need to clear the plumbing by at least one inch. If you are attempting a U-shaped upper drawer, you must measure the exact width and depth of the plumbing assembly to determine how large your central “notch” must be. Remember that plumbing pipes can vibrate or shift slightly, so always leave a safety margin.
The Face Frame Challenge
In a standard face-frame cabinet, the opening is narrower than the interior box. If you screw drawer slides directly to the side walls of the cabinet, the drawer box will hit the face frame and will not slide out. To solve this, you must use spacers or “cleats”—blocks of wood (often 1×2 or 1×3 strips) attached to the interior walls to bring the mounting surface flush with the edge of the face frame. Alternatively, you can use rear-mounting brackets that float the back of the slide, though wood cleats generally offer superior stability.
Step-by-Step Guide: Installing Roll-Out Drawers
This section details the installation of roll-out trays, as it provides the highest return on investment for storage and requires the least structural modification to the vanity.
1. Gather Tools and Materials
You will need a tape measure, a drill with pilot bits, a level, and a screwdriver. For the drawer slides, full-extension ball-bearing slides are highly recommended over cheap epoxy rollers. They support more weight and allow you to access the entire drawer. You will also need your pre-built drawer boxes or lumber (1/2″ plywood) to construct them.
2. Positioning the Slides and Cleats
Cut your wood cleats (spacers) to run the depth of the cabinet. Clamp them to the interior cabinet walls so they are perfectly flush with the inside edge of the face frame. Use a level to ensure they are horizontal, then screw them securely into the cabinet studs or sidewalls. Once the cleats are secure, mount the cabinet-side member of the drawer slide onto the cleat. Ensure the slide is set back about 1/8″ from the front edge of the face frame to allow the cabinet door to close fully without hitting the drawer front.
3. Clearing the Door Hinges
A critical detail often missed is the clearance required for the cabinet door hinges. If your roll-out tray is too wide, it will collide with the door hinge when you try to pull it out. You must mount the drawer slides high enough to clear the bottom hinge, or use thicker spacers on the hinge side to push the drawer box away from the door hardware. Always test the clearance by holding a scrap piece of wood in place before permanently driving screws.
4. Mounting the Drawer Box
Remove the “drawer-side” member of the slide mechanism (usually released by a black plastic lever). Screw this member onto the sides of your drawer box. Align it carefully; if one side is higher than the other, the drawer will bind. Insert the drawer box into the cabinet slides until you hear a click. Cycle the drawer in and out several times to ensure smooth operation. If you are doing renovations involving electricity, such as adding in-drawer lighting, be sure to check regulations on low voltage wiring permits before proceeding.
Advanced: The U-Shaped Drawer Build
For those wanting to maximize the “dead space” immediately under the sink, the U-shaped drawer is the gold standard. This project requires a table saw or circular saw to cut the notch accurately.
Structural Modifications
The U-shaped drawer effectively wraps around the drain pipe. Construct a standard drawer box, but leave the back panel off. Measure the width of your plumbing and add 2 inches for clearance. Cut a notch of this width out of the drawer bottom, extending deep enough to clear the pipe when the drawer is fully closed. You will then need to build internal walls for this notch using additional plywood strips. This creates a protective barrier that keeps your toiletries from falling into the plumbing void.
Building Custom Faces
If you are converting a false front into a real drawer face for your U-shaped box, you must detach the false panel carefully. It is often held on by plastic clips or heavy-duty glue. Use a putty knife to gently pry it loose without damaging the finish. Once removed, attach it to the front of your new U-shaped drawer box. Since this drawer will be heavy, ensure your slides are rated for at least 75-100 lbs.
Troubleshooting and Pro Tips
Even with careful measuring, retrofitting an old vanity can present surprises. Here is how to handle common issues.
Dealing with Uneven Floors
Bathroom floors are rarely perfectly level. If you are installing bottom-mount slides, shimming may be necessary. If you are renovating the entire room and dealing with transitions between floor types, such as two different tiles in adjoining rooms, ensure your vanity is leveled before you begin installing drawers. A twisted vanity frame will cause drawer slides to bind and fail prematurely.
Safety and Wiring
When drilling into the back of a vanity cabinet to secure rear brackets, be extremely cautious. Plumbing pipes and electrical wiring often run directly behind the vanity wall. Use a stud finder that detects metal and AC current. If you live in an older home, be particularly vigilant about safety concerns like knob and tube wiring which might be hidden in wall cavities behind old fixtures.
Comparison of Installation Methods
Choosing the right method depends on your budget, tools, and storage needs. The table below compares the three most common approaches to adding drawers to a vanity.
| Method | Difficulty Level | Estimated Cost | Storage Gain | Tools Required |
|---|---|---|---|---|
| Tip-Out Trays | Beginner | $20 – $40 | Low (Small items only) | Drill, Screwdriver |
| Roll-Out Shelves | Intermediate | $50 – $100 per drawer | High (Full cabinet access) | Drill, Level, Saw (for cleats) |
| U-Shaped Drawer | Advanced | $80 – $150 per drawer | Medium (Utilizes dead space) | Table Saw, Clamps, Drill |
Final Thoughts on Vanity Optimization
Deciding to add drawers to a bathroom vanity is one of the best organizational upgrades you can make. Whether you choose the simplicity of tip-out trays or the custom engineering of a U-shaped drawer, the result is a bathroom that functions as beautifully as it looks. Take your time measuring, account for those tricky door hinges, and always use high-quality slides for a premium feel.