Awning Window AC: Stop Sweating & Install One Correctly
Awning windows offer fantastic ventilation and protection from rain. However, their unique, outward-opening design presents a significant challenge when summer heat arrives. Many homeowners find themselves in a frustrating position, struggling to figure out how to cool a room when a standard air conditioner simply won’t fit.
The core issue lies in the physics of the window’s operation. Since the window sash pushes out from the bottom, there is no lower ledge or vertical sash to support the weight and bulk of a traditional window AC unit. Attempting to force a fit can lead to a host of problems, from poor sealing and energy loss to severe damage to the window frame and hinges.
You'll Learn About
Why Your Standard Window AC is a Recipe for Disaster
Forcing a standard, boxy air conditioner into an awning window opening is not just inefficient; it’s dangerous. The design mismatch creates several critical points of failure that can compromise your home’s integrity and your safety. Understanding these specific risks is the first step toward finding a proper solution.
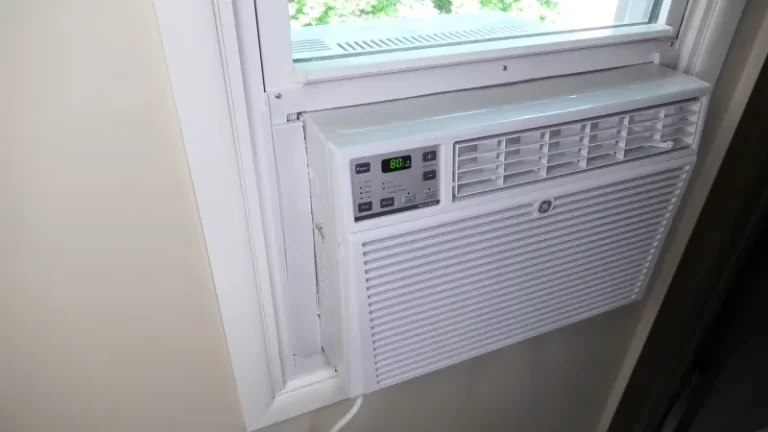
The most immediate danger is the improper distribution of weight. A standard AC unit is heavy and designed to be supported by a sturdy window sill and secured by a descending sash. An awning window offers neither, placing immense stress directly on the glass pane, the sash frame, and the delicate crank mechanism and hinges, which were never intended to bear such a load.
Beyond the structural risk, creating a proper seal is nearly impossible. The angled opening leaves large, triangular gaps on both sides, plus a significant opening at the top. Using temporary fixes like cardboard and duct tape results in an ineffective seal that allows hot air and humidity to pour in, forcing your AC to work harder, waste energy, and fail to cool the room adequately.
The Sealing and Security Nightmare
An improperly installed AC unit doesn’t just leak air; it compromises your home’s security. Any makeshift panel that is not securely fastened into the window frame can be easily pushed in from the outside, creating an access point for intruders. Furthermore, these poor seals offer little protection against rain, which can be funneled directly inside, leading to water damage, rot, and mold growth.
The constant strain on the window hardware is another overlooked issue. The weight can damage the crank mechanism, making the window difficult to operate. If the mechanism fails entirely, you might find yourself needing to learn how to close a window with a broken crank, which is a complicated and costly repair that can be easily avoided.
Expert-Approved Solutions for Awning Window Cooling
Thankfully, the challenges posed by awning windows have been met with innovative solutions. You do not have to choose between fresh air in the spring and cool air in the summer. From specially designed air conditioners to advanced DIY methods, there are several effective and safe ways to cool your space.
The market now offers specialized AC units built specifically for non-traditional windows. These models address the unique shape and support requirements of awning and casement openings. For those with a knack for home projects, a well-planned DIY installation using the right materials can also provide a secure and efficient cooling solution.
Solution 1: The Casement/Vertical Air Conditioner
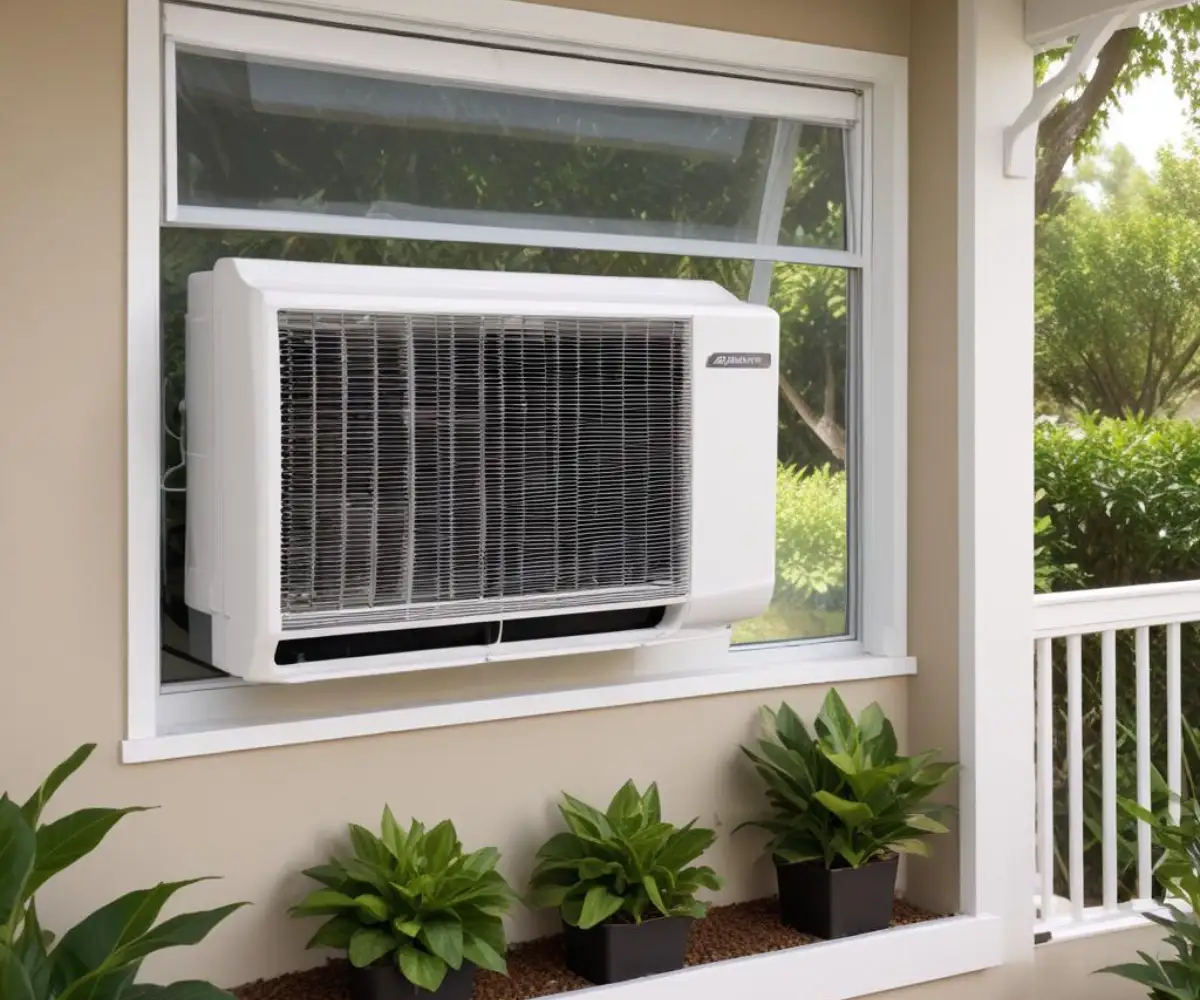
One of the most direct solutions is the casement air conditioner, also known as a vertical or slider AC. These units are designed with a tall, narrow profile instead of the traditional wide shape. This allows them to fit snugly into the vertical opening of a crank-out awning window.

Installation is typically more straightforward than a DIY project, as these units often come with installation kits that include support brackets and sealing panels. The primary advantage is that they are purpose-built for the task. The main drawbacks can be a higher price point and a more limited selection compared to standard models.
Solution 2: The Over-the-Sill (Saddle) Air Conditioner
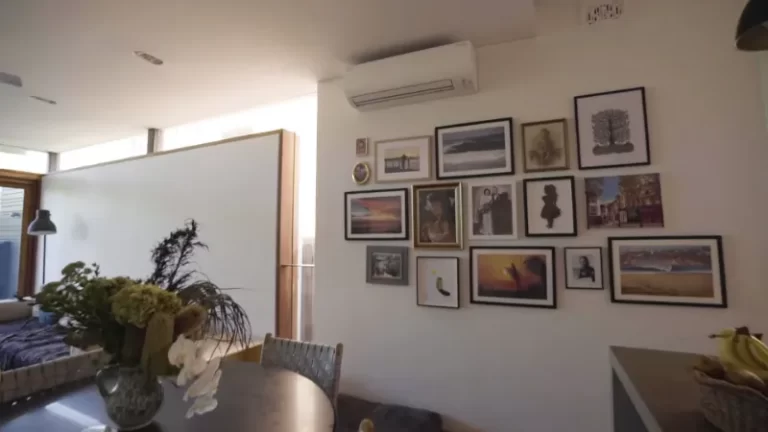
A newer innovation in window cooling is the over-the-sill or saddle air conditioner. These units feature a unique U-shaped design that allows them to “saddle” the window sill. The compressor and condenser, the noisy and heavy parts of the unit, hang on the outside of the wall, while the quiet evaporator remains inside.
This design is revolutionary for awning windows because it places the unit’s weight on a support bracket anchored to the exterior wall, not on the window sash itself. It allows the window to close much more than other methods, creating a better seal and preserving your view. While often the quietest and most efficient option, saddle units can be the most expensive and require specific wall and sill dimensions for proper installation.
Solution 3: The Portable Air Conditioner
A portable air conditioner offers a versatile, if less integrated, solution. These units sit on the floor inside the room and use a large exhaust hose to vent hot air outside through a window panel kit. This is a popular choice for renters or those who need a non-permanent option.
While easy to set up, portable units have downsides. They take up valuable floor space and are generally less efficient than window-mounted units. The single-hose models can create negative air pressure, pulling warm air from other parts of the house back into the room. A dual-hose model, which uses one hose for intake and another for exhaust, is more efficient but also more expensive and cumbersome.
The Ultimate DIY Guide: Building a Secure Awning Window AC Mount
For those who prefer a hands-on approach, creating a custom mount for a standard window AC can be a cost-effective and highly satisfying project. The key to success is moving beyond flimsy plywood and duct tape. A modern, professional-grade installation prioritizes stability, insulation, and aesthetics.
This method involves building an interior support frame to bear the AC’s weight and creating a custom-fit panel to seal the rest of the window opening perfectly. Using superior materials like acrylic sheeting not only provides a better seal but also allows natural light to continue entering the room, maintaining the window’s airy feel.
Step 1: Precision Measurement and Material Selection
The foundation of a successful DIY installation is accuracy. Measure the interior dimensions of your window frame—height and width—at multiple points to account for any variations. Next, measure the exact height and width of the front of your window AC unit.
For the sealing panel, choose 1/4-inch thick plexiglass (acrylic) instead of plywood. Plexiglass is weatherproof, durable, and transparent, offering a vastly superior finish. You will also need high-quality closed-cell foam weatherstripping, clear silicone caulk, and a sturdy piece of lumber (like a 2×4) to build the interior support brace.
Step 2: Constructing the Support Frame and Panel
The goal is to transfer the AC’s weight from the delicate window sash to the sturdy wall and sill below. Construct a simple support brace that rests securely on the interior window sill and is flush against the wall. This brace will carry the front edge of the air conditioner, providing a stable platform.
Next, carefully cut your plexiglass panel to the exact interior dimensions of the window frame. Within this main panel, cut a precise opening for the air conditioner. The AC unit should fit into this opening snugly. A jigsaw with a fine-toothed blade designed for acrylic is the best tool for this job.
Step 3: Achieving an Airtight and Watertight Seal
A perfect seal is non-negotiable for efficiency and protection. Apply adhesive-backed foam weatherstripping around the entire outer edge of your plexiglass panel. This will create a compression seal when you fit the panel into the window frame.
Apply another layer of weatherstripping to the inside edges of the AC unit cutout in the panel. When you slide the air conditioner into place, this will form a tight seal around the unit’s chassis. For a final, foolproof barrier against air and water, apply a thin bead of clear silicone caulk to any remaining micro-gaps between the panel and the window frame and around the AC unit itself.
Step 4: Prioritizing Window Integrity and Security
With the AC unit’s weight resting on your new support brace, the stress on the window’s crank and hinges is eliminated. This preserves the window’s functionality for years to come. It’s a critical step that protects your investment, much like proper prep work is needed when you install an awning on vinyl siding to protect your home’s exterior.
Finally, address security. With the panel in place, the window cannot be opened further from the outside. You can add a simple screw or dowel rod to the window track to physically block the window from being forced open, ensuring your home remains secure while you stay cool.
Comparing Your Awning Window AC Options
Choosing the right cooling solution depends on your budget, DIY comfort level, and aesthetic preferences. Each option presents a unique balance of cost, difficulty, and performance. The following table breaks down the key differences to help you make an informed decision.
| Solution Type | Best For | Average Cost | Installation Difficulty | Efficiency |
|---|---|---|---|---|
| Casement AC | A direct, purpose-built fit for vertical openings. | $$$ | Moderate | High |
| Saddle AC | Quiet operation, preserving the view, and minimizing window strain. | $$$$ | Moderate to High | Very High |
| Portable AC | Renters, temporary cooling, and moving between rooms. | $$ | Low | Low to Moderate |
| DIY with Standard AC | Budget-conscious homeowners comfortable with a hands-on project. | $ | High | Moderate to High |
Critical Mistakes to Avoid During Installation
A successful installation is as much about avoiding errors as it is about following the right steps. Certain mistakes can undermine your efforts, leading to inefficiency, damage, or even a complete do-over. Be mindful of these common pitfalls.
The most severe error is ignoring the window frame stress by resting the unit directly on the open sash. Always ensure the weight is supported by an external bracket or a properly constructed internal frame. Another frequent mistake is poor sealing. Even small gaps can lead to significant energy loss, so be meticulous with your weatherstripping and caulk.
Finally, always ensure the air conditioner is tilted slightly downward toward the outside. This allows condensation to drain properly. If water pools and leaks inside, it can cause serious damage to your walls and flooring over time. This is especially important in a custom DIY setup where you control the angle of the unit.
Long-Term Maintenance for Your Awning Window AC Setup
Once your air conditioner is installed, a little routine maintenance will ensure it runs efficiently for years. The unique installation in an awning window makes checking your seals especially important. Before each cooling season, inspect the weatherstripping and caulk for any cracks or peeling and repair them as needed.
Just like with any AC unit, clean the filter regularly—at least once a month during heavy use. A clogged filter restricts airflow, reduces cooling power, and makes the unit work harder. It’s also wise to occasionally inspect the window frame and hinges for any signs of stress or warping, ensuring your installation remains secure. In some cases, a poorly performing window might lead one to consider a full upgrade, seeing it as an opportunity similar to a glass block window replacement for better overall home efficiency.
Enjoy a Cool, Comfortable, and Secure Home
While installing an air conditioner in an awning window presents unique hurdles, it is a solvable problem. By choosing a specialized unit or committing to a well-executed DIY project, you can achieve effective cooling without compromising the integrity of your window or the security of your home.
A proper installation will provide not only comfort during the hottest months but also peace of mind. By taking the time to do it right, you ensure an energy-efficient, weatherproof, and stable solution that protects your investment and lets you enjoy the best of what your awning windows have to offer, all year round.


