How to Safely Install an Awning on Vinyl Siding: A Comprehensive Guide
An awning is a fantastic addition to any home, offering shade, reducing energy costs, and boosting curb appeal. For homeowners with vinyl siding, however, the prospect of installation can seem daunting. Vinyl siding is a popular, low-maintenance choice, but it presents unique challenges when it comes to mounting heavy fixtures like an awning. This guide will walk you through everything you need to know to install an awning on vinyl siding safely and securely, ensuring it provides years of enjoyment without compromising your home’s exterior.
Crucial Safety Note: You cannot and should not mount an awning directly to the vinyl siding itself. Vinyl siding is not a structural material; it’s a thin, flexible covering designed to expand and contract with temperature changes. Attempting to hang the weight of an awning from it will lead to cracked siding, water damage, and a failed installation. The key is to anchor the awning’s mounting brackets through the siding and into the structural framework of your house. This guide will show you how to do just that.
You'll Learn About
Why Install an Awning on a Vinyl-Sided Home?
Before diving into the “how,” let’s reinforce the “why.” A well-placed awning is more than just a decorative element. Its benefits are practical and can significantly improve your quality of life.
- Sun Protection and Cooling: Awnings block harsh UV rays, creating a comfortable, shaded outdoor living space. This also prevents sunlight from heating your windows, which can significantly reduce indoor temperatures and lower your air conditioning bills.
- Protect Your Home and Furnishings: By shielding windows and doors from direct sun and rain, awnings help protect them from weather-related wear and tear. They also prevent UV rays from fading your indoor furniture, carpets, and decor.
- Enhanced Outdoor Living: An awning transforms a sun-baked patio or deck into a usable, enjoyable space for relaxing, dining, or entertaining guests, even during a light rain shower.
- Curb Appeal: With a wide variety of styles, colors, and materials, an awning can beautifully complement your home’s architecture and vinyl siding, adding a touch of elegance and increasing its value.
Understanding the Challenge: Why Vinyl Siding Requires a Special Approach
Vinyl siding is essentially “hung” on a home, not rigidly attached. This allows it to move freely as temperatures fluctuate. Pinning it down by improperly installing a heavy fixture can cause it to buckle, warp, or crack. The primary challenge, therefore, is to bypass the siding entirely and create a solid anchor point on the home’s structural framing.
This involves:
- Locating Structural Supports: Finding the studs or the header board behind the siding is the most critical first step.
- Creating a Stable, Flat Surface: Since vinyl siding has a contoured profile, you need to create a flat surface for the awning brackets.
- Allowing for Siding Movement: The installation method must not compress or restrict the natural movement of the vinyl panels.
- Weatherproofing: Any holes made in your home’s exterior must be meticulously sealed to prevent water infiltration, which could lead to rot and structural damage.
Types of Awnings Suitable for Vinyl Siding
Most awning types can be installed on a vinyl-sided home, provided the proper mounting techniques are used. Lightweight options are generally recommended to reduce stress on the structure.
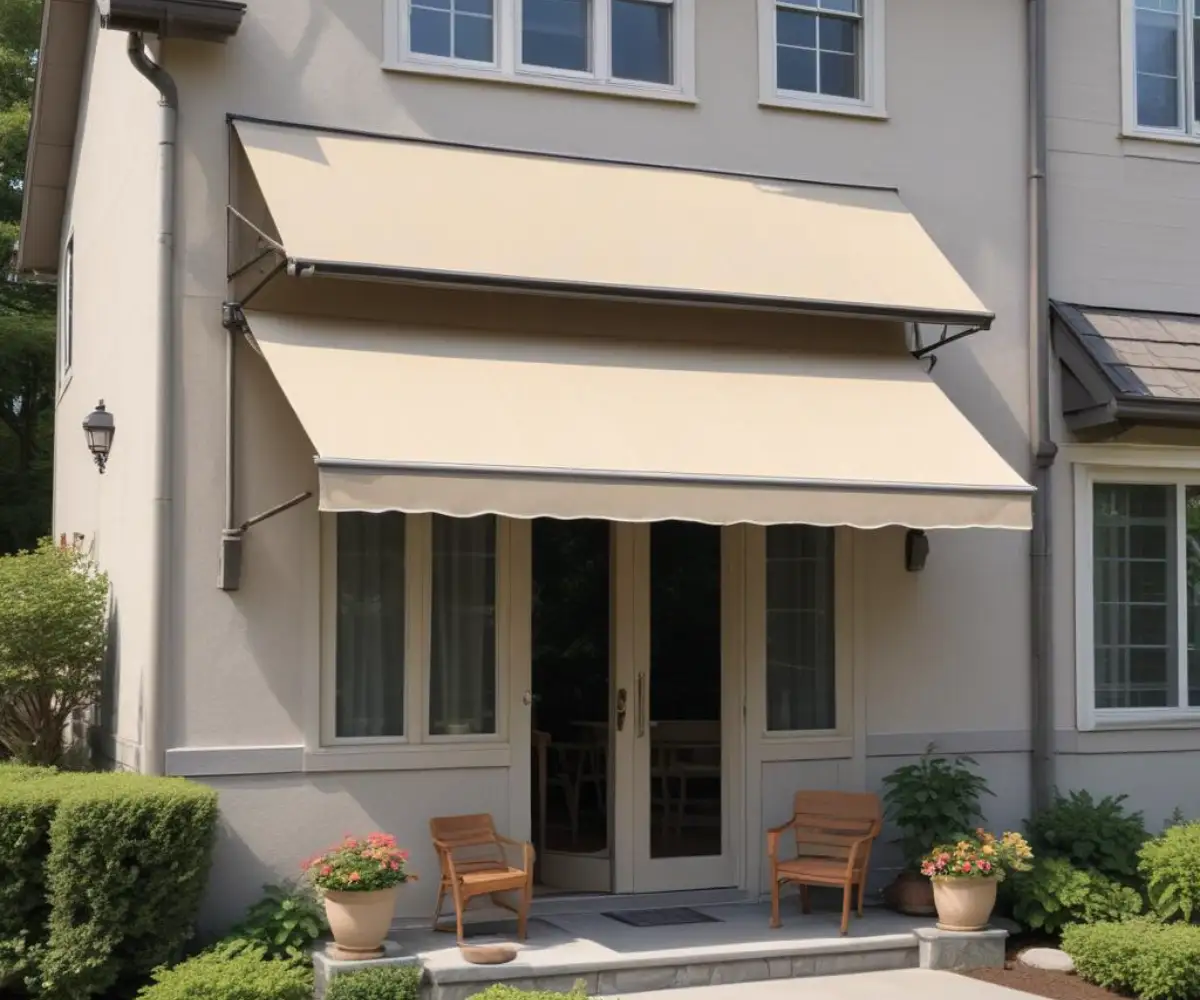
- Retractable Awnings: These are a popular choice, offering flexibility. You can extend them for shade or retract them to enjoy the sun or protect them from high winds and storms. They come in manual (hand-crank) and motorized versions.
- Fixed or Stationary Awnings: These are permanently installed and built to withstand the elements year-round. They are very durable but lack the flexibility of retractable models.
- Window Awnings: Smaller and lighter, these are designed to shade individual windows, offering an excellent way to reduce heat gain in specific rooms.
Before You Begin: Planning and Preparation
Thorough preparation is the key to a successful and stress-free installation. Don’t skip these crucial planning steps.
Tools and Materials Checklist
Gathering all your tools and materials beforehand will streamline the process.
| Tools | Materials |
|---|---|
| Tape Measure | Awning Kit (with manufacturer-provided brackets) |
| Stud Finder (a reliable, deep-scanning model) | Vinyl Siding Mounting Blocks |
| Level (a 4-foot level is ideal) | Lag Screws (long enough to penetrate sheathing and go deep into studs) |
| Power Drill with various bit sizes | Washers |
| Socket Wrench Set | High-Quality Exterior Silicone Sealant/Caulk |
| Chalk Line or Pencil | Siding Removal Tool (“Zip Tool”) |
| Sturdy Ladder or Scaffolding | Safety Goggles |
| Utility Knife or Circular Saw (for modifying siding) | Work Gloves |
Choosing the Right Location
Consider the sun’s path throughout the day to determine the most effective placement for shade. Ensure the desired location is free from obstructions like outdoor light fixtures, vents, gutters, or utility lines. The awning must be mounted high enough to provide adequate headroom (a minimum of 7.5 to 8 feet at the front edge is standard) and allow for the proper pitch/angle for water runoff.
Check Local Codes and HOA Rules
Before you purchase or install anything, check with your local municipality about building permit requirements. Some areas require permits for exterior modifications. Additionally, if you live in a community with a Homeowners Association (HOA), review their guidelines to ensure your planned awning meets their aesthetic and structural rules.
The Step-by-Step Installation Guide
This detailed guide will walk you through the process. Always refer to your specific awning manufacturer’s instructions, as details may vary.
Step 1: Locate the Framing (Studs or Header)
This is the most crucial step. You must anchor into solid wood. Stud finders can be unreliable through siding and sheathing. Here are more effective methods:
- From the Inside: The most reliable method is to locate the studs from inside the house. Use a stud finder on the interior wall, mark the locations, and then transfer these measurements to the exterior, measuring from a fixed reference point like a window or door frame. Standard stud spacing is typically 16 or 24 inches on center.
- Look for Clues: Sometimes, you can see faint lines of fasteners on the siding where it’s nailed to the studs, especially in the morning dew.
- Unzip the Siding: Use a siding removal tool to carefully “unzip” a panel of siding. This will expose the sheathing and the fastener patterns, revealing the stud locations.
Once you’ve found the studs, use a level and chalk line to mark a perfectly horizontal line for the top of your mounting brackets.
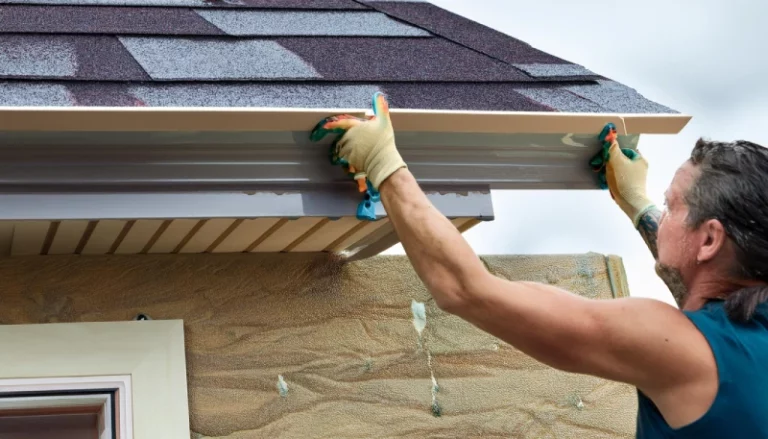
Step 2: Prepare the Vinyl Siding
You cannot simply place the mounting brackets on top of the contoured siding. You need to create a flat, stable surface. This is done using vinyl siding mounting blocks. These blocks are designed to fit the profile of your siding and provide a solid, level base.
- Hold the mounting block in the desired location and trace its outline onto the siding.
- Carefully cut out the marked section of vinyl siding using a utility knife or a circular saw with the blade set to the depth of the siding only. This allows the mounting block to sit flush against the home’s sheathing.
Step 3: Install the Mounting Blocks and Brackets
- Place the mounting block into the cutout area.
- Position the awning’s metal mounting bracket over the block.
- Drill pilot holes through the bracket, the mounting block, the sheathing, and into the center of the studs. This prevents the wood from splitting and ensures the lag screws go in straight.
- Apply a generous bead of high-quality silicone sealant to the back of the mounting bracket to create a waterproof seal.
- Secure the bracket firmly to the house using the appropriate-sized lag screws and washers. The screws must be long enough to go through all layers and penetrate at least 2-3 inches into the stud or header. Do not overtighten, as this can crush the sheathing. The bracket should be snug and secure.
Step 4: Weatherproof the Installation
Water is the enemy. Once the brackets are installed, apply another bead of sealant around the top and sides of the mounting block and bracket assembly. This creates a final barrier against moisture getting behind the siding. Do not seal the bottom edge, as this allows any incidental moisture to escape.
Step 5: Assemble and Mount the Awning
With the brackets securely in place, you can now lift and mount the awning. This is almost always a two-person (or more) job due to the weight and bulk of the awning.
- Follow the manufacturer’s instructions precisely for assembling the awning roller tube, fabric, and arms.
- Carefully lift the assembled awning and seat it onto the mounting brackets.
- Secure the awning to the brackets using the hardware provided by the manufacturer.
Step 6: Final Checks and Testing
After the awning is fully installed, test its operation. If it’s a retractable model, extend and retract it several times to ensure it moves smoothly and evenly. Check that the pitch is adequate for rain runoff and adjust if necessary, following the manufacturer’s directions.
DIY vs. Hiring a Professional
While installing an awning on vinyl siding is a manageable DIY project for someone with the right skills and tools, it’s not for everyone. Here’s a breakdown to help you decide.
| DIY Installation | Professional Installation |
|---|---|
| Pros: Potential cost savings on labor. Sense of accomplishment. | Pros: Experience and expertise, especially with vinyl siding. Correct tools for the job. Efficiency and time savings. Warranty on workmanship. Peace of mind. |
| Cons: Requires specific tools and skills. Risk of costly mistakes (siding damage, water leaks, improper anchoring). Can be time-consuming and physically demanding. Voids warranties if installed incorrectly. | Cons: Higher upfront cost due to labor fees. You’ll need to work around their schedule. |
When to call a professional: If you are unsure about locating structural supports, uncomfortable working on a ladder, or if the awning is particularly large and heavy, hiring a professional installer is the safest and most reliable option.
Frequently Asked Questions (FAQ)
- Can I attach an awning directly to vinyl siding?
- No. This is the most important rule. Vinyl siding cannot support the weight and doing so will cause significant damage. You must anchor to the house’s structural frame.
- How do I find studs behind vinyl siding?
- The best way is to measure from the inside and transfer the measurements. Alternatively, you can use a siding removal tool to expose the sheathing and see the nail patterns, which indicate stud locations.
- Will installing an awning void my siding warranty?
- If installed improperly, it can. However, if the installation is done correctly by creating cutouts for mounting blocks and properly sealing everything, it generally does not affect the siding warranty. Check with your siding manufacturer for specifics.
- How much does it cost to install an awning?
- Costs vary widely based on the awning’s size, type (manual vs. motorized), and material. On average, professional installation can range from a few hundred to over a thousand dollars, in addition to the cost of the awning itself which can be anywhere from $500 to over $4,500.
Conclusion: Enjoy Your New Outdoor Space
Installing an awning on a home with vinyl siding is a project that requires care, precision, and an understanding of how your home is constructed. By prioritizing a secure attachment to the home’s structure and ensuring a weatherproof seal, you can safely add a beautiful and functional awning. Whether you choose to tackle it yourself or hire a professional, a properly installed awning will undoubtedly enhance your home and provide a comfortable oasis for years to come.