Close a Window with a Broken Crank Easily
That breeze is lovely, until it’s not. A window that won’t close because of a broken crank is more than an annoyance; it’s a security risk and an open invitation for pests and bad weather. You’re left with a window stuck open, and a flimsy-looking handle spinning uselessly in your hand.
This common household problem can be frustrating, but don’t panic. We have the solutions you need to get that window shut securely right now and a guide to fix it for good.
You'll Learn About
Why Your Window Crank Failed: Understanding the Root Cause
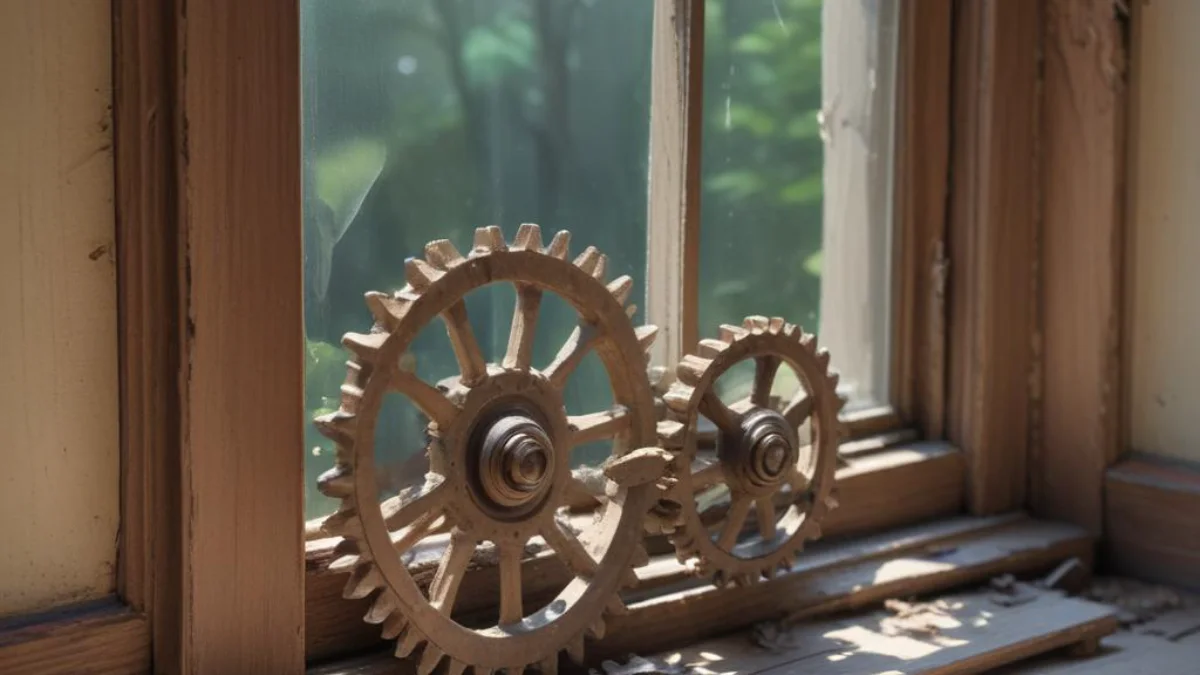
Casement and awning windows rely on a crank operator—a surprisingly complex little mechanism of gears and arms—to open and close. When it fails, it’s usually due to a few common culprits. Understanding why it broke is the first step toward a lasting repair.
The Most Common Culprit: Stripped Gears
Inside the crank housing is a set of gears. Over time, these metal or plastic teeth can wear down, break, or become stripped, especially if the window is frequently forced or if debris is obstructing its path. When the gears are stripped, the handle will turn, but it won’t engage the mechanism to move the window.
You might hear a grinding noise or feel a lack of resistance when you turn the handle. This is a tell-tale sign that the internal gears have given up. This is the most frequent point of failure for window cranks.
Detached or Broken Operator Arm
The crank mechanism connects to the window sash via a long metal arm. This arm can sometimes become detached from the window, or the arm itself can bend or break. If the arm is disconnected, the crank will spin freely without moving the window at all.
Visually inspect where the operator arm meets the bracket on the bottom of your window sash. If you see a loose or dangling arm, you’ve found your problem. Sometimes, a simple screw has just come loose.
Corrosion and Lack of Lubrication
Like any mechanical part, a window crank needs lubrication to operate smoothly. Over years of exposure to moisture and temperature changes, rust and corrosion can seize the mechanism. The internal parts can grind against each other, leading to premature failure.
A lack of regular maintenance is often the underlying issue. Proper lubrication can significantly extend the life of your window operators. While you have your windows open, you might also consider ways to improve energy efficiency, such as exploring how to block heat from a sliding glass door, as these principles can apply to other window types too.
Immediate Steps: How to Close a Window With a Broken Crank Right Now
Before you can think about a permanent fix, you need to get the window closed and secured. Your immediate priority is protecting your home from the elements and potential intruders. Here are a few methods to get that window shut.
Step 1: Disengage the Operator Arm
First, you need to disconnect the window sash from the broken crank mechanism. Look for the guide roller on the operator arm that sits inside a track on the bottom of the window. Often, you can slide the window sash slightly to disengage the roller from the track.
In some cases, you may need to use a flathead screwdriver to gently pry a clip or pop the arm off a stud. Be careful not to apply too much force and damage the window frame or sash.
Step 2: Manually Close and Secure the Window
Once the arm is disconnected, you should be able to close the window by hand. Go outside and gently push the window sash closed from the exterior. Make sure it sits flush within the frame.
From the inside, engage the window’s locking mechanism. This is crucial for security. If the lock is also broken, you’ll need a temporary solution like a wedge or a security bar to keep it shut until you can perform a full repair.
What If the Window is Still Stuck?
If the window won’t budge even after disengaging the arm, the hinges may be seized or the sash might be warped. Do not force it, as you could break the glass. Carefully inspect the hinges and the frame for any obstructions or signs of damage.
A little lubrication on the hinges might help. If it’s still stuck, you may need professional assistance. Forcing a stuck window is a recipe for a much more expensive problem.
The Permanent Fix: Replacing the Window Crank Operator
A temporary fix is just that—temporary. To restore full function to your window, you’ll need to replace the entire crank operator mechanism. While it may sound daunting, it’s a manageable DIY project for most homeowners.
Finding the Right Replacement Part
The most critical step is getting an identical replacement part. Window operators are not universal. You will need to remove the old operator to find the manufacturer’s name or a part number stamped on it.
Take clear photos of the operator from multiple angles and measure its dimensions. Pay close attention to the length and shape of the arms. You can take the old part to a local hardware store or search for it online using the part number.
Tools and Materials You’ll Need
Having the right tools on hand makes the job much smoother. Before you start, gather everything you need to avoid multiple trips to the hardware store. This preparation is key, much like preparing a floor for a new installation, which might involve tasks like learning how to remove carpet tack strips without damaging hardwood properly.
| Tool/Material | Purpose |
|---|---|
| Drill or Screwdriver | Removing the old operator and installing the new one. |
| Pliers | Helping to disconnect stubborn parts. |
| Putty Knife or Pry Bar | Gently prying up trim or the operator if it’s sealed with paint. |
| New Window Operator | The replacement crank mechanism. |
| Safety Glasses | Protecting your eyes from debris. |
| Caulk/Sealant | Sealing around the new operator if necessary. |
Step-by-Step Installation Guide
With your new part and tools ready, it’s time to get to work. Follow these steps carefully for a successful installation.
1. Remove the Crank Handle and Cover
The crank handle is usually held in place by a small set screw. Loosen it and pull the handle off. The plastic cover over the operator mechanism may be screwed in or might just pop off with gentle prying.
2. Unscrew and Remove the Old Operator
You’ll see several screws holding the operator body to the window frame and sill. Carefully remove all of them. You might also need to remove screws holding the operator arm’s guide track to the window sash.
If the operator has been painted over, you may need to carefully score the paint with a utility knife to prevent chipping. Gently lift the old operator out of its housing.
3. Clean the Area
Before installing the new part, clean the windowsill area of any dirt, dust, or old sealant. This ensures the new operator sits flush and creates a good seal. A clean workspace is important for any home repair, including minor fixes like dealing with a frayed carpet in a doorway.
4. Install the New Operator
Position the new operator in place, making sure the arms are oriented correctly. Secure it to the window frame using the screws you removed earlier or the new ones that came with the part. Do not overtighten the screws initially.
Attach the new operator arm to the bracket on the window sash. You should hear a click as it snaps into place. Make sure it’s secure.
5. Test the Operation
Before putting the cover and handle back on, test the new mechanism. Turn the crank stud with a pair of pliers to ensure the window opens and closes smoothly. Check that it seals tightly when closed.
Once you are satisfied with its operation, tighten all the screws. Attach the new cover and handle, and you’re done. Proper testing at this stage prevents you from having to take it all apart again.
Preventative Maintenance: How to Avoid Future Breakdowns
You can prevent this problem from happening again with a little bit of routine maintenance. Keeping your window hardware in good shape will save you time and money in the long run.
Clean the Tracks and Hinges
At least once a year, open your windows and clean the tracks, sills, and hinges. Dirt and debris can build up and put extra strain on the crank mechanism, leading to premature failure. A vacuum with a brush attachment works well for this.
Lubricate Moving Parts
After cleaning, apply a small amount of white lithium grease or a silicone-based lubricant to all moving parts. This includes the gears inside the operator (if accessible), the hinges, and the operator arm track.
Work the window open and closed a few times to distribute the lubricant evenly. Proper lubrication is the single best thing you can do to prolong the life of your window cranks.
Don’t Force It
If your window is difficult to open or close, don’t force the crank. This is a sure way to strip the gears. Instead, investigate the cause. Is something blocking the window? Are the hinges seized? Addressing the root problem will protect your crank mechanism from damage.