Washing Machine Drain Pipe Leaking in Wall? Your Ultimate Fix-It Guide
There are few household problems more alarming than discovering a damp spot on your wall or a puddle on the floor near your washing machine. A washing machine drain pipe leaking in wall is a serious issue that can lead to significant water damage, mold growth, and costly repairs if not addressed promptly. This comprehensive guide will walk you through identifying the causes, assessing the damage, and taking the right steps to fix the problem for good.
Understanding the source of the leak is the first step toward a lasting solution. Don’t panic; we’re here to help you navigate this common but stressful home repair challenge.
You'll Learn About
Uncovering the Culprit: Why Is Your Washing Machine Drain Pipe Leaking?
A leak behind your walls can stem from several issues, ranging from simple fixes to more complex plumbing problems. Identifying the root cause is critical to ensure you’re applying the correct solution and preventing future leaks. Let’s explore the most common culprits.
Loose or Damaged Connections
One of the most frequent causes of a washing machine drain pipe leak is a loose connection. Over time, the vibrations from your washing machine’s spin cycles can gradually loosen the fittings connecting the drain hose to the standpipe inside the wall. These connections are vital for a watertight seal.
If these connections become compromised, water can escape during the drain cycle, seeping into your drywall and flooring. Regularly checking and tightening these connections can prevent a minor issue from becoming a major headache.
Clogs and Blockages in the Drain Pipe
Your washing machine drain pipe is responsible for carrying away wastewater filled with lint, detergent residue, and other debris from your laundry. Over time, this material can accumulate and form stubborn clogs within the pipe. When the pipe is blocked, water can’t flow freely, causing it to back up and overflow, often at the connection point inside the wall.
To prevent this, it’s wise to regularly clean your washing machine’s filter and consider using a lint trap on the drain hose. Simple maintenance can go a long way in preventing these frustrating blockages.
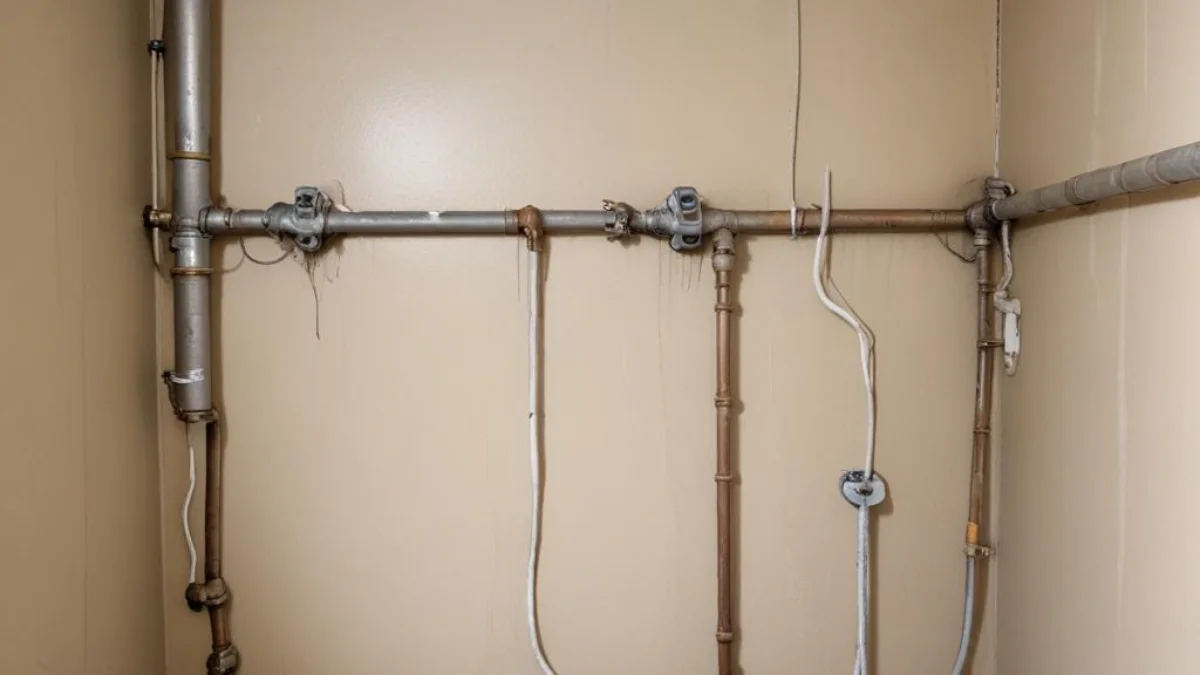
Cracked or Deteriorated Pipes
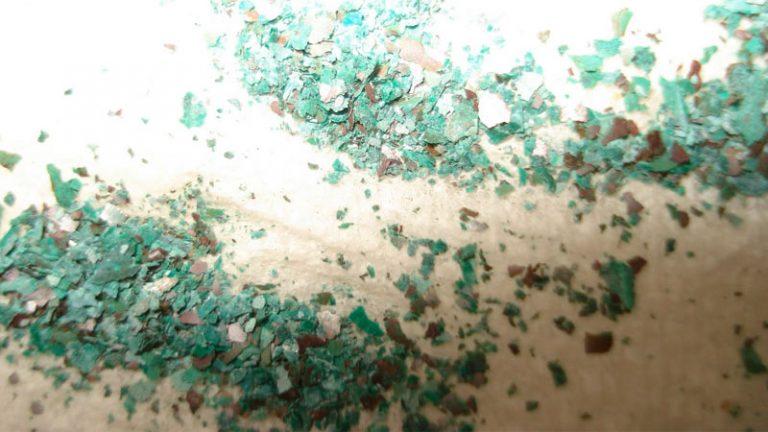
The pipes hidden behind your walls won’t last forever. Older homes, in particular, may have cast iron or galvanized steel pipes that are prone to corrosion and cracking over time. Even modern PVC pipes can be damaged by physical stress or improper installation.
A crack in the drain pipe, no matter how small, can allow water to escape and saturate the surrounding wall materials. This is a more serious issue that often requires professional intervention to replace the damaged section of the pipe.
Your Action Plan: How to Tackle a Leaking Washing Machine Drain Pipe
Discovering a leak can be stressful, but having a clear plan of action can make the process much more manageable. Follow these steps to diagnose and address the problem safely and effectively.
Step 1: Stop the Water and Power Supply
Before you do anything else, your immediate priority is to prevent further water damage. Turn off the water supply to your washing machine. There should be hot and cold water valves located behind the appliance. Turn them clockwise until they are fully closed.
Next, unplug the washing machine from the electrical outlet to eliminate any risk of electric shock while you investigate the leak. Safety should always be your top concern.
Step 2: Assess the Extent of the Damage
Carefully examine the area around the leak. Look for signs of water damage, such as discolored or soft drywall, peeling paint, or a musty odor, which could indicate mold growth. The size of the damp area can give you a clue as to how long the leak has been present.
If the damage appears extensive or you feel uncomfortable proceeding, it’s best to call a professional plumber at this stage. They have the tools and expertise to accurately diagnose the problem without causing further damage.
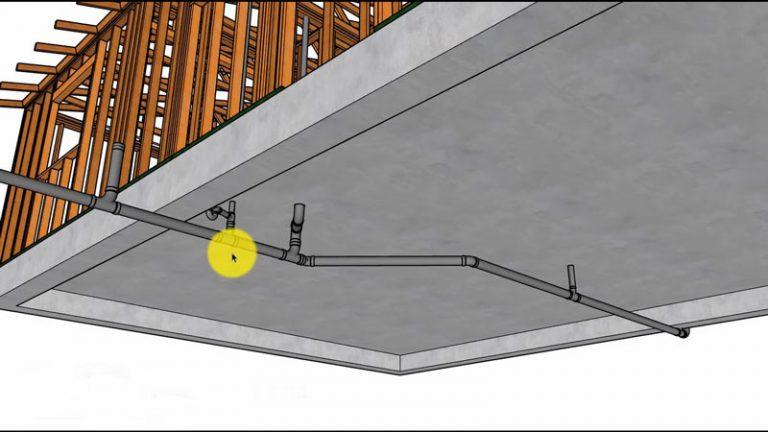
Step 3: Accessing the Drain Pipe
To fix a leak within the wall, you will need to access the drain pipe. This will involve cutting a section of drywall. Use a utility knife and a level to cut a clean, rectangular opening around the area where you suspect the leak is located.
Make the opening large enough to comfortably see and work on the pipes. Having a clear view of the drainpipe and connections is crucial for identifying the exact source of the leak.
Step 4: Pinpointing the Leak and Making Repairs
Once you have access to the pipes, you can pinpoint the source of the leak. Run a short drain cycle with the washing machine to see where the water is escaping. It could be a loose clamp, a cracked fitting, or a hole in the pipe itself.
For a loose connection, simply tightening the clamp or fitting with a wrench may solve the problem. If the drain hose itself is cracked or worn, it will need to be replaced. For cracks in the standpipe, a professional plumber is typically required to cut out the damaged section and install a new piece.
DIY vs. Hiring a Professional: Making the Right Call
Deciding whether to tackle a plumbing repair yourself or call in a professional is a critical decision. While a DIY approach can save money on labor costs, an improper repair can lead to much more expensive problems down the road.
When to DIY
If your investigation reveals a simple issue, such as a loose hose clamp or a minor clog in the drain hose, a DIY repair is often feasible. These tasks require basic tools and a bit of know-how. Always ensure the water and power are off before starting any work.
Regular maintenance, like cleaning the lint filter and inspecting hoses for wear and tear, are also great DIY tasks that can prevent future leaks.
When to Call a Plumber
If the leak is coming from a cracked pipe within the wall, or if you are unable to locate the source of the leak, it’s time to call a professional. Plumbers have specialized equipment, like drain snakes and cameras, to diagnose and repair complex issues. If you are concerned about your water heater making unusual noises, such as if your water heater sounds like rocks, it is always best to consult a professional.
Attempting to repair a broken pipe without the proper skills can lead to major water damage. The average cost to repair a plumbing leak can range from $250 to over $1,250, depending on the severity and location of the problem, so it’s a job best left to the experts.
| Issue | DIY Feasibility | Common Tools Needed | Estimated DIY Cost | When to Call a Pro |
|---|---|---|---|---|
| Loose Drain Hose Connection | High | Pliers, Screwdriver | $0 – $5 | If tightening doesn’t stop the leak. |
| Clogged Drain Hose | High | Bucket, Plumber’s Snake | $15 – $50 | If the clog is deep in the wall pipe. |
| Damaged Drain Hose | High | New Hose, Pliers | $15 – $30 | If the leak continues with a new hose. |
| Cracked Standpipe in Wall | Low | Pipe Cutter, PVC Cement | $50 – $150+ (plus drywall repair) | Immediately. This requires professional plumbing skills. |
| Main Drain Line Blockage | Very Low | Professional Drain Auger | N/A | If multiple drains in the home are backing up. |
Preventative Maintenance: Your Best Defense Against Future Leaks
The best way to deal with a washing machine drain pipe leak is to prevent it from happening in the first place. A few simple maintenance habits can save you a lot of time, money, and stress.
Regular Inspections are Key
At least twice a year, pull your washing machine away from the wall and inspect the drain hose and connections. Look for any signs of wear, such as cracks, bulges, or brittleness. Ensure that all clamps are tight and secure.
This is also a good time to consider replacing older rubber hoses with braided stainless steel ones, which are much more durable and resistant to bursting. This is especially important for older appliances. If you’re wondering should I replace 30 year old water heater, you should also be thinking about the condition of its connecting hoses.
Mind Your Loads and Detergent
Overloading your washing machine can put extra strain on the motor and pump, potentially leading to drainage issues. Always follow the manufacturer’s recommendations for load sizes. Using too much detergent can create excessive suds, which can contribute to clogs in the drain pipe.
Using the correct type and amount of high-efficiency (HE) detergent for your machine is crucial. This simple step helps ensure proper drainage and prevents residue buildup in your pipes.
Know When to Seek Professional Help
Even with the best maintenance, problems can still arise. If you notice slow draining, gurgling sounds from the drain, or recurrent leaks, don’t hesitate to call a plumber. Sometimes you might wonder about service call costs, asking how much does Sears charge for a service call, but investing in a professional diagnosis can prevent a small issue from turning into a catastrophic failure.
A washing machine drain pipe leaking in wall is a serious issue that demands immediate attention. By understanding the causes, following a clear action plan, and investing in preventative maintenance, you can protect your home from water damage and ensure your laundry room remains a functional and stress-free space.