Why Your Ventless Dryer is Not Drying Clothes?
There’s nothing more frustrating than opening your dryer to find a pile of damp clothes, especially when you own a modern ventless model. You bought it for its efficiency and flexibility, but now it feels like a high-tech hamper. If your ventless dryer is not drying, you’re not alone, and the solution is often surprisingly simple, hiding in a place most owners never think to look.
These appliances work differently from their vented counterparts, using sophisticated systems to remove moisture. This guide will walk you through every step, from the most common oversights to the expert-level secrets that will get your machine running like new again.
You'll Learn About
How Your Ventless Dryer Actually Dries Clothes
Before diving into troubleshooting, it’s crucial to understand the technology inside your machine. Unlike traditional dryers that pump hot, moist air outside, ventless dryers recycle it. This key difference is usually the source of the problem.
Condenser Dryers: The Dehumidifier Method
A condenser dryer pulls in ambient air, heats it, and tumbles it through your wet clothes. The now hot, moist air is then directed to a heat exchanger, or condenser. Here, it’s rapidly cooled, causing the moisture to condense into water, which is collected in a reservoir or pumped out through a drain hose. The now dry, cool air is reheated, and the cycle repeats.
Heat Pump Dryers: The Efficiency Champions
Heat pump dryers are the most energy-efficient option. They operate like a refrigerator in reverse, using a closed-loop system with a compressor and evaporator to heat and cool the air. This process removes moisture at lower temperatures, making them gentler on clothes but also more complex, with more components that need to be kept clean for peak performance.
The Top Reasons Your Ventless Dryer Isn’t Working
Most drying issues stem from one simple culprit: restricted airflow. Because a ventless dryer is a closed system, any blockage forces the machine to work with increasingly humid, inefficient air. Let’s break down where these blockages occur.
1. Clogged Lint Filters (There’s More Than One!)
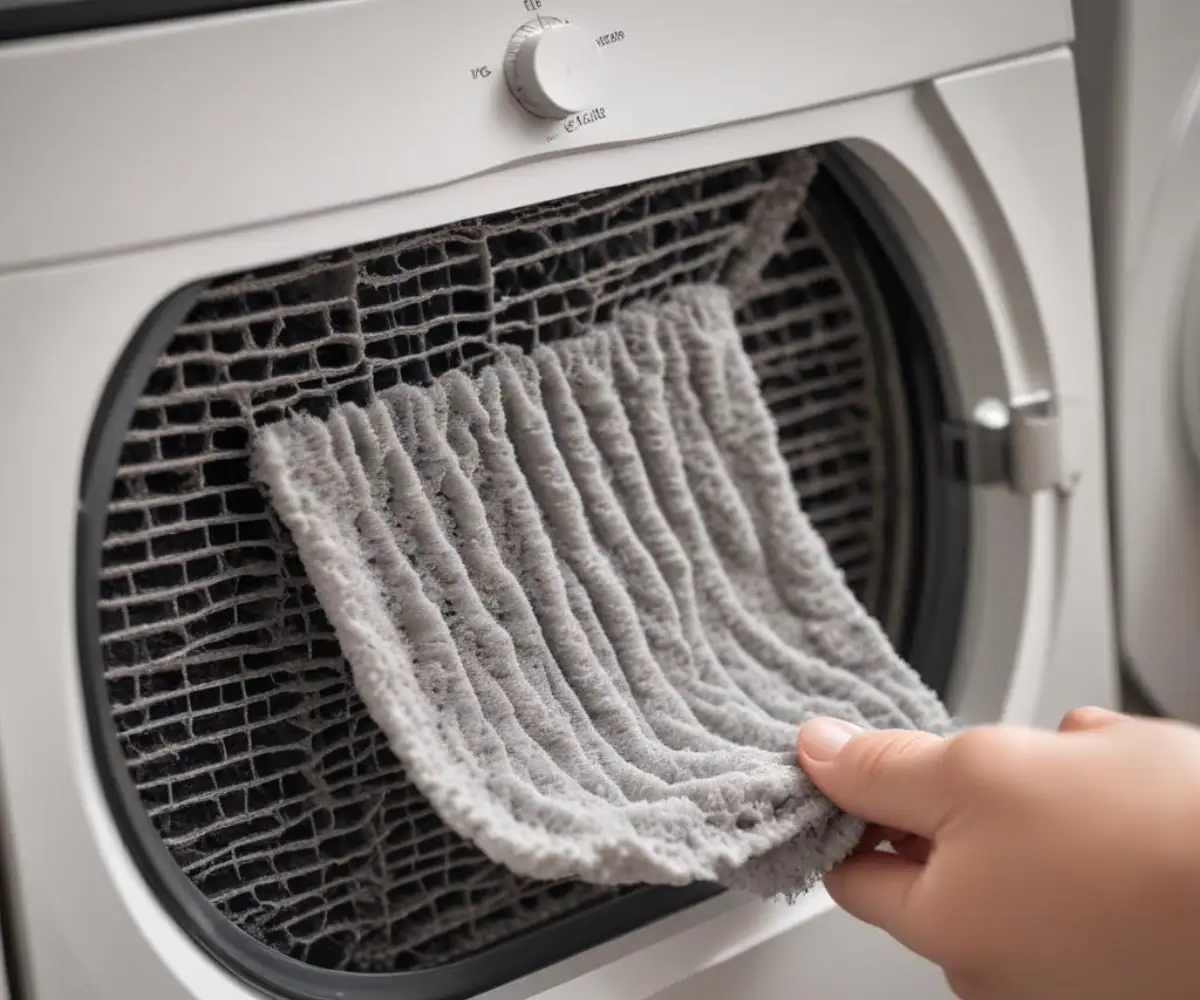
You’re probably diligent about cleaning the main lint screen in the door. However, ventless dryers have a critical secondary filtration system to protect the condensing unit. This is the #1 most overlooked maintenance task.
This secondary filter, often called a condenser screen or base filter, is usually located behind a small access door at the bottom of the machine. If this filter is clogged with lint, air cannot flow through the condenser to be dehumidified, and your clothes will remain damp for hours. Pulling it out might reveal a thick, felt-like layer of lint that’s completely blocking the system.
2. A Dirty Condenser Unit
Even with a filter, fine lint and residue can still make their way to the condenser itself. On many condenser models, you can remove the entire heat exchanger for cleaning. It’s a metal grid of fine fins that can become impacted with gunk.
When these fins are clogged, the heat exchange process fails. The air doesn’t cool down enough to release its moisture, so your dryer is just tumbling your clothes in warm, humid air. A thorough rinse in a sink or with a shower head can restore its function.
3. Full Water Reservoir or Blocked Drain Hose
This is a simple but common mistake. Your dryer has a sensor that detects when the internal water collection tank is full. When it is, the cycle will stop to prevent a flood, even if the clothes are still wet.
If your dryer is connected to a drain hose, ensure it isn’t kinked, clogged, or positioned higher than the drain outlet on the machine. Gravity is key, and any obstruction will cause water to back up and trigger the full-tank sensor.
4. Overloading the Drum
Packing the dryer too tightly is a bigger problem for ventless models than vented ones. Proper drying relies on clothes being able to tumble freely, allowing heated air to circulate around them. An overloaded drum creates one large, damp clump that the air can’t penetrate.
As a rule of thumb, only fill the drum about halfway to two-thirds full. For highly absorbent items like towels and denim, be even more conservative with your load size to ensure a successful cycle.
Advanced Troubleshooting for Persistent Dampness
If you’ve cleaned every filter and are still facing issues, it’s time to look at the more technical components. These steps can often save you from an expensive service call.
Dirty or Coated Moisture Sensors
Inside the dryer drum, you’ll find two metal bars. These are the moisture sensors. They work by measuring the electrical conductivity of your clothes—as clothes dry, their conductivity decreases. The dryer stops the cycle when the sensors report a certain level of dryness.
Over time, a nearly invisible film from fabric softener sheets or liquid softeners can build up on these sensors. This film insulates them, tricking the dryer into thinking your clothes are dry when they’re still wet. Gently cleaning these bars with a cotton ball and a bit of rubbing alcohol can instantly solve the problem of cycles ending too early.
Compromised Gaskets and Seals
A ventless dryer must be a perfectly sealed system to work efficiently. Check the rubber gasket around the door and the seals around the condenser unit access panel. If these are torn, cracked, or dirty, humid air can escape back into the room, and ambient air can be drawn in, disrupting the delicate balance needed for condensation.
A simple wipe-down can sometimes restore the seal. However, if the gasket is physically damaged, it will need to be replaced to restore your dryer’s performance.
The Hidden “Third” Filter You Don’t Know About
Here is a piece of advice that many service technicians know but is rarely mentioned in owner’s manuals. Many heat pump dryers have a third service filter or fluff filter located in an even less obvious spot, sometimes requiring the removal of a bottom panel. This filter protects the heat pump’s evaporator coils.
When this filter clogs, it can cause a dramatic drop in performance and may even lead to overheating errors. Search for your specific model online or on forums to see if it has one of these hidden filters. Cleaning it can feel like you have a brand-new machine.
Potential Component Failure
If your dryer produces no heat at all, the issue could be more serious. In a condenser dryer, a failed heating element could be the culprit. While a new dryer heating element often has a distinct odor at first, a complete failure means no heat. You might even want to understand more about what happens when does a new dryer heating element smell to better diagnose its behavior. If your heat pump model isn’t heating, the problem likely lies with the compressor system, which is a job for a qualified technician.
Quick-Reference Troubleshooting Table
Use this table to quickly diagnose your issue and find the corresponding solution. It organizes the most common failures from easiest to most difficult to fix.
| Symptom | Likely Cause | Solution |
|---|---|---|
| Dryer stops mid-cycle, “full tank” light is on. | Water reservoir is full or drain hose is blocked. | Empty the reservoir. Check the drain hose for kinks or clogs and ensure it has a downward slope. |
| Clothes are taking many hours to dry and feel hot/steamy. | Clogged secondary lint filter or condenser unit. | Locate and thoroughly clean the condenser filter at the bottom of the unit. Remove and rinse the condenser itself if possible. |
| Cycle finishes very quickly, but clothes are still damp. | Dirty moisture sensors. | Wipe the two metal bars inside the dryer drum with rubbing alcohol to remove fabric softener residue. |
| Drying performance has slowly gotten worse over time. | Gradual lint buildup in a hidden filter or the condenser housing. | Perform a deep clean of all filters, including any hidden service filters. Vacuum out the condenser housing. |
| The dryer runs, but there is no heat at all. | Failed heating element (condenser) or compressor issue (heat pump). | Check for tripped breakers first. If the issue persists, the component has likely failed and requires professional service. |
A Maintenance Schedule for a Perfectly Performing Dryer
The key to a ventless dryer is proactive maintenance, not reactive repairs. These simple habits will prevent 99% of drying problems and extend the life of your appliance.
After Every Single Load
Clean the primary lint filter. Make it a non-negotiable habit. This takes ten seconds and is the first line of defense against airflow blockages.
Once a Month
Clean the secondary condenser filter/screen. Take out the foam or mesh filter at the bottom, rinse it thoroughly, and let it dry completely before reinstalling. While it’s out, use a vacuum with a crevice tool to clean out any lint in the housing.
Every 3 to 6 Months
Deep clean the condenser unit and moisture sensors. If your condenser is removable, give it a full rinse. If not, use a flexible brush to clean between the fins as best you can. Give the moisture sensor bars a quick wipe with alcohol.
Regain Confidence in Your Ventless Dryer
Owning a ventless dryer means adopting a slightly different maintenance routine, but the benefits in energy savings and installation freedom are well worth it. By understanding that clear airflow is the secret to its performance, you can easily tackle the most common issue of a ventless dryer not drying.
Regularly cleaning all the filters—especially the ones you might not have known existed—will keep your machine running efficiently for years. And if you ever switch from a traditional model, you might find yourself needing to figure out how to cap an unused dryer vent, a simple task that marks the final step in your upgrade to a more modern, efficient laundry system.