Unused Dryer Vent? Here’s How to Cap It and Why You Can’t Ignore It
An unused dryer vent is more than just an eyesore on the side of your house. It’s an open invitation for a host of problems you’d rather not deal with. From chilly drafts and moisture issues to uninvited pests, that dormant opening can cause significant headaches.
Many homeowners find themselves with a spare dryer vent after moving their laundry room or switching to a ventless dryer model. The initial thought might be to simply ignore it, but this is a mistake. Taking the time to properly cap and seal the vent is a crucial home maintenance task.
You'll Learn About
Why You Absolutely Must Cap an Unused Dryer Vent
Leaving a dryer vent uncapped is like leaving a door wide open. It creates a direct pathway from the outdoors into your home, leading to several preventable issues. Understanding these risks will underscore the importance of addressing the problem promptly.
Energy Loss and Skyrocketing Bills
One of the most immediate consequences of an open dryer vent is energy loss. That four-inch diameter hole allows conditioned air—whether heated in the winter or cooled in the summer—to escape freely. This forces your HVAC system to work harder to maintain a comfortable indoor temperature.
This constant energy drain translates directly to higher utility bills. You’re essentially paying to heat or cool the outdoors. Properly sealing the vent creates an airtight barrier, stopping this unnecessary energy waste and saving you money in the long run.
Pest Infestations: An Open Invitation
To rodents, birds, and insects, an unused dryer vent is a luxury condo. It offers a warm, sheltered space to build a nest and raise a family. Once inside the vent, it’s a short journey for these pests to find their way into your walls and living spaces.
A pest infestation can lead to property damage, unsanitary conditions, and potential health risks. Sealing the vent is a simple and effective pest control measure. It’s far easier to block their entry than to deal with an entrenched infestation later on.
Moisture, Mold, and Water Damage
An open vent is also a prime entry point for rain, snow, and ambient moisture. This moisture can saturate the insulation within your walls, leading to the growth of mold and mildew. Mold not only compromises your home’s structural integrity but can also cause serious respiratory problems.
Over time, this moisture can lead to wood rot and other forms of water damage that are expensive to repair. A proper seal prevents this water intrusion, protecting your home and your family’s health. If you’ve ever dealt with a microwave vent blowing cold air, you understand how unwelcome outdoor elements can be.
Your Step-by-Step Guide to Capping an Unused Dryer Vent
Sealing an unused dryer vent is a straightforward DIY project that most homeowners can tackle in an afternoon. The process involves sealing the vent from both the interior and exterior of your home for a complete, airtight solution. Here’s what you need to do.
Gather Your Tools and Materials
Before you begin, you’ll want to have all your necessary supplies on hand. This will make the process smoother and prevent multiple trips to the hardware store. You’ll need:
- Exterior Vent Cap: Choose a solid, weather-resistant cap without louvers or openings.
- Screwdriver or Drill: For removing the old vent cover and installing the new one.
- Caulk Gun and Exterior-Grade Silicone Caulk: To create a waterproof seal on the outside.
- Expanding Foam Sealant or Fiberglass Insulation: To fill the duct from the inside.
- Pliers and Tin Snips: For removing any old ducting.
- Drywall Patch Kit or Spackle: For finishing the interior wall.
- Safety Gear: Gloves and safety glasses are essential.
Step 1: Tackle the Exterior First
Start by working on the outside of your house. This is where you’ll create the primary barrier against weather and pests. A secure exterior seal is your first line of defense.
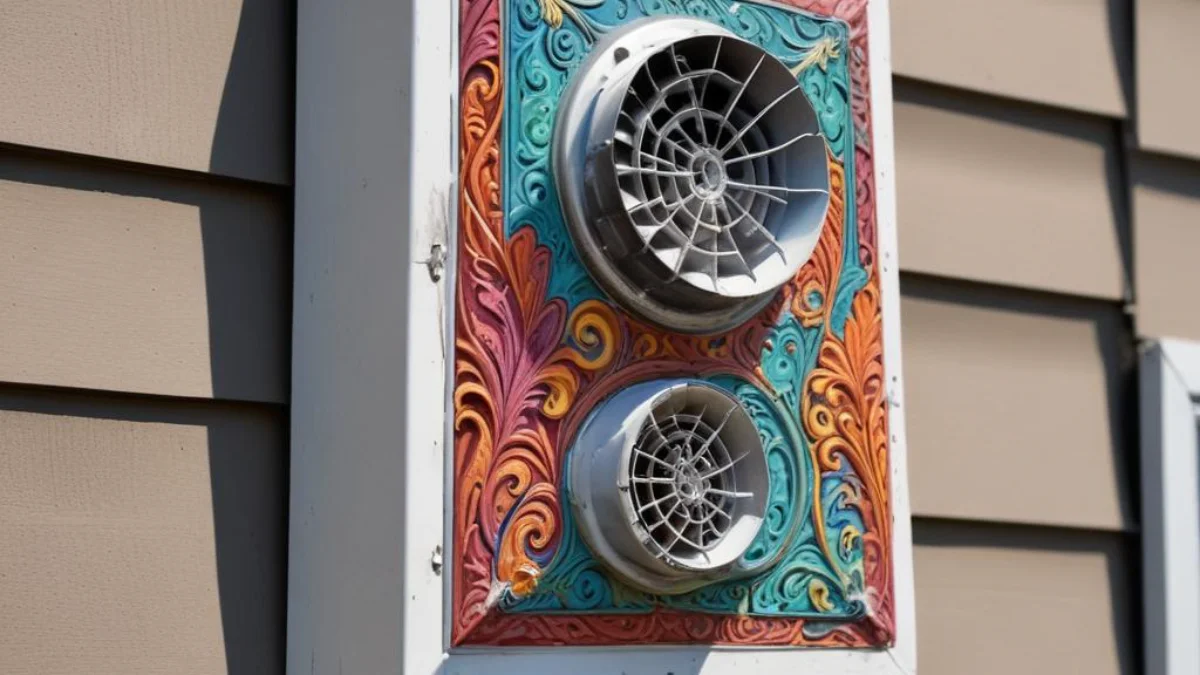
Begin by using your drill or screwdriver to remove the old louvered vent cover. Carefully clean the area around the opening, removing any old caulk, dirt, or debris. This ensures the new cap will adhere properly.
Step 2: Install the New Exterior Cap
Position your new, solid vent cap over the opening. Secure it firmly to the wall using screws appropriate for your home’s siding (wood screws for wood or vinyl, masonry screws for brick or concrete). Ensure the cap is level and sits flush against the wall.
Next, use your caulk gun to apply a generous bead of silicone caulk around the entire perimeter of the vent cap. This is a critical step to create a waterproof and airtight seal. Smooth the bead of caulk with a wet finger or a caulking tool for a clean, professional finish.

Step 3: Move to the Interior Seal
With the outside sealed, it’s time to move indoors. First, disconnect and remove any flexible ducting that’s still attached to the wall opening. Use your pliers or tin snips to cut back any remaining metal duct so it’s flush with the interior wall.
Now, you need to fill the void. Pack the duct tightly with fiberglass insulation or use a low-expansion spray foam sealant. The goal is to completely fill the duct from the interior wall to the newly installed exterior cap, eliminating any air space.
Step 4: Finish the Interior Wall
Once the insulation or foam is in place and cured, you can finish the interior wall for a seamless look. If you have a small hole, you can use a drywall patch kit. For larger openings, you may need to cut a small piece of drywall to fit.
Apply spackle or joint compound over the patch, feathering the edges to blend with the existing wall. Once it’s dry, sand it smooth and apply a coat of primer and paint to match the rest of your wall. After all, a finished laundry room is much easier to manage, especially when you need to figure out how to lift a dryer by yourself for cleaning or rearranging.
Comparing Dryer Vent Capping Methods
There are a few different approaches you can take to sealing your unused vent. The best method for you will depend on whether the change is permanent and your desired level of finish. This table breaks down the common options.
| Capping Method | Pros | Cons | Best For |
|---|---|---|---|
| Exterior Cap & Interior Insulation (DIY) | Cost-effective, relatively easy, provides a good seal. | Requires basic DIY skills, interior finish may not be perfect. | Permanent removal where the homeowner is comfortable with minor drywall work. |
| Temporary Interior Plug | Very easy to install and remove, no permanent changes. | May not be completely airtight, doesn’t address the exterior appearance. | Renters or situations where the vent might be needed again in the future. |
| Professional Removal and Siding Patch | Most complete and professional-looking solution, seamless exterior finish. | Most expensive option, requires hiring a contractor. | Permanent removal where a perfect exterior match is a high priority. |
What About Temporary Solutions?
If you’re a renter or you think you might need the dryer vent again in the future, a permanent seal might not be the best choice. In these cases, you can use a temporary plug. Several commercial products are designed to fit snugly into a standard four-inch vent opening.
Alternatively, you can create a DIY plug by stuffing a plastic bag with fiberglass insulation and pushing it firmly into the interior opening. While not as airtight as a permanent seal, this method will still significantly reduce drafts and prevent pests. It’s a good temporary fix.
Common Mistakes to Avoid When Sealing a Dryer Vent
While capping a dryer vent is a fairly simple task, a few common errors can compromise the effectiveness of your seal. Avoiding these pitfalls will ensure a secure and long-lasting solution.
Forgetting to Seal Both Sides
One of the biggest mistakes is only addressing one side of the vent. Simply putting a cap on the outside without insulating the duct from the inside leaves a hollow cavity. This can still lead to condensation and heat transfer through the wall.
Likewise, just stuffing the inside with insulation without a proper exterior cap leaves your home vulnerable to water intrusion and pests. A complete seal requires attention to both the interior and exterior openings. This principle also applies to other ventilation issues, such as figuring out how to stop smoke from going upstairs, where sealing all potential pathways is key.
Using the Wrong Materials
Using interior-grade caulk on the exterior is a recipe for failure. It will quickly degrade under UV exposure and weather, breaking the seal. Always use a high-quality, exterior-grade silicone caulk for the outside cap.
Similarly, avoid using materials that aren’t pest-proof. Simply stuffing a rag into the opening won’t deter a determined rodent. Use proper insulation or expanding foam designed for sealing gaps.
Leaving the Old Louvered Vent in Place
Some people may be tempted to simply caulk the flaps of the old louvered vent shut. This is not an effective long-term solution. The louvers are flimsy and can easily break or be pushed open by pests or strong winds.
Always take the time to completely remove the old vent cover and replace it with a solid, durable cap. This provides a much more secure and reliable seal that will stand the test of time.

