Tiny Holes in Ceiling? Uncovering the Alarming Causes and How to Fix Them
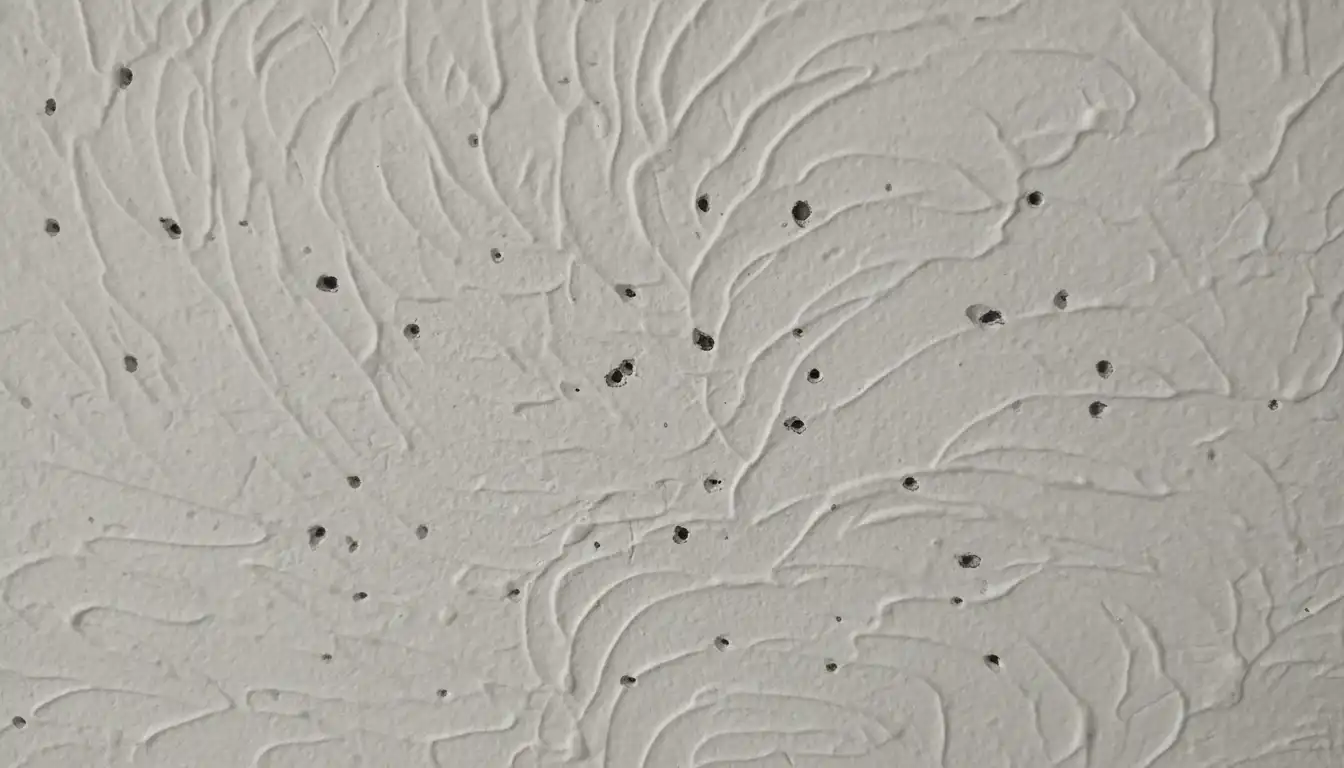
There’s a unique sense of unease that comes from looking up and noticing something amiss with your ceiling. A collection of tiny, unexplained holes can trigger a flood of questions and concerns. Are they the work of destructive pests? Is a hidden leak slowly causing damage? Or is it simply a cosmetic issue?
Ignoring these pinprick mysteries is a mistake. While some causes are perfectly harmless, others can be early warning signs of significant problems that threaten your home’s structural integrity. This guide will help you diagnose the true cause of those tiny holes, provide a step-by-step plan for repair, and tell you when it’s time to put down the tools and call a professional.
You'll Learn About
Decoding the Mystery: What’s Causing Those Tiny Holes?
Before you can apply any fix, you must become a detective. The appearance, location, and surrounding evidence of the holes are crucial clues. The cause of these blemishes typically falls into one of three categories: structural settling, pest activity, or moisture damage.
The Usual Suspects: Common (and Benign) Causes
In many cases, tiny holes are not a sign of impending doom. They are often the result of normal home settling or cosmetic flaws in the finishing work. These are the most common and least worrisome culprits.
One of the most frequent causes is a popped drywall nail or screw. As a house settles and wood framing expands or contracts, it can push the head of a fastener outward. This pressure causes a small, volcano-like bump or a tiny hole in the layer of joint compound and paint, often with a slight circular crack around it.
Another common issue is the appearance of pinholes in the paint or plaster, sometimes called “fisheyes.” These are tiny air bubbles that formed during the drying process. This can happen if the paint was applied too quickly, the roller had too long of a nap, or if there was moisture or contamination on the surface before painting.
The Unwanted Guests: When Pests Are the Problem
This is the scenario every homeowner fears, and for good reason. Certain wood-boring insects can create tiny holes in your ceiling as a byproduct of their destructive habits. Catching this early is critical to preventing widespread damage.
Termites are a primary concern. Drywood termites, in particular, create “kick-out holes” to push their fecal pellets (frass) out of their tunnels. These holes are tiny, clean, and often less than 1/8 inch in diameter. You may find small piles of what looks like sawdust or coffee grounds on the floor or surfaces directly below these holes. Subterranean termites may also damage ceilings, but they typically leave behind evidence of mud tubes leading up from the foundation.
Powderpost beetles are another destructive pest. Their larvae tunnel through wood for years, and when the adults are ready to emerge, they chew small, perfectly round exit holes through the surface. These “shotholes” are often accompanied by piles of very fine, flour-like powder. The texture of this powder can help identify the beetle family; some is gritty, while some is slick like talc.
The Silent Destroyer: Moisture and Water Damage
Water is one of the most powerful forces of destruction in a home. A slow, undetected leak from your roof or plumbing can saturate the drywall in your ceiling. This moisture can cause the paint to bubble and eventually pop, leaving behind a small crater or hole.
Unlike clean pest holes, signs of water damage are usually accompanied by other evidence. Look for yellow or brown discoloration staining the ceiling around the holes. The area may also feel soft, spongy, or cool to the touch, and you might detect a persistent musty odor, indicating the beginnings of mold or mildew.
Your Action Plan: A Step-by-Step Guide to Fixing Tiny Ceiling Holes
Once you have a strong suspicion about the cause, you can formulate a plan. For simple cosmetic issues, a DIY repair is quick and effective. However, for pests or water, the repair itself is secondary to addressing the root cause.
Step 1: Accurate Diagnosis – Don’t Skip This!
A wrong diagnosis leads to the wrong solution. Before you mix any spackle, perform a final confirmation of the cause. A methodical approach is best; carefully examine the evidence and, if necessary, do a little probing. Checking the attic space directly above the holes for signs of leaks, pests, or damaged wood is an essential step.
Sometimes, air pressure changes from your HVAC system can cause dust and debris to collect in specific spots on a textured ceiling, creating the illusion of holes. Wiping the area with a damp cloth can reveal if it’s simply a surface-level accumulation of dust. This is a factor few people consider but can save a lot of unnecessary worry and work.
The following table can help you narrow down the possibilities and decide on the correct course of action.
| Symptom | Possible Cause | Recommended Action |
|---|---|---|
| Small hole with a bump or circular crack around it. No dust or debris. | Popped Drywall Screw/Nail | DIY repair. Reset the screw and patch the hole. |
| Clusters of tiny, irregular craters in the paint surface. | Paint/Plaster Pinholes | DIY repair. Lightly sand the area and patch. |
| Tiny, clean holes with piles of sawdust-like pellets (frass) below. | Termites | Call a licensed pest control professional immediately. Do not disturb the area. |
| Small, round “shotholes” with fine, flour-like powder below. | Powderpost Beetles | Call a licensed pest control professional immediately. Isolate any affected furniture. |
| Holes accompanied by yellow/brown stains, soft spots, or a musty smell. | Water Damage | Find and fix the source of the leak first, then repair the ceiling. May require a roofer or plumber. |
Step 2: Gathering Your Tools and Materials
For a standard cosmetic repair (addressing popped nails or paint pinholes), you won’t need much. Having the right tools makes the job clean and professional. A small investment in these supplies will serve you well for many minor home repairs.
You will need: safety goggles, a dust mask, lightweight spackling or joint compound, a flexible putty knife, fine-grit sandpaper (220-grit is ideal), a small paintbrush, and a can of stain-blocking primer and ceiling paint that matches your current finish.
Step 3: The Repair Process for Non-Pest & Non-Water Issues
Once you’ve confirmed the issue is cosmetic, the fix is straightforward. If you discovered a larger problem, you might need to know how to temporarily cover a hole in the ceiling while you await a professional.
First, protect your eyes and lungs with goggles and a mask. If you’re fixing a popped nail or screw, use a drill or screwdriver to drive it just below the drywall surface (about 1/16 of an inch). For extra security, drive a new drywall screw about an inch away from the original to hold the drywall firmly against the joist.
Using your putty knife, apply a small amount of spackling compound over the indentation, pressing firmly to fill the hole. Scrape the knife over the surface to remove any excess, leaving a thin, smooth patch. The goal is to make the patch as level with the surrounding ceiling as possible.
Allow the first coat to dry completely, which can take a few hours. The patch may shrink slightly as it dries, creating a shallow dimple. Apply a second, very thin coat, feathering the edges outward to blend seamlessly with the existing ceiling. Once this final coat is fully cured, lightly sand it until it is perfectly smooth. Wipe away all dust with a cloth before moving to the final step.
Finally, apply a coat of primer over the patch. Primer is crucial because it seals the porous spackle, preventing the paint from soaking in and looking dull (a phenomenon called “flashing”). Once the primer is dry, apply one or two coats of your matching ceiling paint to finish the job.
Step 4: When to Call in the Professionals
A successful DIY project also involves knowing your limits. Do not attempt to treat a pest infestation yourself. If you suspect termites or powderpost beetles, your first and only call should be to a licensed pest control expert. They have the training and tools to properly identify the pest, assess the extent of the damage, and implement an effective treatment plan.
Similarly, if you’ve identified a water leak as the root cause, you must fix the source before repairing the ceiling. This may require calling a plumber or a roofer. Attempting to simply patch the stained ceiling without stopping the leak is a guarantee that the problem will return, likely worse than before.
Beyond the Patch: Preventing Future Tiny Holes
After you’ve resolved the immediate issue, a little preventative maintenance can go a long way. Being proactive is the key to avoiding future stress and expense.
Proactive Pest Management
Regularly inspect your home’s foundation for mud tubes, keep firewood and wood mulch away from the house, and ensure that your gutters and downspouts direct water away from the foundation. Sealing any cracks in your foundation or around utility lines can also help deny pests an easy entry point into your home.
Moisture Control and Ventilation
Perform a visual inspection of your roof at least once a year and after major storms. Inside, check for any signs of leaks under sinks and around toilets. Ensure that your attic and bathrooms are properly ventilated to prevent moisture buildup that can attract pests and damage building materials.
Best Practices for Ceiling Finishes
If you’re planning a new project, proper preparation is key. When painting a ceiling, always clean the surface thoroughly and use a high-quality primer. These simple steps can prevent the pinholes that occur from improper application. Considering alternative finishes is also an option; once your ceiling is structurally sound, you could explore if you can use peel and stick tiles on the ceiling for a new look, or perhaps add decorative trim for a tongue and groove ceiling to enhance the room’s character.
Frequently Asked Questions (FAQ)
Are tiny holes in the ceiling always a sign of termites?
Absolutely not. While it’s a possibility that should be ruled out, the cause is far more likely to be something benign like popped drywall screws or bubbles in the paint. The key is to look for other corroborating evidence, such as frass (termite droppings) or mud tubes, before panicking.
Can I just paint over the tiny holes to hide them?
Painting over the holes is only a solution if they are purely cosmetic, like paint pinholes. Painting over holes from pests or water damage does nothing to solve the underlying issue. The problem will continue to worsen behind the new layer of paint, leading to much more extensive and expensive repairs down the road.
How can I match my ceiling texture after patching?
Matching ceiling texture is a common DIY challenge. For light textures, you can sometimes simulate the pattern by dabbing a sponge or crumpled rag into thinned joint compound. For more distinct patterns like “popcorn” or “orange peel,” aerosol texture sprays are available at hardware stores. It is always a good idea to practice on a piece of scrap cardboard first to get your technique right before applying it to the ceiling.