Your Ugly Walls Are Hiding a Secret: The Thickest Paint Fix
I have now gathered sufficient information to write a comprehensive article. The second round of searches provided the necessary depth on several key topics:
Problem-Solution Framework:** I found resources detailing specific drywall imperfections (cracks, ripped paper, bad patches) and the appropriate remedies, allowing me to build a clear problem-solution structure. I can now differentiate when to use a high-build primer versus when a thick paint is enough, and when a more intensive repair like a skim coat is necessary.
With this information, I can construct a well-structured, in-depth, and genuinely helpful article that follows all the user’s instructions. I do not need further searches.
You see them every day. The network of hairline cracks spreading from a door frame. The lumpy, uneven patch from a long-forgotten repair. The ghosts of old drywall seams that just won’t stay hidden. These wall imperfections are a constant, frustrating reminder that your home isn’t quite as polished as you’d like it to be.
Many homeowners believe the only solution is a costly and messy skim coat or, even worse, tearing out and replacing the drywall. But what if there was a way to hide these sins without the demolition? A solution that lies right inside a can.
This is where specialized, thick-consistency paints come in. Far from your standard wall paint, these high-build formulas are engineered with a secret weapon: a high concentration of solids. This allows them to fill, bridge, and conceal minor flaws, creating a smoother, more uniform surface that can completely rejuvenate a room. This guide will explore the world of the thickest paints for walls, helping you diagnose your wall problems and choose the perfect can for the job.
You'll Learn About
Why Your Walls Look So Bad: Diagnosing the Imperfections
Before you can find the right solution, you need to understand the problem. Wall imperfections aren’t all the same, and what works for one might not be the right approach for another. Let’s break down the common culprits that make homeowners desperate for a fix.
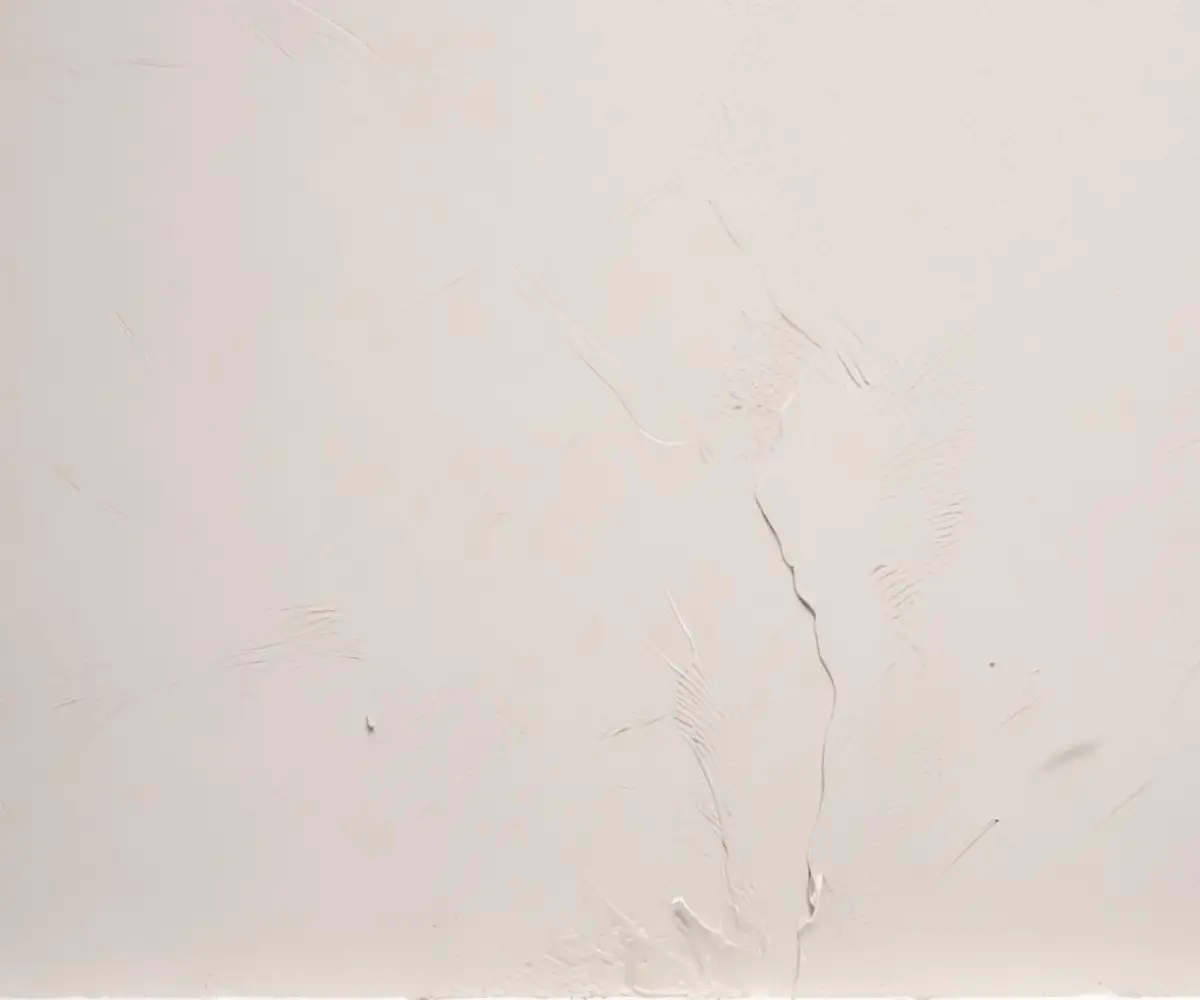
Common issues include old, poorly-taped drywall joints, stress cracks that often appear around windows and doors, and the uneven surface left behind after scraping off old wallpaper. You might also be dealing with pitting, shallow gouges, or the rough texture left from a previous bad paint job. These are the exact scenarios where a thick paint can be your most valuable ally.
The Science of Concealment: What Makes Thick Paint Work?
The magic behind these problem-solving paints isn’t magic at all; it’s science. The key is in the “solids content.” Traditional paints contain a significant amount of liquid solvents that evaporate as the paint dries, leaving behind a thin layer of pigment and binders. High-build or thick paints, however, have a much higher ratio of solids (pigments and binders) to liquids.
When you apply a high-solid paint, you’re laying down a physically thicker layer. As it dries, less of it evaporates, leaving a substantial film that can bridge small gaps like hairline cracks and fill in minor depressions. This creates a more level plane, effectively masking the imperfections underneath and giving the wall a smoother, more professional appearance.
Your Arsenal for Flawless Walls: Types of Thick Coatings
The term “thick paint” can refer to several different products, each designed for specific situations. Understanding the differences is crucial to achieving the best results and avoiding wasted effort and money. Think of this as choosing the right tool for the job.
1. High-Build Primers: The Foundation for a Perfect Finish
Often, the best solution isn’t the paint itself, but what goes underneath it. A high-build primer is a foundational coat designed specifically to fill and level uneven surfaces *before* you paint. They have superior filling capabilities and are sandable, allowing you to create an exceptionally smooth canvas for your topcoat.
Consider a high-build primer your first line of attack when dealing with walls that have multiple repairs, visible drywall tape lines, or a generally rough and uneven texture. Applying a high-build primer first ensures your chosen color goes on smoothly and looks uniform, without the patchiness that can occur when painting directly over repaired areas.
2. Thick, High-Coverage Matte Paints: The One-Can Solution
For walls with less severe, more widespread imperfections like minor orange peel texture or very fine hairline cracks, a high-quality, thick-bodied matte paint can be a fantastic solution. Brands known for their high viscosity and excellent coverage, like Sherwin-Williams Duration or Benjamin Moore Regal Select, can work wonders. The non-reflective nature of a matte or flat finish diffuses light, making surface inconsistencies much less noticeable.
These paints are often a paint-and-primer-in-one, formulated for superior adhesion and hide. Their thick consistency allows them to fill in tiny surface flaws as you roll, providing a smooth, uniform look. This is the simplest approach for upgrading walls with minor, but annoying, blemishes.
3. Textured Paints: For When You Want to Add Character
Sometimes, the best way to hide imperfections is to embrace texture. Textured paints contain additives like sand or other granules to create a finish with intentional dimension. These are excellent for hiding a multitude of sins on very damaged or uneven walls, particularly old plaster walls that are beyond simple patching.
Finishes can range from a subtle sand-like texture to a more dramatic knockdown or stucco effect. While incredibly effective at hiding flaws, this is a stylistic choice. Ensure the textured look fits the aesthetic of your home before committing, as it’s more difficult to reverse than a smooth finish.
4. Elastomeric Coatings: The Heavy-Duty, Flexible Fix
Primarily designed for exterior masonry and stucco, elastomeric paint is an extremely thick, flexible, rubber-like coating. It can bridge cracks and is highly waterproof, which makes it a specialty option for certain interior situations. For example, it can be a game-changer for basement walls where moisture is a concern or on plaster walls prone to seasonal cracking.
However, use elastomeric paint with caution indoors. Because it creates a waterproof barrier, it can trap moisture within the wall if there’s an underlying leak, leading to bigger problems. It’s a powerful tool but should be reserved for specific problem areas where its unique properties are truly needed.
The Ultimate Decision-Making Guide: Thick Paint vs. The Alternatives
Is a thick paint always the right answer? Not necessarily. Sometimes, the damage is too significant, and a paint-on solution is just a temporary bandage. Knowing when to paint and when to call in for a bigger repair is key to a lasting fix.
For minor issues like spiderweb cracks or poorly sanded patches, a thick paint or high-build primer is often the perfect, cost-effective solution. However, if your wall has large, deep cracks, crumbling plaster, or extensive water damage, paint alone won’t solve the structural issue. In these cases, you might need to consider a skim coat—a thin layer of drywall compound applied over the entire wall to create a new, smooth surface. While a plaster finish like Thistle Multi Finish provides a hard-wearing surface, it’s a job often best left to professionals. For severe damage, sometimes the best course is to face the facts: you might need new drywall. This is especially true if you are dealing with persistent moisture issues, which a product like DIY spray foam might address before the wall covering is even considered.
When to Choose Thick Paint Over a Skim Coat
Choose a thick paint or high-build primer when your walls are structurally sound but cosmetically flawed. If the primary issues are texture differences, faint seam lines, and minor cracks, these products offer a fantastic DIY-friendly alternative to the mess and skill required for skim coating. It’s faster, cheaper, and can be completed in a weekend.
If you’re dealing with walls where a closet shelf has pulled out leaving significant damage, you’ll need to patch that area first before considering your final finish. A thick paint can then help blend that repair seamlessly.
How to Apply Thick Paint for a Flawless Finish: A Step-by-Step Guide
Using these thicker coatings isn’t quite the same as a standard paint job. The viscosity that makes them so effective at hiding flaws also makes them prone to application errors if you’re not careful. Follow these steps for professional-grade results.
Step 1: Meticulous Surface Preparation
Success is 90% preparation. You cannot skip this step, even with a high-hiding paint. Scrape away any loose or peeling paint. Use a putty knife to fill any holes or cracks deeper than a hairline with spackle or joint compound, and sand these repairs smooth once dry.
Finally, clean the walls thoroughly with a TSP substitute or a simple dish soap and water solution to remove any dust, grease, or grime. The paint needs a clean, stable surface to adhere to properly.
Step 2: Choose the Right Tools
Your standard roller cover won’t cut it. For thick paints, you need a roller with a thicker nap—typically 1/2-inch to 3/4-inch. A thicker nap can hold more of the heavy-bodied paint and push it into the wall’s imperfections more effectively.
For textured paints, you may need a specialized “honeycomb” or looped roller designed to create the desired finish. Always read the paint can’s recommendations for the best application tools.
Step 3: The Application Process
Start by “cutting in” the edges with a quality angled brush. When you move to the roller, work in manageable 3×3 foot sections. Apply the paint in a “W” or “N” pattern to distribute it evenly across the section.
Then, without lifting the roller from the wall, go back over the section with light, parallel strokes to smooth everything out. This technique, known as “laying off,” is critical for avoiding roller marks and ensuring a uniform finish, especially with fast-drying, thick paints.
Step 4: Avoid Common Mistakes
The most common mistake is applying the paint too heavily in a single coat. This can lead to sagging, dripping, and a condition called “mud cracking,” where the paint cracks as it dries. It’s always better to apply two thinner, even coats than one overly thick one.
Also, maintain a “wet edge.” This means you should always be rolling from a wet section into a dry one, which helps prevent lap marks where sections overlap. Don’t stop for a break in the middle of a wall.
| Coating Type | Best For | Application Method | Key Advantage | Potential Drawback |
|---|---|---|---|---|
| High-Build Primer | Uneven drywall, multiple repairs, visible seams | Roller (1/2″ nap), Brush, Sprayer | Creates a perfectly smooth, sandable base | Requires a topcoat of paint |
| Thick Matte Paint | Minor texture, fine cracks, general imperfections | Roller (1/2″ nap), Brush | All-in-one solution for minor flaws | May not hide more significant damage |
| Textured Paint | Very damaged walls, old plaster, hiding major flaws | Specialty texture roller, Trowel | Excellent at hiding severe imperfections | Stylistic commitment, hard to reverse |
| Elastomeric Coating | Basement walls, plaster with active cracks | Roller (3/4″ nap), Brush | Extremely flexible and waterproof | Can trap moisture, not for all interior use |
Achieving a Flawless Home Is Easier Than You Think
Those imperfect walls don’t have to be a source of daily frustration. Before you commit to the expense and mess of a major wall overhaul, consider the power of modern paint technology. The right high-build primer or thick-bodied paint can dramatically transform your space, hiding years of wear and tear and creating a clean, smooth canvas.
By correctly diagnosing your wall’s issues, selecting the appropriate type of coating, and using the proper application techniques, you can achieve a finish that looks professional and new. It’s a project well within the reach of a determined DIYer and one that delivers immense satisfaction every time you walk into the room.