Temporary Bathroom During Renovation? Your Survival Guide
You’ve planned the perfect bathroom renovation. The tile is picked out, the vanity is on order, and you’re dreaming of that spa-like oasis. Then, reality hits like a sledgehammer to drywall: for weeks, you will have no toilet, no shower, and no sink.
The sudden realization that your daily routines are about to be thrown into chaos can be overwhelming. The prospect of relying on neighbors, trekking to a local gym, or making frantic late-night runs to a 24-hour convenience store is enough to make anyone second-guess their renovation plans.
This guide is your lifeline. We’ll walk you through everything you need to know to set up a functional, comfortable, and stress-free temporary bathroom during your renovation, ensuring your project doesn’t bring your life to a screeching halt.
You'll Learn About
Why Winging It Is a Terrible Idea
Undergoing a major bathroom remodel without a temporary setup is a recipe for disaster. Homeowners report that the lack of proper facilities is one of the most significant sources of discomfort and stress during a renovation. It impacts everything from your morning routine to your family’s hygiene and overall morale.
Contractors and their crews also require access to restroom facilities to stay on-site and productive. A well-planned temporary bathroom isn’t just a convenience; it’s a critical piece of project management that keeps your renovation moving forward smoothly and your household sane.
The Three Pillars of a Temporary Bathroom
Before you can devise a plan, it’s essential to understand the core components you’ll need to replace. A functional temporary bathroom setup addresses three primary needs: a toilet, a shower, and a sink for basic hygiene.
The Temporary Toilet: Your Top Priority
This is non-negotiable. Your options for a temporary toilet range from basic camping-style units to more sophisticated solutions. Portable camping toilets are the simplest option, but require frequent emptying and can be a source of odors if not maintained properly.
For a more robust solution, consider an upflush or macerating toilet. These units can be installed in a basement or utility room and use a pump to send waste to your home’s main sewer line, offering a much more “normal” experience. Renting a standard portable toilet, like those seen on construction sites, is another common and effective solution.
The Temporary Shower: Maintaining Normalcy
Going without a shower for weeks is simply not an option for most people. Luckily, the market for temporary shower solutions has grown significantly. You can find everything from simple outdoor solar-heated shower bags to full portable shower stalls.
Many homeowners find that setting up a temporary shower during renovation is easier than they think, especially in a basement with a floor drain. Portable, battery-powered shower heads combined with a simple basin can provide a surprisingly comfortable experience. These setups can often be connected directly to a utility sink or washing machine hookup for hot and cold water.
The Temporary Sink: The Unsung Hero
Don’t underestimate the need for a simple basin to wash hands, brush teeth, and handle other small hygiene tasks. Often, a laundry room utility sink can serve this purpose perfectly. If that’s not available, a simple wash basin set up on a sturdy table, combined with a jug of fresh water and a bucket to catch the drainage, can work wonders.
Rent, Buy, or DIY? Choosing Your Temporary Bathroom Strategy
Your approach to a temporary bathroom will depend on your budget, the duration of your renovation, and the space you have available. There are three main strategies: renting an all-in-one unit, buying and assembling components, or creating a budget-friendly DIY setup.
Option 1: The All-in-One Rental Solution
For maximum convenience and comfort, renting a portable restroom trailer is the top-tier choice. These are not your standard porta-potties; modern luxury restroom trailers come equipped with flushing toilets, running water sinks, climate control, and full-sized showers.
This option is ideal for long-term renovations or for families who want to minimize disruption as much as possible. While it’s the most expensive route, the “plug-and-play” nature of these rentals means you have a fully functional bathroom delivered and set up for you with minimal effort.
Option 2: The Mix-and-Match Assembly
A more common and budget-conscious approach is to buy or rent individual components and assemble your own temporary bathroom. This typically involves purchasing a portable shower unit and a camping or macerating toilet and setting them up in a suitable location like a basement, garage, or even a large utility closet.
This method offers a great balance of comfort and cost. You can tailor the components to your specific needs and space constraints. Many portable shower kits are surprisingly easy to set up and take down, making them a practical choice for a multi-week project.
Option 3: The Scrappy DIY Solution
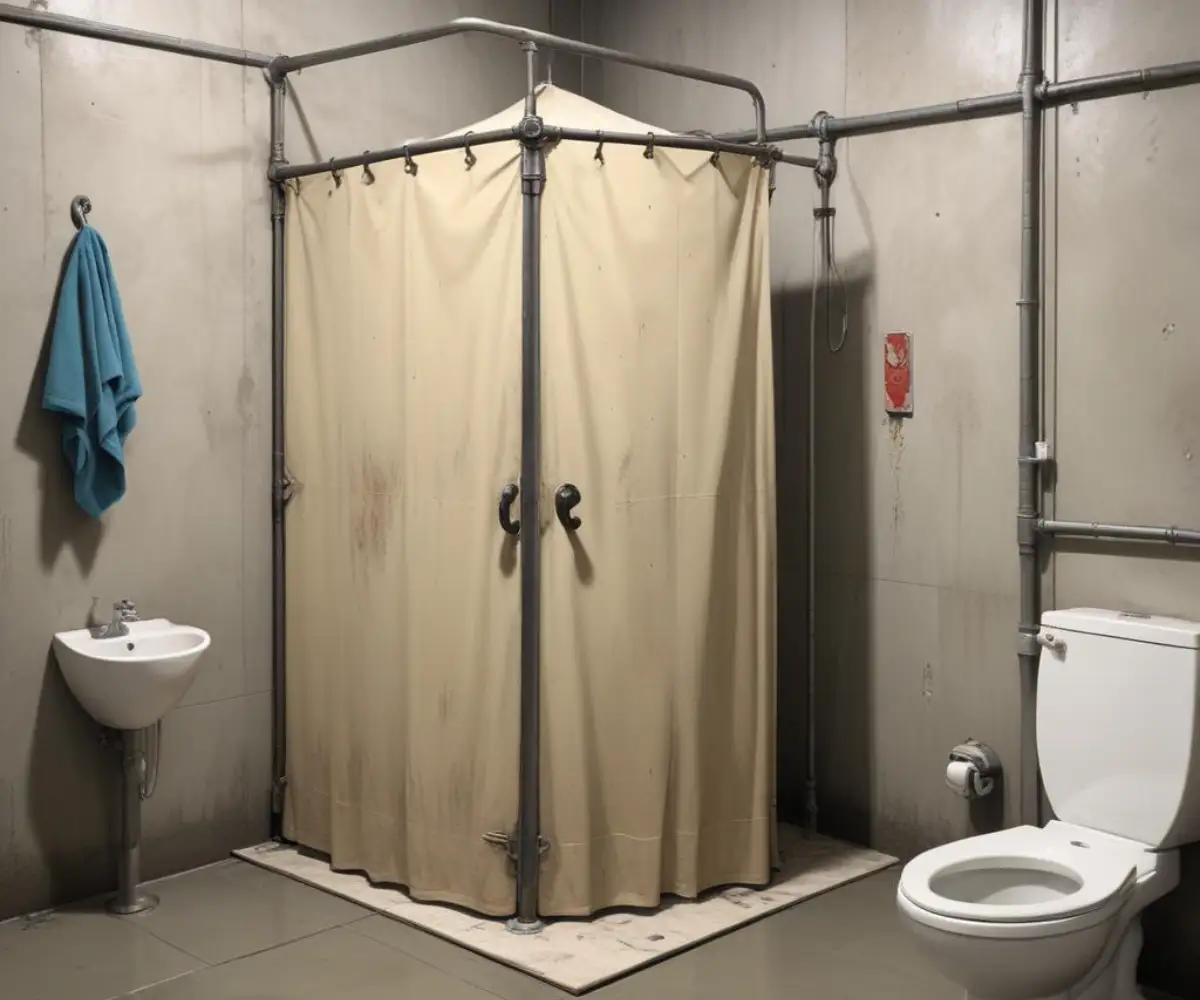
If you’re on a tight budget and don’t mind a more rustic approach, a DIY setup can be incredibly effective. Resourceful homeowners have created functional temporary showers using large plastic storage bins as a base, surrounded by shower curtains hung from a PVC pipe frame. Water can be supplied from a nearby sink via a hose adapter.
Combined with a basic camping toilet, this ultra-affordable solution provides all the essential functions. While it lacks the polish of other options, it proves that you don’t need to spend a fortune to survive your renovation. This approach is best for shorter projects and those comfortable with a bit of creative problem-solving.
Comparing Your Temporary Bathroom Options
Making the right choice depends on your specific circumstances. This table breaks down the key differences between the three main strategies to help you decide which path is best for your renovation project.
| Feature | All-in-One Rental | Assembled Components | Budget DIY Setup |
|---|---|---|---|
| Average Cost | High ($1000+ per month) | Moderate ($200 – $600 purchase) | Low ($50 – $150 in materials) |
| Convenience | Very High (Delivery & setup included) | High (Requires assembly) | Moderate (Requires construction) |
| Comfort Level | Excellent (Flushing toilet, hot shower) | Good (Functional shower & toilet) | Basic (Functional but not luxurious) |
| Space Required | Large (Driveway or yard space) | Medium (Basement, garage corner) | Small (Can fit in a small room) |
| Best For | Long-term renovations, maximum comfort | Most standard renovations, balance of cost/comfort | Short-term projects, tight budgets |
Step-by-Step: Setting Up Your Temporary Bathroom
Once you’ve chosen your strategy, it’s time to get your temporary bathroom up and running. Follow these steps to ensure a smooth and successful setup.
Step 1: Find the Right Location
The best spot for your temporary bathroom is one with easy access to water and drainage. Basements, garages, and laundry rooms are ideal candidates. Look for a location with a concrete or tile floor and proximity to a utility sink, floor drain, or washing machine hookups.
Ensure the area is well-ventilated to prevent moisture buildup. If the location is near a finished area, be mindful of potential water damage. It’s a good idea to check for underlying issues before you start; for instance, if you notice that the nearby drywall moves when pushed, it could signal a bigger problem that needs addressing first.
Step 2: Conquer the Plumbing
For your water supply, the simplest method is using a hose splitter (a “Y” adapter) on your washing machine’s hot and cold water taps. This allows you to run hoses directly to your temporary shower. A standard garden hose with a spray nozzle can work as a makeshift shower head.
Drainage is equally important. Many portable shower stalls come with a pump to move wastewater to a nearby drain or sink. For DIY setups, you can often direct the drainage hose into a floor drain. Never drain greywater directly onto the ground or into a storm drain, as this can violate local ordinances.
Step 3: Prioritize Privacy and Comfort
Even a temporary space should feel private and safe. Use shower curtains, room dividers, or temporary screens to create an enclosed area. If your setup is in a more open space, a simple frame built from PVC pipes can support curtains for 360-degree privacy.
Comfort is also key. Place a non-slip mat inside and outside the shower area. A small stool or bench for dressing and a few hooks for towels and clothes can make the space feel much more functional and civilized.
Step 4: Stock Up on Essentials
Treat your temporary bathroom like a real one. Keep it well-stocked with all the necessary supplies to avoid frustrating searches mid-shower. This includes toilet paper, soap, shampoo, towels, and a trash can.
Because these spaces are often in unfinished areas, consider adding a small, battery-powered LED light for better visibility. A small fan can also dramatically improve ventilation and help the area dry out between uses, preventing musty odors and mildew growth.
Troubleshooting Common Renovation Woes
Even the best-laid plans can hit a snag. Be prepared for some common issues that can arise with a temporary bathroom setup.
Controlling Odors and Improving Ventilation
Odors are a common complaint, especially with portable camping toilets. The key is regular and thorough cleaning. Use the recommended chemicals for your portable toilet and empty it frequently. For general mustiness, ensure good airflow with a fan and consider using a moisture absorber like DampRid.
Dealing with Water Temperature and Pressure
If your water pressure seems low, check that your hoses are not kinked. Water temperature can be tricky to regulate when using Y-adapters; it may take some trial and error to find the right mix of hot and cold. For a more consistent experience, some higher-end portable showers come with their own on-demand water heaters.
A temporary setup can sometimes be as simple as a privacy screen. Thinking about non-permanent solutions can be helpful, much like when considering a renter friendly shower door that adds function without permanent changes.
Your Renovation Lifeline
Living without your main bathroom is a challenge, but it doesn’t have to be a nightmare. By planning ahead and creating a functional temporary bathroom, you can maintain your daily routine, reduce stress, and keep your renovation project on track.
Whether you opt for a high-end rental trailer or a clever DIY solution, the goal is the same: to create a space that provides comfort, hygiene, and a sense of normalcy amidst the chaos. With this guide, you have the strategy and solutions to turn a potential crisis into a manageable, temporary inconvenience.