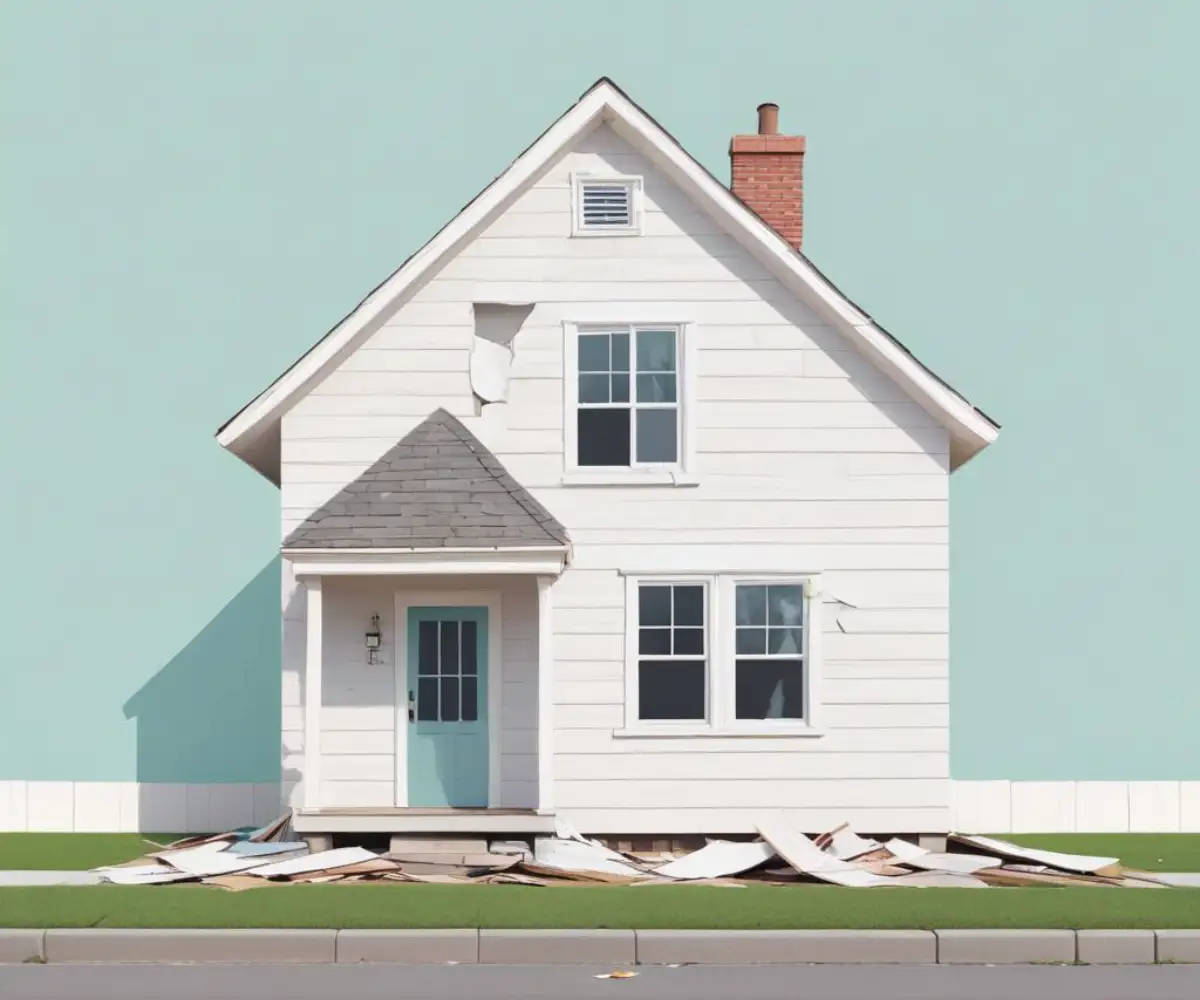
Siding Fell Off Your House? Here’s the Panic-Proof Plan
There are few homeowner sights more alarming than a piece of your house lying in the yard. When siding falls off, it’s not just an eyesore—it’s a breach in your home’s primary defense against the elements. This sudden failure can expose your home to moisture, pests, and structural issues, turning a seemingly small problem into a potential catastrophe.
Ignoring a missing panel is a gamble you can’t afford to take. The consequences range from escalating water damage to decreased energy efficiency and a significant drop in property value. Understanding the root cause and knowing the immediate steps to take are crucial for protecting your investment and ensuring your family’s safety.
You'll Learn About
Why Siding Fails: Uncovering the Root Causes of Detachment
Siding doesn’t just decide to fall off; it’s pushed to a breaking point by specific failures. Identifying the “why” behind the detachment is the first step toward a lasting solution. From severe weather to shoddy workmanship, several culprits are often at play.
The Number One Culprit: Improper Installation
More often than not, the primary reason siding fails is poor installation. Even the highest quality materials are destined to fail if they aren’t installed correctly. Critical mistakes during installation are a leading cause of siding detachment, creating vulnerabilities that may not appear for months or even years.
Common installation errors include incorrect nailing, which can restrict the natural expansion and contraction of the panels, leading to warping or buckling. Another frequent mistake involves neglecting to leave adequate expansion gaps, causing panels to crack under pressure from temperature changes. Problems can also arise from skipping proper wall preparation or failing to install a weather-resistant barrier, trapping moisture behind the siding. Furthermore, issues such as a stop! using j-channel at the bottom of siding is a huge mistake can lead to significant water management problems, ultimately compromising the entire system.
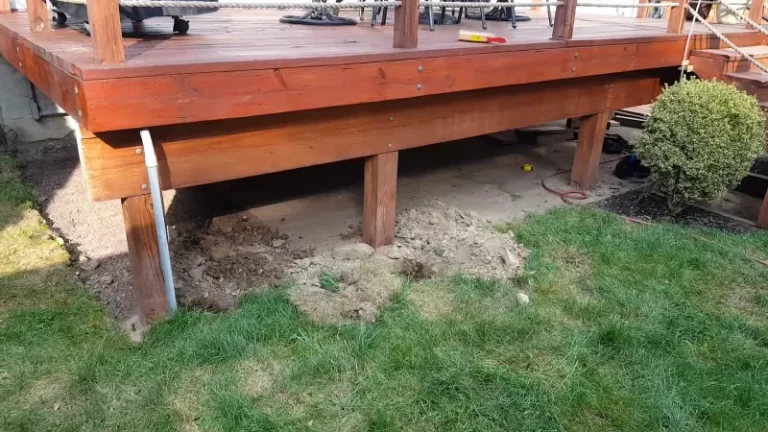
Weather and Environmental Stress
Your home’s exterior is in a constant battle with the elements. High winds are a notorious cause of siding detachment, capable of getting underneath a loose panel and ripping it from the wall. Severe weather events like hailstorms can cause direct impact damage, creating cracks and holes that weaken the siding’s integrity over time.
Beyond storms, the relentless cycle of sun and temperature fluctuations takes a toll. Intense heat can cause vinyl siding to warp and expand, while extreme cold can make it brittle and prone to cracking. These environmental stressors gradually weaken the material and its fasteners, making it more susceptible to failure.
Hidden Threats: Moisture, Pests, and Age
Sometimes, the problem isn’t the siding itself but what’s happening behind it. Undetected water intrusion is a silent destroyer of homes. When water seeps behind siding, it can rot the sheathing and structural supports, causing the fasteners to lose their grip. This can be exacerbated by issues like a large gap between patio and house? fix it before disaster strikes, which can create a pathway for water to get behind the exterior walls.
Pests like termites and carpenter ants can also compromise the structure beneath the siding, leading to detachment. Finally, every siding material has a lifespan. As siding ages, it naturally degrades, losing its resilience and becoming more vulnerable to all the factors mentioned above.
Your Immediate Action Plan: What to Do When Siding Falls
Discovering a piece of your siding on the ground can be jarring, but a calm, methodical response is essential. Taking the right steps immediately can prevent further damage and make the repair process smoother. Here is your emergency checklist.
Step 1: Document the Damage and Secure the Area
Before you do anything else, grab your phone and take pictures. Thoroughly document the fallen siding and the exposed wall area from multiple angles. These photos will be invaluable for insurance claims and for showing a contractor the extent of the problem.
Next, carefully collect all the pieces of the fallen siding if they are intact. It’s possible they can be reinstalled, which can save you money and the hassle of finding a perfect match. If the exposed area is accessible, cover it with a temporary waterproof tarp to protect it from rain until a permanent repair can be made.
Step 2: Conduct a Thorough Visual Inspection
Once the immediate area is secure, perform a careful inspection of the surrounding siding. Look for signs that might point to a larger issue. Check for warping, buckling, or additional loose panels, which could indicate a widespread installation problem.
Examine the exposed wall sheathing for any signs of water damage, such as dark stains, soft spots, or mold. These are red flags that moisture has been getting behind your siding for some time. Also, look for any evidence of pest activity like termite tunnels or insect entry points.
Step 3: Assess Whether to DIY or Call a Professional
With the damage assessed, you face a critical decision: attempt a DIY repair or hire a professional. If it’s a single, undamaged panel that simply popped loose in the wind, a handy homeowner might be able to reinstall it.
However, if you see signs of widespread failure, water damage, or structural issues, calling a professional is non-negotiable. Attempting to fix a complex problem without the right expertise can lead to even more significant damage. A professional siding contractor can not only fix the immediate issue but also diagnose and resolve the underlying cause.
The Repair Process: A Step-by-Step Guide to Restoration
Whether you’re tackling a minor fix yourself or overseeing a professional’s work, understanding the repair process is crucial. A proper repair doesn’t just cover the hole; it restores your home’s protective barrier and addresses the reason for the failure in the first place.
For the DIYer: Reattaching a Loose Panel
If you’ve determined the job is within your skillset, reattaching a single piece of vinyl siding is a manageable task. You will need a siding removal tool (often called a zip tool), a hammer, and galvanized roofing nails.
First, use the zip tool to unlock the bottom lip of the panel directly above the missing one. This will expose the nailing hem of the piece you need to secure. Position the fallen panel, ensuring its bottom lock is fully engaged with the panel below it. Finally, drive nails into the center of the nailing slots, leaving a small gap to allow for expansion.
When to Bring in the Experts
Professional intervention is necessary for most siding issues beyond a single loose panel. A qualified contractor will begin with a comprehensive inspection to diagnose the root cause of the failure. Their process typically involves removing the damaged sections to assess the condition of the wall sheathing and weather barrier underneath.
They will then make any necessary repairs to the underlying structure, which may include replacing rotted wood or installing new flashing. Once the substrate is sound, they will install new siding, ensuring it matches your existing exterior and is fastened according to manufacturer specifications and building codes to prevent future failures.
Choosing the Right Materials and Contractor
If replacement siding is needed, getting an exact match is key to a seamless repair. If you don’t have spare pieces, a contractor can help source a match or suggest the best alternatives. The quality of the repair is heavily dependent on the skill of the installer. Always choose a licensed, insured, and reputable siding contractor with proven experience.
Ask for references, look at their past work, and get multiple quotes before making a decision. A good contractor will not only perform a high-quality repair but will also provide a warranty on their workmanship, giving you peace of mind.
DIY vs. Professional Siding Repair: Making the Smart Choice
Deciding between a DIY fix and hiring a professional comes down to more than just cost. It involves an honest assessment of the damage, your own skills, and the potential risks involved. This table breaks down the key considerations to help you make an informed choice.
| Factor | DIY Repair | Professional Repair |
|---|---|---|
| Scope of Work | Best for single, undamaged panels that have come loose. Not suitable for cracks, holes, or multiple detached sections. | Necessary for extensive damage, underlying water or structural issues, and repairs requiring color-matching. |
| Cost | Low initial cost (tools and materials only). Potential for higher long-term costs if done incorrectly. | Higher upfront cost for labor and materials. Often more cost-effective in the long run by preventing future issues. |
| Tools & Skills | Requires basic tools (zip tool, hammer) and an understanding of how siding interlocks and fastens. | Professionals have specialized equipment, access to matching materials, and the expertise to diagnose root causes. |
| Time & Safety | Can be quick for simple fixes. Involves safety risks, especially when working on a ladder. | Efficient and timely completion. Professionals are insured and follow safety protocols for working at heights. |
| Warranty & Guarantee | No warranty on workmanship. If the repair fails, you are responsible for fixing it again. | Reputable contractors provide a warranty on their labor, offering protection and peace of mind. |
Prevention Is the Best Policy: How to Keep Your Siding Secure
The best way to deal with falling siding is to prevent it from happening in the first place. Proactive maintenance and regular inspections can help you identify and address potential issues before they escalate into costly emergencies. A little attention goes a long way in preserving your home’s exterior.
Conduct Biannual Siding Inspections
At least twice a year, in the spring and fall, take a slow walk around your home and carefully inspect your siding. Look for any panels that appear loose, cracked, or warped. Pay close attention to the areas around windows and doors, as well as the corners of your house, as these are common failure points.
Check the caulking around trim and openings to ensure it is intact and not pulling away. Early detection of a small issue, like a single loose panel or a cracked piece of caulk, can prevent widespread damage down the line.
Maintain Your Gutters and Landscaping
Proper water management is critical to the health of your siding. Clogged gutters are a primary cause of water damage, as they can cause water to overflow and run down your walls, seeping behind the siding. Clean your gutters regularly to ensure they are directing water away from your home’s foundation.
Additionally, trim back any trees or shrubs that are touching or close to your house. Branches can scrape against the siding during high winds, causing damage, while dense foliage can trap moisture against the wall, promoting mold and rot.
Address Minor Repairs Promptly
If your inspection reveals a minor issue, don’t put off the repair. A small crack can allow moisture to penetrate the wall, and a single loose panel can be caught by the wind, leading to a chain reaction that damages adjacent panels. Remember that some siding types, like a popcorn exterior wall, may have unique repair needs.
Small, prompt repairs are almost always cheaper and easier than large-scale replacements. By staying vigilant and proactive, you can significantly extend the life of your siding and ensure it continues to protect your home effectively for years to come.