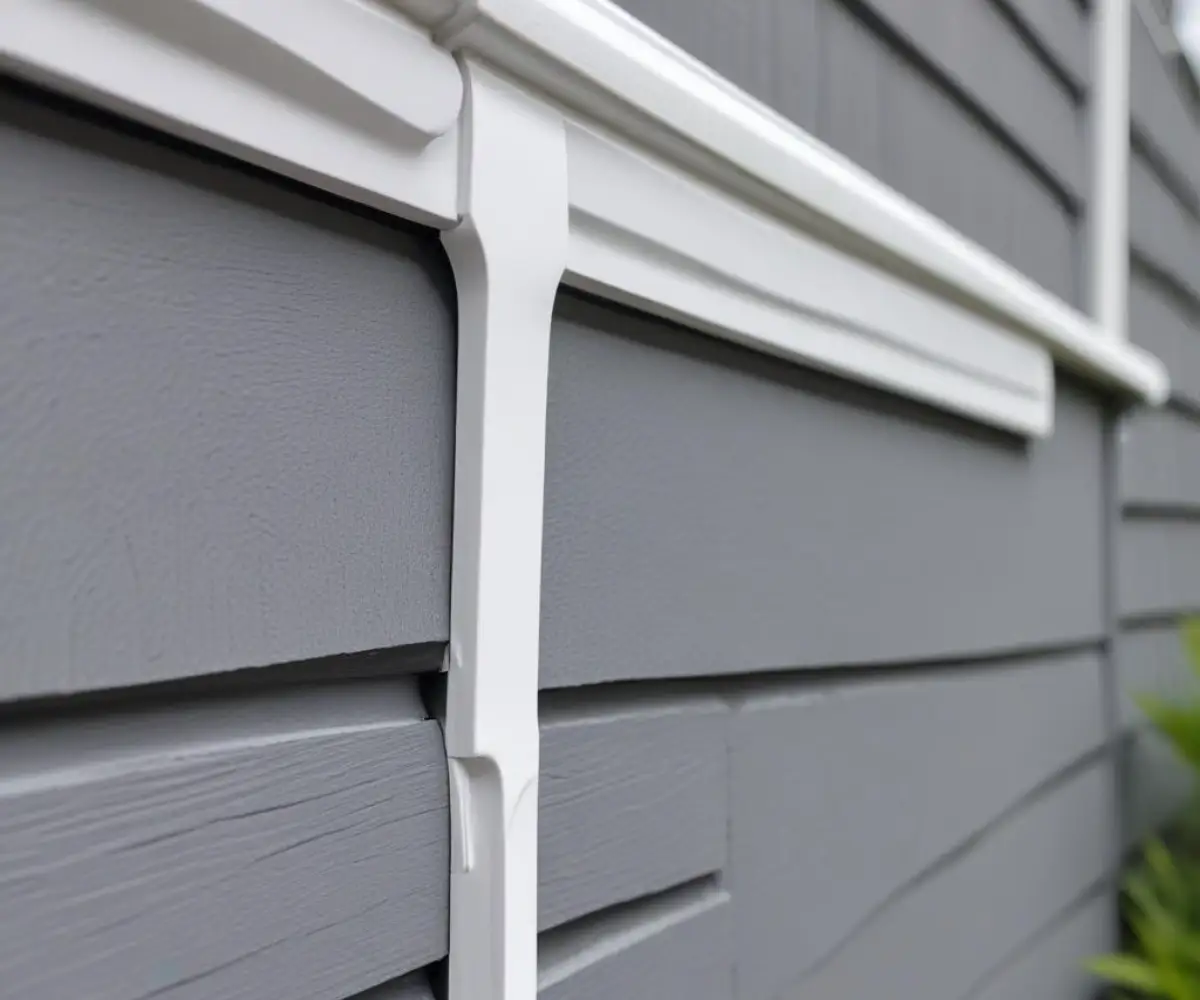
Stop! Using J-Channel at the Bottom of Siding is a Huge Mistake
You’ve seen it used to trim around windows, doors, and along the eaves of nearly every vinyl-sided home. J-channel is a ubiquitous and essential component for a clean, finished look. So, it only makes sense to use it at the very bottom of the wall to neatly tuck away that first course of siding, right? Wrong.
This common practice is one of the most significant and potentially damaging mistakes an installer can make. While it might look acceptable at first, placing a standard J-channel at the bottom of your siding creates a perfect storm for water damage, pest infestations, and long-term structural problems. This article will expose why this is a critical error and detail the professional method that ensures your home is protected.
You'll Learn About
The Great Debate: Why J-Channel at the Bottom Is a Problem
To understand the issue, you must first understand that vinyl siding is not a waterproof barrier. It is designed as a water-shedding system. Rainwater that hits the face of the siding runs down, but wind can drive moisture behind the panels, which is why a weather-resistant barrier (like house wrap) is installed underneath.
Trapped Water: The #1 Enemy of Your Home’s Exterior
The primary function of a siding system is to direct water down and away from the structure. A J-channel, by its very shape, does the exact opposite when installed horizontally at the bottom of a wall. It creates a trough that catches and holds water. Instead of allowing moisture to escape, it traps it against the bottom of your wall sheathing and sill plate.
This trapped moisture creates a constantly damp environment, which is a breeding ground for mold, mildew, and wood rot. Over time, this can compromise the structural integrity of your home’s foundation. The bottom edge of every vinyl siding panel has small, built-in weep holes designed specifically for drainage, and a J-channel completely blocks them, defeating a critical design feature.

Pest and Debris Accumulation
That open channel doesn’t just collect water; it becomes a welcoming habitat for insects and a collector for debris. Spiders, ants, and wasps love the protected space to build nests. Leaves, dirt, and grass clippings get blown in and accumulate, creating a compost-like sludge that holds even more moisture against your home.
This buildup is not only unsightly but also exacerbates the moisture problem. The debris acts like a sponge, ensuring the area stays wet long after a rainstorm has passed. This can lead to discoloration of the siding and further attract wood-destroying organisms.
The Professional Solution: What to Use Instead of J-Channel
The correct component for starting the first row of horizontal vinyl siding is not J-channel, but a dedicated **starter strip**. This component is specifically designed for this purpose and is the foundation of a durable, professional siding installation.
Understanding the Starter Strip: The Foundation of Your Siding
A starter strip is a thin piece of vinyl or metal that is installed first, at the very bottom of the wall where the siding will begin. It features a unique locking flange along its top edge. The bottom lip of the first course of siding hooks securely into this flange, holding it straight and firm.
Unlike J-channel, the starter strip is almost completely hidden once the first panel is installed. It provides a secure anchor point without creating a channel that traps water. This allows the weep holes on the bottom of the siding panel to function as intended, letting any moisture that gets behind the siding drain away freely.
Step-by-Step: Installing a Starter Strip Correctly
Proper installation of the starter strip is crucial for the entire siding job. An unlevel starter strip will result in crooked siding courses all the way up the wall.
1. Find the Lowest Point: Identify the lowest corner of the wall where the siding will be installed.
2. Snap a Level Chalk Line: From the lowest point, measure up and snap a level chalk line around the entire perimeter of the house. The starter strip’s top edge will align with this line.
3. Position and Fasten: Align the top of the starter strip with your chalk line and fasten it to the wall sheathing. Place nails every 8-12 inches, in the center of the nailing slots. Do not nail it tight; leave about 1/32-inch of space to allow for expansion and contraction.
4. Leave Gaps: Leave a 1/4-inch gap between adjoining pieces of starter strip and where they meet corner posts to accommodate thermal movement.
5. Lock the First Course: Once the starter strip is installed all the way around, you can simply hook the bottom lip of your first piece of siding into it and nail it off.
| Feature | Starter Strip (Correct Method) | J-Channel at Bottom (Incorrect Method) |
|---|---|---|
| Water Drainage | Excellent; allows water to drain freely through siding weep holes. | Poor; traps water, leading to potential rot, mold, and mildew. |
| Pest Resistance | Good; provides no open channel for insects to nest. | Poor; creates an ideal, protected space for pests. |
| Debris Accumulation | Minimal; no trough to collect leaves, dirt, or grass. | High; channel collects debris which holds moisture. |
| Installation Purpose | Specifically designed to lock and secure the first course of siding. | Designed for trimming ends of siding, not for starting a course. |
| Finished Look | Clean and professional; starter strip is hidden from view. | Can look bulky and often collects unsightly dirt and stains. |
Are There *Any* Exceptions? When J-Channel Might Be Used (With Modifications)
While a starter strip is the standard for the bottom of a wall at the foundation, there are rare situations where a J-channel might be used as a receiver, such as where siding terminates against a deck or a low-sloping roof. However, even in these cases, it must be modified.
The Crucial Modification: If you absolutely must use J-channel in a horizontal application at the bottom of a run, you must provide a path for water to escape. This means you need to drill 1/4-inch weep holes every 12 to 16 inches along the bottom face of the J-channel. This modification turns the water-trapping channel into a water-draining one, preventing the most severe moisture issues. Still, this is a workaround, not the ideal solution.
Solving Common Problems at the Bottom of Your Siding
A proper foundation for your siding prevents many future headaches. Here’s how to handle some related issues.
What If My Bottom Piece of Siding is Loose?
A loose bottom course is almost always a sign of a failed or improperly installed starter strip. High winds can catch the edge and pop it loose. If you ever have to reattach siding that blew off, a secure starter strip is the key to preventing a repeat incident. A siding zip tool can often be used to re-engage the panel with the strip.
How Much Clearance Do I Need From the Ground?
Never run your siding all the way to the ground. Building codes and best practices recommend a minimum clearance of 6 to 8 inches between the bottom of the siding and the ground or any hardscaping like a patio. This prevents moisture from the soil from wicking up into the wall sheathing and makes it easier to spot termite activity.
Mounting Fixtures on Your Siding
A solid base installation is the first step before adding exterior decorations or utilities. When adding fixtures, always use proper mounting blocks designed for siding. This is true whether you are figuring out how to attach house numbers to vinyl siding or a porch light. These blocks provide a stable, flat surface and prevent water from getting behind the siding panels, a principle that applies even on more difficult surfaces, much like when you need to mount a light on uneven stone.
The Bottom Line: Start Your Siding Right
The bottom course of siding is the foundation for the entire wall. Getting it wrong can lead to a cascade of problems that are expensive and difficult to fix. By using the correct component—the starter strip—you ensure that your siding can effectively manage moisture, resist pests, and maintain its beautiful appearance for decades.
Avoid the temptation to cut corners by using J-channel where it doesn’t belong. A proper siding job is about more than just looks; it’s about protecting the structure of your home. Always start right from the bottom up.

