Is Your Sagging Ceiling a Disaster Waiting to Happen? Yes.
That subtle dip in your ceiling you’ve been ignoring? It’s not just a cosmetic flaw. A sagging ceiling is a serious warning sign that should never be dismissed. It’s your home’s way of telling you something is critically wrong, and ignoring it could lead to catastrophic failure, property damage, and severe injury.
Many homeowners notice a slight bow or a few new cracks and assume it’s just the house settling. But the forces at play are often far more dangerous. Understanding the root cause is the first step toward preventing a disaster and ensuring the safety of your home and family.
You'll Learn About
Decoding the Sag: Top 5 Reasons Your Ceiling is Failing
A ceiling doesn’t sag for no reason. It’s under immense strain from a variety of hidden culprits. Identifying the cause is crucial for a safe and effective repair.
1. The Silent Destroyer: Water Damage
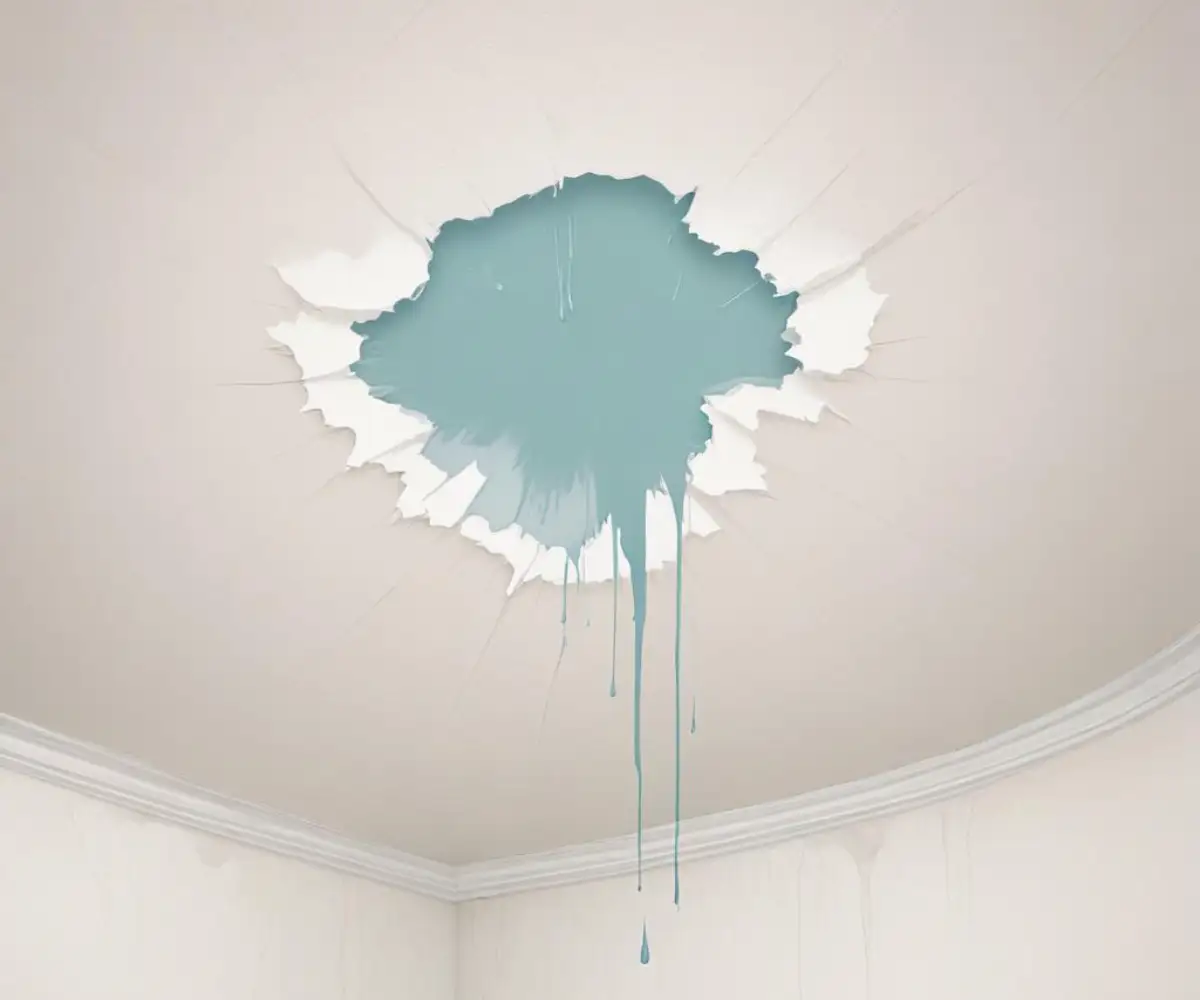
By far the most common cause of a sagging ceiling is water. A slow leak from a roof, a faulty pipe in the attic, or even condensation from HVAC systems can saturate the drywall and insulation above. Waterlogged insulation is incredibly heavy, and the moisture weakens the structural integrity of the drywall or plaster, causing it to stretch, bow, and eventually break.
Telltale signs include yellowish-brown stains, peeling paint, or visible moisture. Water damage doesn’t just threaten the ceiling; it creates a perfect breeding ground for mold, which can cause significant health problems. A persistent musty smell is a major red flag that you have a moisture issue that needs immediate attention.
2. Structural Integrity Compromised
Your home’s frame is its skeleton. If any part of it is damaged or inadequate, the strain will show in your walls and ceilings. Ceiling joists that are undersized, spaced too far apart, or damaged can lead to a noticeable sag. This is a serious structural issue that requires immediate professional assessment.
Sometimes, previous renovations are to blame. Understanding what happens if you remove a wall without a permit is critical, as removing a load-bearing wall without proper support can shift immense weight onto the ceiling structure, causing it to fail over time. Even natural settling of a home’s foundation can cause shifts that stress ceiling materials.
3. The Unseen Threat: Termite Damage
Termites are infamous for their destructive capabilities. These pests can silently chew through wooden ceiling joists and support beams, compromising the structural integrity of your ceiling from the inside out. By the time you notice a sag, the damage can be extensive and costly to repair.
Signs of a termite infestation include discarded wings, mud tubes on foundation walls, or hollow-sounding wood. If you suspect termites, it’s crucial to call a pest control expert and a structural engineer to assess the damage.
4. The Burden of Age and Gravity
Time and gravity affect everything, including your home. In older houses, the adhesives and fasteners that hold the ceiling plasterboard can weaken and fail over the decades. Plaster, being heavy, can begin to pull away from the lath or joists, creating a noticeable droop.
This is often a slow process, starting with fine, spiderweb-like cracks near walls or joints. While it may not seem urgent, an aging ceiling that is beginning to sag has lost its structural support and is at a higher risk of collapse.
5. Flawed Installation and Subpar Materials
Sometimes the problem dates back to the day the ceiling was installed. Poor workmanship can lead to premature failure. Common mistakes include using too few screws or nails, using fasteners that are too short, or applying insufficient adhesive to secure the drywall panels to the joists.
Using 1/2-inch drywall on joists spaced 24 inches apart, for example, is often not strong enough to support its own weight and the weight of insulation without sagging over time. The proper material is 5/8-inch drywall for this span, but cutting corners is a frequent cause of future problems.
Emergency or Minor Issue? How to Assess the Danger Level
Not every crack signals an imminent collapse, but some signs demand immediate action. Knowing the difference can protect your family and your property. Use this table to quickly gauge the severity of your sagging ceiling.
| Warning Sign | Severity Level | Recommended Action |
|---|---|---|
| Faint, hairline cracks with no discoloration or bowing. | Low | Monitor the cracks for any changes. Check for drafts or humidity issues that could be causing minor shifts. |
| Yellow or brown stains accompanying a slight sag. | Medium | Immediately search for the source of the water leak. Check the attic, roof, and any upstairs plumbing. Contact a roofer or plumber. |
| A noticeable dip or bow in the center of the ceiling. | High | The ceiling material is losing its attachment. Keep people out of the room and call a ceiling repair professional or contractor right away. |
| Loud cracking or popping sounds coming from the ceiling. | EMERGENCY | Evacuate the room immediately. This indicates the structure is under acute stress and could fail at any moment. Call a structural engineer or emergency contractor. |
| Visible cracks that are widening, or drywall tape pulling away. | High | This is a clear sign of movement and structural failure. Do not delay in calling a professional for an inspection. |
The Hidden Dangers You Can’t See
The visible sag is only part of the problem. What lurks above can be even more hazardous. A ceiling cavity can hide dangers like mold growth, frayed electrical wiring from water damage, and compromised structural beams.
Ignoring a water-related sag can lead to poor indoor air quality from mold spores, which can trigger allergies and respiratory issues. Furthermore, moisture near electrical fixtures is a significant fire hazard. Never underestimate the secondary risks associated with a failing ceiling.
Your Immediate Action Plan for a Sagging Ceiling
If you’ve determined your ceiling is a potential hazard, taking swift and correct action is vital. Do not attempt to fix a significantly sagging ceiling yourself. The weight of drywall and plaster is substantial, and a collapse during a DIY repair attempt can be devastating.
Step 1: Secure the Area
The moment you suspect a real danger, make the room unsafe for entry. Remove any valuable furniture or items from directly under the sagging area if it is safe to do so. Cordon off the room to ensure family members and pets do not enter.
Do not poke or push on the sagging area. This can trigger a collapse. The goal is to minimize all vibrations and stress on the compromised structure until a professional can assess it.
Step 2: Turn Off Utilities if Necessary
If you see signs of water damage or hear dripping, shut off the water supply to that area of the house if possible. If the sag is near light fixtures, it’s wise to turn off the electricity to that room at the circuit breaker to prevent electrical shorts or fire.
Step 3: Call in the Professionals
Your first call should be to a reputable building inspector, structural engineer, or a licensed ceiling repair contractor. They can accurately diagnose the root cause of the problem—whether it’s a structural failure, a water leak, or something else. A professional assessment is non-negotiable for ensuring a safe, long-term solution.
If the inspection reveals a hole is needed to assess the damage, you might wonder how to temporarily cover a hole in the ceiling to keep dust and debris contained before the full repair begins.
The Professional Repair Process: What to Expect
Repairing a sagging ceiling is not a simple patch job. A professional will follow a systematic process to ensure the fix is permanent and safe. This typically involves identifying and stopping the source of the problem first.
For minor sags caused by failed fasteners, the ceiling might be propped up and re-secured with new, longer drywall screws. For more severe cases, especially those involving water damage, the process is more invasive. This is because water can cause other issues, such as crumbling particle board under countertops in rooms above, indicating a widespread moisture problem.
Removing the Damaged Section
A professional will cut out the entire affected area of drywall or plaster. This allows for a thorough inspection of the ceiling joists and insulation for any water damage, mold, or pest infestation. Any wet insulation will be removed and the cavity will be allowed to dry completely.
Reinforcing the Structure
If the ceiling joists are damaged, rotted, or undersized, they will need to be repaired or reinforced. This could involve “sistering” new joists alongside the old ones or adding support beams. This step is critical for ensuring the new ceiling has a solid foundation.
Installing New Ceiling Material
Once the structure is sound, new, moisture-resistant drywall will be installed. Professionals will use the correct thickness of drywall and the appropriate number and length of fasteners to prevent future sagging. The seams will be taped, mudded, and sanded to create a smooth, seamless finish ready for priming and painting.
Prevention is the Best Medicine: How to Avoid Future Ceiling Issues
Once your ceiling is repaired, the last thing you want is a repeat incident. Proactive maintenance is key to preventing future sagging and protecting your home’s value.
Regular Roof and Attic Inspections
Periodically inspect your roof for damaged or missing shingles, especially after major storms. Inside the attic, look for signs of water stains on the underside of the roof sheathing, damp insulation, or any signs of leaks around vents and chimneys.
Control Humidity and Ensure Proper Ventilation
Ensure your attic has adequate ventilation to prevent moisture buildup and ice dams in the winter. In bathrooms and kitchens, always use exhaust fans to vent humid air outside, not into the attic. This simple step can prevent the slow, steady moisture accumulation that weakens ceiling materials over time.
Don’t Overload Your Attic
Attics are not designed for heavy storage. Piling heavy boxes onto your ceiling joists can cause them to bow and sag over time. If you need to use your attic for storage, ensure you place items over load-bearing walls or install a proper flooring system designed to distribute weight safely.