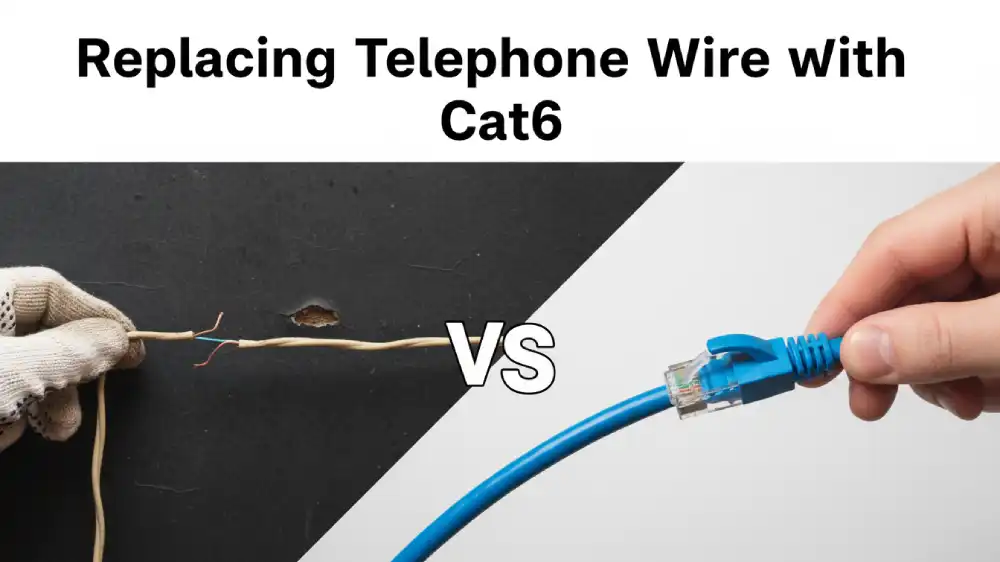
Replacing Telephone Wire with Cat6: The Ultimate 2025 Guide
Is your home plagued by sluggish Wi-Fi, frustrating video call drops, and endless buffering? You’ve likely tried upgrading your router and internet plan, yet the core problem might be lurking unseen within your walls.
Many homes built in the 20th century are crisscrossed with outdated telephone wiring that sits completely unused. This guide reveals how you can transform that dormant infrastructure into a high-speed, reliable wired network using Cat6 cable, permanently solving your connectivity issues.
You'll Learn About
Why Your Old Telephone Jacks Are a Goldmine for Modern Networking
Those obsolete beige phone jacks on your walls are more than just relics of a bygone era. They represent pre-existing pathways through your home’s framing, making them the perfect conduits for a massive networking upgrade without the headache of drilling new holes.
By replacing the old, low-capacity phone wire with modern Cat6 ethernet cable, you create a private data superhighway inside your home. This delivers unparalleled speed and stability directly to your most important devices.
Understanding the Core Problem: The Limits of Outdated Wiring
Traditional telephone wire, often categorized as Cat1, Cat2, or Cat3, was designed for a single purpose: carrying analog voice signals. It typically consists of two or four thin, untwisted copper wires, making it extremely susceptible to electronic interference from power cords, appliances, and other signals.
This type of wiring is simply not built to handle the massive amounts of data required by modern streaming, gaming, or remote work. Attempting to use it for a network connection results in incredibly slow speeds and constant packet loss, rendering it effectively useless.
What is Cat6 and Why is it a Game-Changer?
Cat6 (Category 6) cable is the modern standard for wired networking in homes and offices. It consists of eight copper wires, organized into four tightly twisted pairs. This design is crucial for canceling out electromagnetic interference (EMI), a phenomenon known as crosstalk.
Think of it as upgrading from a winding, single-lane dirt road to an eight-lane superhighway. Cat6 can handle data speeds up to 10 Gigabits per second (Gbps) over shorter distances, while standard phone lines struggle to even reach 10 Megabits per second (Mbps)—a thousand-fold difference in potential speed.
Before You Start: The Critical Planning Phase
A successful project requires careful planning. Before you touch a single wire, you must assess your home’s current wiring layout and gather the necessary tools and materials. This preparation will save you significant time and prevent costly mistakes.
The Most Important Question: Is Your Wiring Daisy-Chained or Home-Run?
This is the single most important factor determining the difficulty of your project. Old telephone lines were installed in one of two ways, and one is far better for an ethernet conversion.
A “Home Run” (or Star Topology) setup is the ideal scenario. In this configuration, each individual phone jack has its own dedicated cable that runs directly back to a central point, often a utility closet, basement, or garage where the telephone service enters the house. This is perfect for an ethernet upgrade, as each run can be converted into a dedicated network drop.
A “Daisy-Chain” setup is more problematic. Here, a single cable runs from the service entry to the first jack, then another cable runs from the first jack to the second, and so on in a series. This method saved on cable but is completely incompatible with ethernet, which requires a dedicated, unbroken connection from the switch to the device. If you have a daisy-chained system, you cannot simply replace the wire; you will need to run all new, individual cables from a central hub to each desired location.
Essential Tools and Materials Checklist
Having the right tools is non-negotiable for a clean, professional-grade installation. While you can buy tools individually, many are available in affordable networking toolkits online. Ensure you have everything prepared before you begin.
| Item | Purpose | Notes |
|---|---|---|
| Bulk Cat6 Cable | The new network wiring. | Choose solid copper, not CCA (Copper Clad Aluminum). UTP (Unshielded Twisted Pair) is sufficient for most homes. |
| RJ45 Keystone Jacks | The female connectors that mount in the wall plates. | Ensure they are rated for Cat6. |
| Punch-Down Tool | Seats the individual wires into the keystone jack. | A 110-style blade is the standard. |
| Network Cable Tester | Absolutely essential. Verifies that your connections are wired correctly. | A simple continuity tester is the minimum requirement. |
| Network Switch | The central hub where all Cat6 runs connect. | Choose one with enough ports for all your planned runs, plus a few extra. |
| Fish Tape or Pull String | Used to pull the new cable through walls if the old wire breaks or is stapled. | A 25-50 ft. length is usually adequate for home use. |
| Electrical Tape | For securely attaching the new Cat6 cable to the old phone wire for pulling. | Use a high-quality tape for a strong bond. |
| Drywall Saw & Screwdrivers | For removing and replacing wall plates. | Standard home improvement tools. |
The Step-by-Step Guide to Replacing Telephone Wire with Cat6
With your planning complete and your tools gathered, it’s time to begin the physical process of upgrading your home’s nervous system. Work methodically, one cable run at a time, and always prioritize safety.
Step 1: Preparation and Safety
Start by going to the central location where your phone lines converge (the network interface device or an internal punch-down block). Disconnect the old telephone lines completely to ensure they carry no voltage from the phone company.
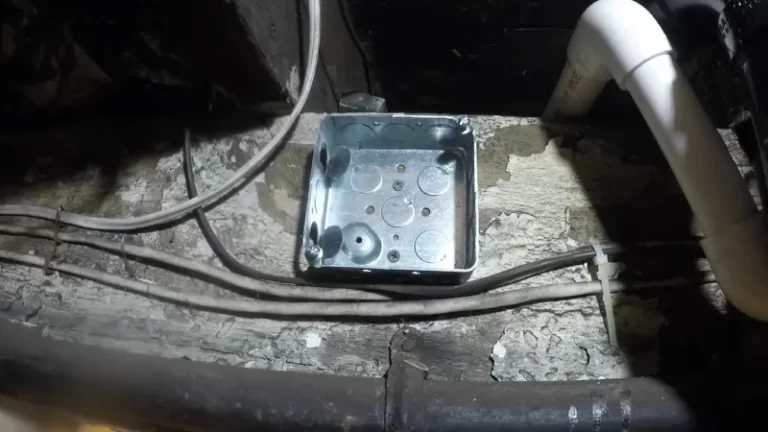
Next, choose one cable run to start with. Go to the corresponding room, unscrew the old phone jack wall plate, and gently pull the plate and jack away from the wall. You should see the old telephone wire coming through the drywall.
Step 2: The “Pull” – Using the Old Wire as a Guide
This is the most critical part of the process. The goal is to use the existing telephone wire as a built-in pull string for your new Cat6 cable. Carefully strip about 6 inches of the outer jacket from both the old phone wire and the new Cat6 cable.
Intertwine the exposed copper wires of both cables and then wrap them tightly and securely with a high-quality electrical tape. You want to create a smooth, tapered connection that won’t easily snag on obstacles inside the wall. Do not just tape the cables end-to-end, as this will likely fail mid-pull.
Go to the central hub location and begin pulling the old telephone wire slowly and steadily. It is highly recommended to have a partner at the other end to help feed the new Cat6 cable into the wall, ensuring it doesn’t kink or get tangled. If you feel significant resistance, stop and investigate; the wire may be caught on something or, more commonly, stapled to a wall stud.
Step 3: Terminating the Cat6 Cable
Once you have successfully pulled the new Cat6 cable to the room, leave a few feet of slack on both ends and cut the cable. At the wall plate, you will terminate the cable into a keystone jack. Separate the four twisted pairs and follow the T568B color code printed on the side of the jack.
Place each wire into its corresponding color-coded slot and use your punch-down tool to firmly press it into place. The tool will cut the excess wire automatically. Snap the terminated jack into a new wall plate designed for keystone inserts.
Step 4: Setting Up the Central Hub (Your New “Command Center”)
Back at your central location, all the new Cat6 runs will converge. This is where you will set up your network hub. For a clean installation, you can use a patch panel, which is a board of keystone jacks where you terminate the in-wall cables.
Terminate the hub-side of each Cat6 run into the back of the patch panel, again using the T568B standard. Then, use short, pre-made ethernet patch cables to connect each port on the patch panel to a port on your network switch. Finally, connect your router’s LAN port to one of the switch’s ports to provide internet to your entire new wired network.
Step 5: Testing, Testing, and More Testing
Before you screw everything back into the walls, you must test every single connection. Plug your network cable tester into the wall jack in the room and the corresponding port on your patch panel. A successful test will show a one-to-one connection for all eight wires.
If the tester shows a failure (like a “short,” “open,” or “crossed pair”), the most likely culprit is a faulty termination. Re-check your work and re-terminate the jack on one or both ends until you get a pass. Ensuring solid connections now is much easier than troubleshooting a dead port later; it’s as important as knowing how long for roof flashing to fully cure to guarantee a watertight seal.
Common Problems and Advanced Troubleshooting
Even with careful planning, you can run into unexpected challenges. The construction of older homes can be unpredictable. Here is how to handle some of the most common issues that arise during this project.
Help! The Old Wire is Stapled Inside the Wall!
This is a frequent and frustrating problem. Installers in the past often used staples to secure telephone wire to wall studs, making it impossible to pull. If you pull and the wire will not budge, do not force it, or it will break.
Your best option is to use a fish tape. This is a semi-rigid tape that can be “fished” through wall cavities. Push the fish tape from one end until your partner can grab it at the other, then tape the Cat6 cable to it and pull it through. This requires more skill but is the standard method for running wires through closed walls.
My Cable Test Failed. Now What?
A failed test almost always points to a problem at one of the termination points. The first step is to visually inspect both ends. Did you use the T568B color code for both? Are all wires punched down firmly? Are any of the delicate copper wires broken?
Cut off the existing jack and terminate a new one. About 99% of the time, this will solve the problem. If it still fails, inspect the length of the cable for any severe kinks or damage that may have occurred during the pull.
Daisy-Chained Wires: Do I Have Any Options?
If you’ve discovered your wiring is daisy-chained, you have a more significant project ahead. The only way to create a proper ethernet network is to abandon the existing wire and run new, dedicated “home run” cables from a central hub to each location.
While this is more work, it is the only correct way to do it. Dealing with this kind of outdated infrastructure can feel as daunting as deciding what to do with a capped-off gas fireplace in your living room. The best solution is a modern replacement, not a workaround.
Beyond Speed: The Future-Proof Benefits of a Wired Network
The primary motivation for this project is usually faster internet, but the benefits go far beyond that. A wired home is a future-proofed home, ready for the next generation of technology.
Power Over Ethernet (PoE)
One of the most powerful features of Cat6 is its ability to carry not just data, but also low-voltage electrical power. This technology, called Power over Ethernet (PoE), allows you to power devices directly through the network cable, eliminating the need for a separate power adapter.
This is perfect for installing devices where outlets are not convenient, such as ceiling-mounted Wi-Fi access points, security cameras, or VoIP phones. You just need to ensure your network switch is PoE-capable.
Unbeatable Reliability and Security
A wired connection is inherently more stable and secure than a wireless one. It is not affected by interference from your neighbor’s Wi-Fi network or common household appliances like microwaves. This makes it the superior choice for activities where a stable connection is paramount, such as competitive online gaming, important business video conferences, or streaming high-bitrate 4K content.
Furthermore, your data is contained within a physical cable, making it far less susceptible to snooping than a signal broadcast through the air. This is crucial for maintaining the security of your home network.
Increasing Your Home’s Value
In today’s connected world, a professionally installed, whole-home wired network is a significant selling point. Prospective buyers, especially those who work from home or are tech-savvy, see it as a premium utility, much like modern plumbing or updated electrical systems.
Investing a weekend into this project can add tangible value and appeal to your property. It’s an upgrade that pays for itself in both daily convenience and long-term equity. Maintaining such systems is key; you want everything to be solid, just as you’d want to know how to keep chair screws from loosening on your furniture.
DIY or Hire a Pro? Making the Right Choice
Deciding whether to tackle this project yourself or hire a low-voltage electrician depends on your skills, time, and the complexity of your home’s wiring.
The Case for DIY
If your home has a simple “home run” wiring layout and you are comfortable with basic home improvement tasks, this is an incredibly rewarding and cost-effective DIY project. The total cost of tools and materials for an entire house can often be less than a few hours of a professional’s labor.
The satisfaction of building your own high-performance network is immense, and you will gain valuable skills that can be used for future projects.
When to Call a Professional
If you have a multi-story home, discover daisy-chained wiring, or are simply not comfortable working inside walls, it is wise to call a professional. They have advanced tools like long flexible drill bits and inspection cameras that can make short work of complex runs.
A professional can also certify their work, guaranteeing that every connection meets its rated speed. While it costs more upfront, it provides peace of mind and a guaranteed outcome.
Your Final Step Towards a Flawless Home Network
Transforming your home’s obsolete telephone lines into a high-speed Cat6 network is one of the most impactful upgrades you can make to your digital life. It is the permanent solution to the Wi-Fi woes that plague so many modern, device-filled households.
By investing the time to plan and execute this project correctly, you will build a digital foundation that is not only incredibly fast and reliable today but is also ready for the technological demands of tomorrow.