Stop! Before Replacing a Shower Faucet With a Different Brand
You’ve decided it’s time for an upgrade. That old, leaky, or simply outdated shower faucet has to go. But a simple replacement feels too easy—you want to switch things up, maybe move from a builder-grade chrome fixture to a sleek, matte black design from a completely different brand.
This common home improvement goal often hits an unexpected roadblock: the shower valve hidden behind the wall. Many homeowners assume you can simply swap any faucet trim onto any valve, but the reality is far more complex. This guide breaks down the critical compatibility issues you must understand before starting this project.
You'll Learn About
The Core of the Problem: The Shower Valve
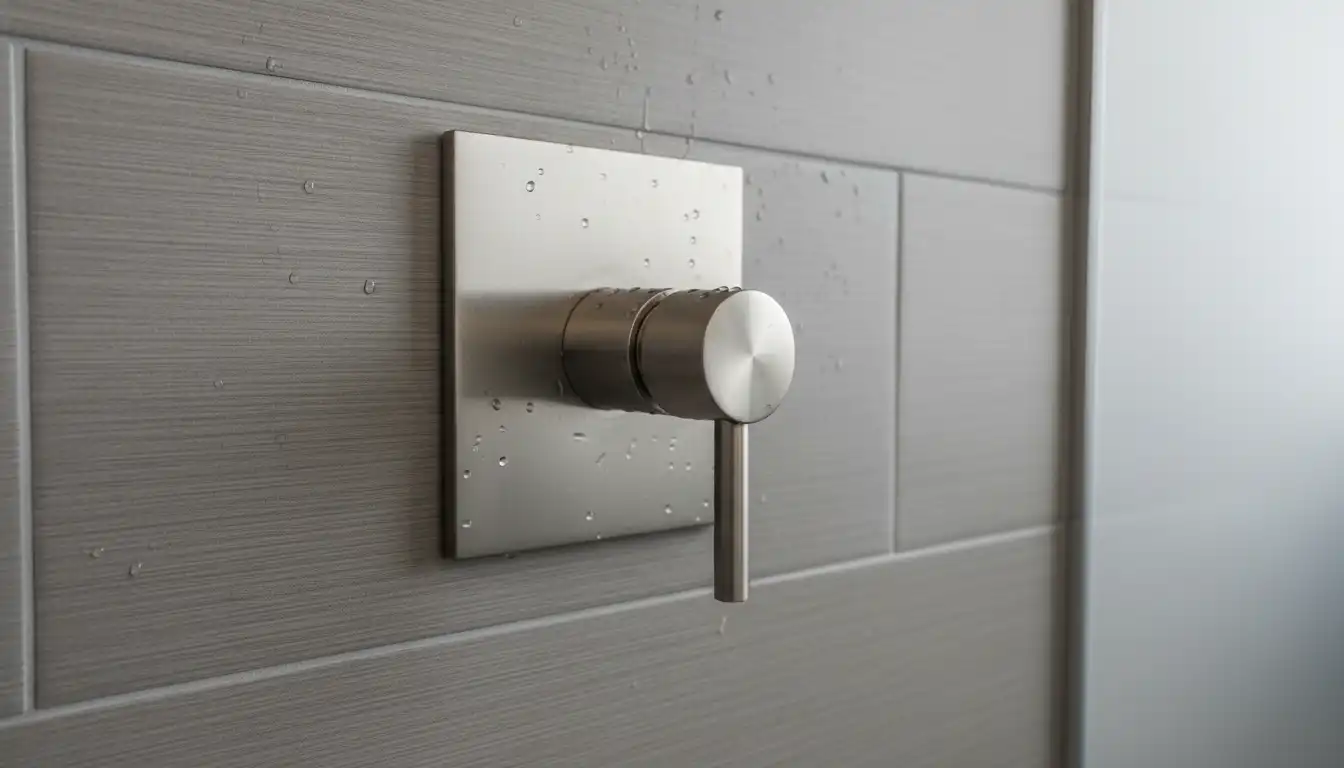
The handle and spout you see are just the “trim.” The real workhorse is the shower valve, a brass fitting inside your wall that controls water flow and temperature. Crucially, shower valve bodies are brand-specific. You cannot install a Moen trim kit onto a Delta valve, or a Kohler trim onto a Moen valve.
The internal components, screw placements, and cartridge designs are proprietary. Attempting to force a mismatched trim kit onto an existing valve will lead to leaks, improper handle function, and potentially significant water damage inside your walls. The trim kit and the rough-in valve must be made for each other.
Why You Can’t Mix and Match Brands
Each major faucet manufacturer—like Moen, Delta, and Kohler—engineers their valves and trim kits as a complete system. The cartridge, which is the part inside the valve that regulates water, is designed to fit precisely within the valve body and connect perfectly with the handle. The screw holes on the escutcheon (the trim plate) are also positioned to align only with that brand’s valve.
Think of it like trying to put Ford parts in a Toyota engine; while they both perform the same basic function, the parts are not interchangeable. This lack of universal standardization is a major source of frustration for homeowners, but it’s the reality of the plumbing industry.
Step 1: Identify Your Existing Shower Valve Brand
Before you even browse for new faucets, your first task is to figure out what brand of valve is currently in your wall. This is the single most important piece of information you need. Without it, you cannot proceed correctly.
Look for brand markings on the existing faucet handle or the trim plate. Logos or brand names are often subtly etched into the surface. If you can’t find any, you may need to remove the handle and trim plate to get a better look at the valve or the cartridge itself, which might have markings.
What If There Are No Markings?
If you’re completely stumped, take clear photos of the faucet and the exposed valve cartridge. A knowledgeable employee at a plumbing supply store can often identify the brand based on the shape and color of the cartridge. This step is critical to avoid buying a completely incompatible product.
Step 2: Understanding Your Replacement Options
Once you know your existing valve’s brand, you have two primary paths forward. Your choice will depend on your budget, your desired outcome, and your willingness to tackle a more involved plumbing project.
Option A: Stick with the Same Brand (The Easy Way)
The simplest and most straightforward solution is to purchase a new trim kit from the same brand as your existing valve. For example, if you have a Moen valve, you can replace your old trim with any new Moen trim kit designed to fit that specific valve series.
Many brands offer “universal” valves that fit a wide range of their own trim kits, making upgrades easier. For example, the Delta MultiChoice Universal Valve is compatible with most Delta single-handle trims. This allows you to update the style and finish without touching the in-wall plumbing.
This is the ideal path for a quick aesthetic update. You get a brand-new look without the cost and complexity of major plumbing work. It’s a project most confident DIYers can handle in an afternoon.
Option B: Replace the Valve (The Hard Way)
If your heart is set on a faucet from a different brand, you have no choice but to replace the entire shower valve. This is a much more complex and expensive project that often requires professional help. Valve replacement involves opening up the wall behind the shower to access the plumbing.
This process typically includes cutting drywall, removing the old valve from the copper pipes, soldering or fitting the new valve, and then repairing the wall. While it is a significant undertaking, it gives you complete freedom to choose any brand and style of faucet you want. This is also a necessary step if your existing valve is old, failing, or not a pressure-balancing type, which can cause unsafe temperature spikes.
Comparing the Top Faucet Brands
If you do decide to replace the valve, you’ll be choosing from a market dominated by a few key players. Each has its own reputation for quality, innovation, and design, which can influence your decision.
| Brand | Key Strengths | Price Range | Primary Focus |
|---|---|---|---|
| Moen | Reputation for reliability, user-friendly features like MotionSense, and strong warranty support. | Mid-Range ($150 – $600) | Innovation and dependable performance for modern families. |
| Delta | Sleek modern designs, Touch2O technology, and often a more budget-friendly entry point for high-tech features. | Broad ($100 – $700+) | Combining affordability with cutting-edge technology. |
| Kohler | Associated with luxury, premium materials, and timeless, elegant designs. | Luxury ($200 – $1,200+) | High-end craftsmanship and sophisticated aesthetics. |
Essential Tools and Materials for the Job
Whether you are just replacing the trim or tackling the entire valve, you will need a specific set of tools. Being prepared is the key to a smooth and successful project.
For a Trim-Only Replacement:
- Screwdriver (Phillips and flathead)
- Allen wrench set
- Adjustable wrench or pliers (use a cloth to protect the finish)
- Plumber’s tape
- Utility knife (to score old caulk)
- Silicone caulk and caulk gun
For a Full Valve Replacement (Professional Recommended):
- All of the above, plus:
- Pipe cutter or tubing cutter
- Soldering torch and lead-free solder (for copper pipes)
- PEX crimping tools (for PEX pipes)
- Drywall saw
- New drywall, tape, and mud for repairs
A Step-by-Step Guide to Replacing the Faucet Trim
If you’ve confirmed your new faucet is compatible with your existing valve, you can proceed with the trim replacement. This process is generally straightforward and can dramatically update your bathroom’s look.
Step 1: Shut Off the Water Supply
This is the most important step. Locate the main water shut-off valve for your house and turn it off completely. Open the shower faucet and another faucet in the house (at a lower level, if possible) to drain the remaining water from the pipes.
Step 2: Remove the Old Faucet Trim
Start by removing the faucet handle. There is often a small set screw, sometimes hidden under a decorative cap, that you’ll need to loosen with an Allen wrench. Once the screw is loose, the handle should pull straight off.
Next, unscrew the screws holding the escutcheon (trim plate) to the wall. Carefully use a utility knife to cut through any old caulk sealing the plate to the shower wall. With the screws removed, the plate should come off, exposing the shower valve and the cartridge.
Step 3: Replace the Cartridge (Optional but Recommended)
While you have everything exposed, it’s a great time to replace the shower cartridge. Cartridges are the most common failure point in a faucet and replacing it now can prevent future leaks or temperature issues. Follow the manufacturer’s instructions to remove the old cartridge (usually held in by a retaining clip) and insert the new one.
Step 4: Install the New Trim
Follow the instructions included with your new trim kit. Typically, you will slide the new escutcheon over the valve and secure it with the provided screws. Ensure it is level before tightening completely.
Attach the new handle, securing it with its set screw. Make sure the handle is oriented correctly for hot and cold. Turn the water supply back on slowly and test for any leaks around the trim plate and handle before applying new caulk.
When to Call a Professional Plumber
While replacing a trim kit is a manageable DIY project, replacing the shower valve itself is best left to a professional. The risk of improper soldering, cross-threading pipes, or creating a leak inside the wall is high. A small mistake can lead to thousands of dollars in water damage repairs.
A professional plumber has the tools and experience to replace the valve correctly and efficiently, ensuring your new faucet works flawlessly for years to come. If you’re having trouble with stubborn pipes or are just not confident in your plumbing skills, making the investment in a plumber is a wise decision.
Beyond the Faucet: Other Considerations
When upgrading your shower faucet, consider the overall design of your bathroom. Ensure the new finish (like matte black, brushed gold, or oil-rubbed bronze) complements your other fixtures. This might also be a good time to tackle related issues, such as replacing old grout with a more durable caulk around the shower base. For ideas on sealing your shower, you might find our guide on replacing grout with caulk helpful.
If you’re undertaking a larger remodel, such as adding a shower to a jacuzzi tub, planning all your plumbing changes at once can be more efficient. Our article on adding a shower to a jacuzzi tub offers insights that could be useful. Also, if you’re experiencing flow issues, it might not be the faucet itself. Check out our post on GPM tub faucet problems to diagnose low flow rates.
Final Thoughts: Plan Before You Purchase
Replacing a shower faucet with a different brand is entirely possible, but it requires careful planning. The key takeaway is that the trim kit must match the valve in the wall. Identify your existing valve brand first, and then decide whether you want the simplicity of a same-brand trim update or the flexibility that comes with a full valve replacement.
By understanding the relationship between the trim and the valve, you can avoid common pitfalls and ensure your bathroom upgrade is a success. You’ll not only achieve the new look you desire but also maintain the long-term integrity of your plumbing system.