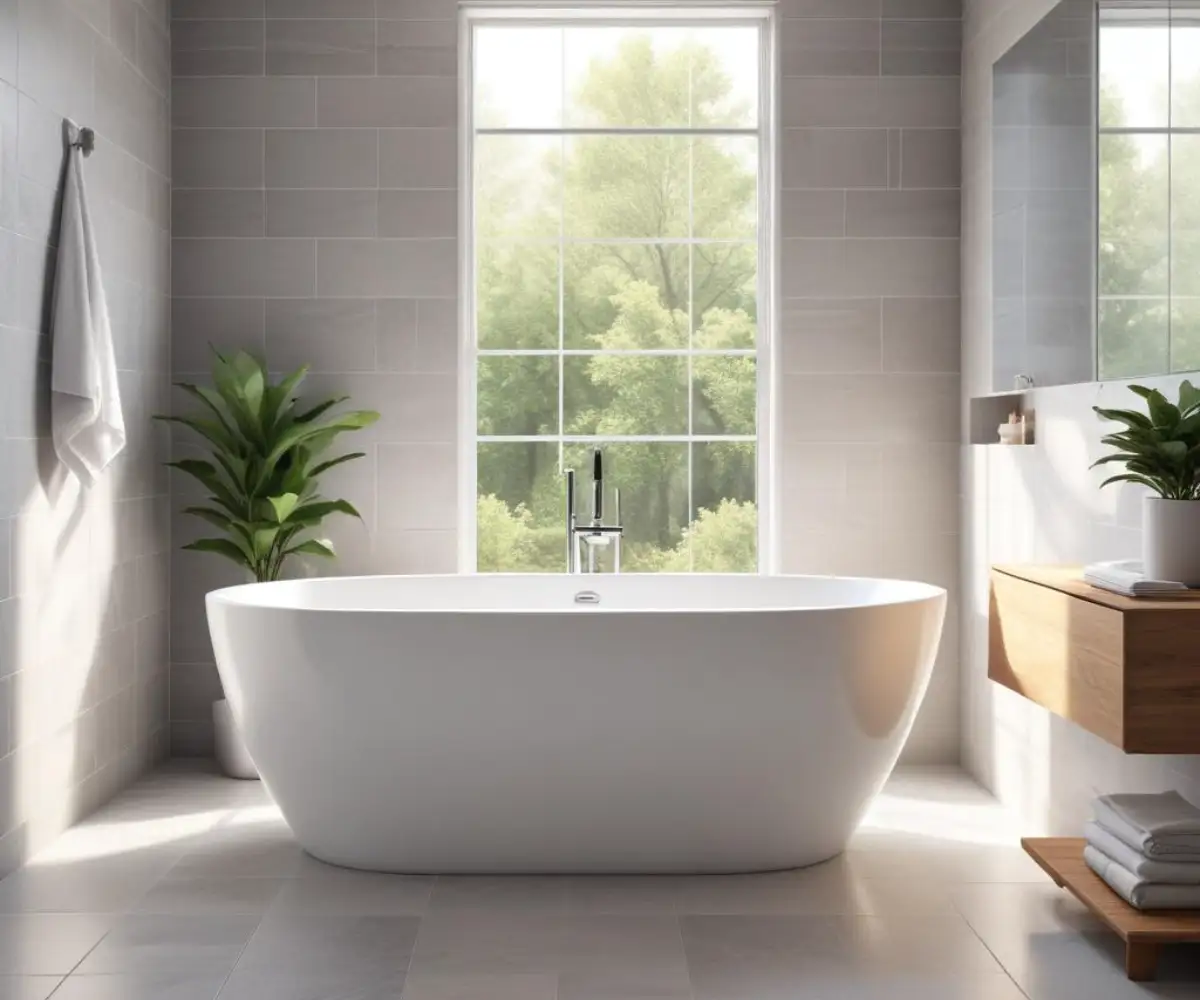
Replace Standard Tub With a Soaking Tub for a Spa Oasis
Is your standard, shallow bathtub more of a functional necessity than a relaxing retreat? Many homes are equipped with basic alcove tubs that are simply too small and shallow for a comfortable, immersive soak. This common problem leaves you with a bathing experience that’s underwhelming and fails to provide the stress relief you deserve.
Upgrading from a standard tub to a deep soaking tub can completely transform your bathroom into a personal spa. The process, however, involves more than just swapping one fixture for another. It requires careful planning, from measuring your space to understanding the structural and plumbing requirements necessary to support your new oasis.
You'll Learn About
Why a Soaking Tub is the Ultimate Bathroom Upgrade
The fundamental difference between a standard tub and a soaker is depth. Standard tubs typically have a water depth of around 12 inches, which is often not enough to submerge your body completely. Soaking tubs, on the other hand, boast depths of 14 to over 24 inches, designed specifically for full-body immersion and ultimate relaxation.
This increased depth not only provides a more luxurious bathing experience but also offers therapeutic benefits, such as soothing sore muscles and reducing stress. The upgrade is a direct investment in your daily well-being, turning a routine task into a restorative ritual.
Understanding the Scope: What’s Involved in the Swap?
Replacing a standard alcove tub with a soaking tub is a significant project. It involves demolition, potential plumbing adjustments, carpentry, and sometimes even structural reinforcement. While it’s a project that a seasoned DIYer might tackle, hiring a professional is often recommended to ensure a flawless, leak-free installation.
The total cost can vary widely, from a couple of thousand dollars to over $7,000, depending on the tub’s material, the complexity of the installation, and labor costs in your area. Factors like moving plumbing, reinforcing the floor, and repairing surrounding walls will all impact the final price.
Step 1: Planning and Preparation are Everything
Before you even think about demolition, meticulous planning is required. The success of your project hinges on getting the initial details right. This phase involves measuring, choosing the right tub, and assessing your bathroom’s structural and plumbing readiness.
Measure, Measure, and Measure Again
Accuracy is non-negotiable. Incorrect measurements are one of the most common and costly mistakes. Measure the length, width, and height of your existing tub’s alcove from wall to wall. Also, note the exact location of your current drain and overflow.
Don’t forget to measure doorways, hallways, and stairwells to ensure your new tub can physically make it into the bathroom. A beautiful tub is useless if it’s stuck in the hallway. A small amount of clearance, typically a quarter to a half-inch around the tub, is necessary for a proper fit.
Choosing Your Perfect Soaking Tub
Soaking tubs come in various styles, sizes, and materials, each with its own set of pros and cons. Freestanding tubs offer a stunning focal point but require more space and complex plumbing. Alcove soaking tubs are designed to fit into a standard three-wall space, making them a more direct replacement.
Common materials include acrylic, which is lightweight and affordable, and cast iron, which offers excellent heat retention but is extremely heavy. Other options like stone resin and copper provide unique aesthetics and durability at a higher price point. If you’re exploring different tub models, it’s worth looking into detailed comparisons, such as a showdown between Bootz Aloha and Maui tubs, to understand the nuances of different brands and materials.
The Hidden Hurdle: Floor Support and Structural Integrity
This is a critical step that is often overlooked. A soaking tub, when filled with water and a person, can weigh upwards of 1,000 pounds. Your existing floor joists may not be designed to handle this significant load, especially with heavier materials like cast iron.
It is highly recommended to consult a structural engineer or an experienced contractor to assess your floor’s capacity. Reinforcement, such as sistering joists (adding new joists alongside the old ones) or adding blocking, may be necessary to prevent catastrophic failure. Ignoring this could lead to cracked tiles, a sagging floor, or worse.
Step 2: Demolition and Installation Process
With a solid plan in place, it’s time for the physical work to begin. This phase is messy but transformative, taking you from the old, cramped tub to the spacious foundation for your new soaker.
Removing the Old Standard Tub
First, turn off the water supply to the bathroom. You’ll need to disconnect the drain, overflow, and faucet fixtures. The next step is to remove the wall surround, which could be tile, fiberglass, or acrylic panels. This often requires carefully cutting away drywall around the tub’s flange.
Once the surround is gone and the tub is disconnected from the wall studs, the old tub can be pried out. This can be a difficult task, as old tubs can be heavy and cumbersome. It’s often a two-person job.
Preparing the Space and Addressing Plumbing
With the old tub removed, you have a clear view of the subfloor and plumbing. This is the ideal time to make any necessary repairs or adjustments. Inspect the subfloor for any water damage and repair it as needed.
Depending on the drain location of your new soaking tub, you may need to reroute the plumbing. Freestanding tubs, for example, often have center drains, which will require moving the P-trap and drain pipe. This is a job best left to a licensed plumber to ensure it’s done correctly and to code.
Setting the New Soaking Tub
Placing the new tub requires precision. For alcove models, a mortar bed is often applied to the subfloor. This provides a solid, level, and supportive base that prevents the tub from flexing or cracking over time. Do not skip this step.
Carefully lower the tub into place, ensuring it is perfectly level. Secure the tub’s flange to the wall studs according to the manufacturer’s instructions. Once the tub is set, you can connect the new drain and overflow assemblies, testing thoroughly for leaks before proceeding.
Step 3: Finishing Touches for a Professional Look
With the soaking tub securely installed, the final steps involve rebuilding the surrounding area and ensuring a watertight, polished finish. These details are what separate an amateur job from a stunning, professional-looking bathroom renovation.
Waterproofing and Installing the New Surround
Proper waterproofing is essential to prevent moisture from getting into your walls. Install a cement backer board around the tub, and apply a waterproof membrane over it. This creates a barrier that protects the wall cavity from water damage and mold growth.
Once the area is waterproofed, you can install your new wall surround, whether it’s elegant tile, sleek solid surface panels, or another material of your choice. This is also a good time to consider updates to other parts of your home for a cohesive feel; for instance, a bathroom refresh can inspire other projects like refinishing mid-century kitchen cabinets to maintain a consistent aesthetic.
Final Plumbing and a Leak Test
Install the new faucet and shower trim. Once all fixtures are in place, it’s time for another critical leak test. Fill the tub completely and let it sit. Check all connections, including the main drain, the overflow, and the faucet supply lines, for any signs of dripping.
Proper water temperature is key to enjoying your new tub. If you find your hot water isn’t lasting long enough to fill the deeper basin, you might need to adjust your water heater. Learning how to warm up shower water effectively can involve checking your heater’s thermostat or even considering a larger unit to handle the increased demand.
Sealing and Caulking
The final step is to apply a bead of 100% silicone caulk around all seams where the tub meets the floor and the wall surround. This creates a flexible, watertight seal that prevents water from seeping into gaps. Smooth the bead for a clean, professional finish.
Comparing Tub Types: Alcove vs. Freestanding
Choosing between an alcove and a freestanding soaking tub is a major decision in this process. Your choice will impact the budget, timeline, and overall aesthetic of your bathroom. The table below breaks down the key differences to help you decide.
| Feature | Alcove Soaking Tub | Freestanding Soaking Tub |
|---|---|---|
| Installation | Fits into a three-walled enclosure; often a more direct replacement for a standard tub. | Requires open space and often more complex plumbing for a floor-mounted faucet. |
| Space Requirement | Space-efficient, ideal for smaller to medium-sized bathrooms. | Needs significant clearance on all sides, best suited for larger bathrooms. |
| Cost | Generally more affordable in terms of both the tub itself and installation labor. | Higher cost for the tub, faucet, and plumbing modifications. |
| Aesthetic | Integrated, traditional look. Can be combined with a shower. | Creates a dramatic, luxurious focal point in the bathroom. |
| Cleaning | Easier to clean with fewer exposed surfaces. | Can be difficult to clean behind and underneath the tub. |
Is a Soaking Tub Worth It?
The decision to replace a standard tub with a soaking tub is a significant investment in both your home’s value and your personal well-being. While the process is more involved than a simple fixture swap, the reward is a luxurious, spa-like experience available any time you wish.
By carefully planning, budgeting, and understanding the critical steps like structural support and waterproofing, you can ensure a successful project. The result will be a beautiful and functional centerpiece for your bathroom that provides endless hours of relaxation and comfort for years to come.