How to Get R49 Insulation in 2×10 Roof? [Step by Step Guide]
Insulating your roof can be a great way to save energy and money, and increase the comfort of your home. One type of insulation commonly used for roofing is R49 insulation, a high-density, energy-efficient material designed to keep your home warm in the winter and cool in the summer.
According to your requirements, you could use a closed-cell foam of 7-8 inches to insulate your roof to R49. For dense fiber materials or open foam cells, you might also use 12–13 inches. You need to have a sounding knowledge about roof insulation.
If you have a 2×10 roof and are interested in installing R49 insulation, this step-by-step guide will provide you with all of the information you need to get started. We will cover everything from measuring and purchasing the right amount of insulation, to preparing the roof and installing the insulation.
Additionally, we will discuss the importance of sealing any gaps or openings in the insulation to ensure that it is effective at keeping your home comfortable and energy-efficient. Finally, we will also discuss the importance of using a closed-cell foam of 7-8 inches to ensure that your insulation is as effective as possible.
You'll Learn About
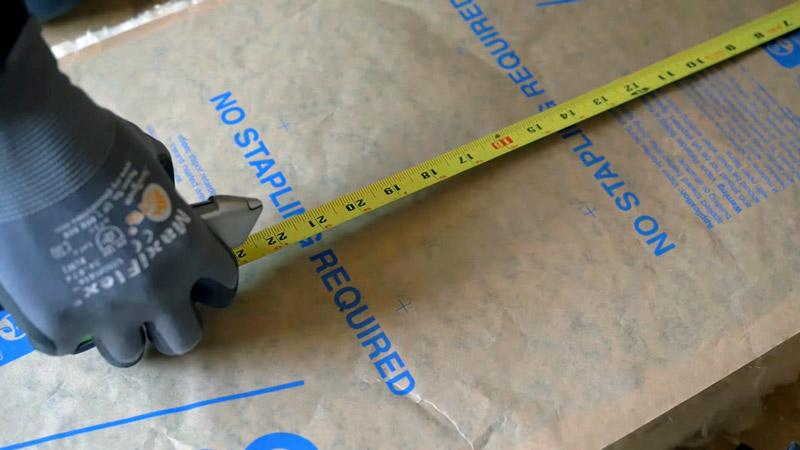
Measure the Area of the Roof
To measure the dimensions of the roof and determine how much insulation you will need, you will need to start by measuring the length and width of the roof. You can do this by using a tape measure or a laser distance meter. Be sure to measure from the outside edges of the roof, as this will give you the most accurate measurements.
Once you have the length and width of the roof, you will need to multiply these numbers together to find the total square footage of the roof. This will tell you how much insulation you will need to cover the entire roof.
It is important to remember that the thickness of the insulation will also affect the amount of insulation you need. R49 insulation is typically sold in rolls or batts that are either 3.5 inches or 5.5 inches thick. You will need to choose the right thickness based on your needs and the available space on your roof.
Once you have the total square footage of the roof and the thickness of the insulation you need, you can use this information to determine how many rolls or batts of insulation you will need. Be sure to add a few extra rolls or batts to your purchase to allow for any mistakes or waste during the installation process.
Purchase the Appropriate Amount of R49 Insulation
There are a few different sizes and types of R49 insulation available on the market, and it is important to choose the right one for your needs.
Insulation Type
One common type of R49 insulation is fiberglass insulation, which is made from fine glass fibers that are woven together to form a flexible, lightweight material. Fiberglass insulation is available in rolls or batts, and it can be easily cut and fitted to the specific dimensions of your roof.
Another type of R49 insulation is cellulose insulation, which is made from recycled newspaper and other paper products that have been treated with fire retardants and other chemicals. Cellulose insulation is also available in rolls or batts, and it is known for its high level of energy efficiency and sound absorption.
Factors to Consider
When choosing the right insulation for your needs, there are a few key factors to consider.
- Cconsider the thickness of the insulation. As mentioned earlier, R49 insulation is typically sold in rolls or batts that are either 3.5 inches or 5.5 inches thick. Choose the right thickness based on the available space in your roof and your insulation needs.
- Consider the type of insulation. Both fiberglass and cellulose insulation are effective at insulating a roof, but they have different properties and may be better suited for different situations. For example, cellulose insulation is typically more expensive than fiberglass insulation, but it may be more energy-efficient and have better sound-absorbing properties.
- Consider the size of the insulation. R49 insulation is typically sold in rolls or batts that are either 15 inches or 23 inches wide. Choose the right size based on the width of your roof joists and the amount of insulation you need to cover the entire roof.
By considering these factors, you should be able to choose the right size and type of R49 insulation for your needs.
Insulation Thickness
| Insulation Type | Thickness (inches) |
|---|---|
| Fiberglass | 12-15 |
| Cellulose | 12-15 |
| Cotton | 15-18 |
| Mineral wool | 12-15 |
Keep in mind that these are general guidelines and the exact amount of insulation you will need may vary depending on the specific requirements of your home and the climate you live in. It is always best to consult with a professional or refer to local building codes to determine the exact amount of insulation you will need for your specific situation.
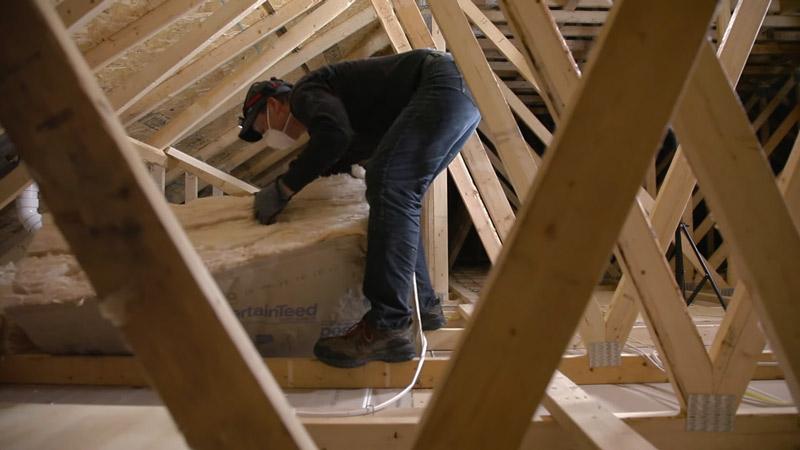
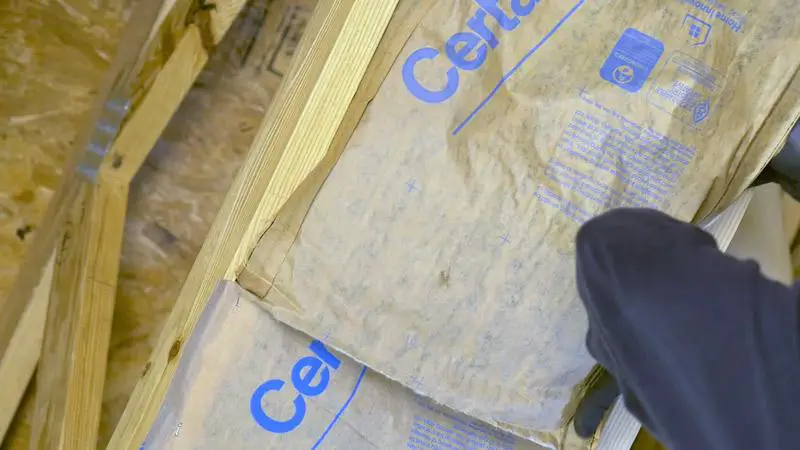
Install the Insulation [Step by Step Guide]
Installing the insulation is an important step in the process of insulating a 2×10 roof with R49 insulation. Here are the steps for laying the insulation along the roof and overlapping the edges:
- Begin by laying the insulation rolls or batts along the length of the roof, starting at the bottom and working your way up. Make sure that the edges of the insulation are flush with the edges of the roof.
- Once you have laid the first roll or batt of insulation, lay the next roll or batt on top of it, making sure to overlap the edges by at least 3 inches. This will help to ensure that there are no gaps in the insulation.
- Continue laying the insulation in this manner until you have covered the entire roof. Be sure to pay extra attention to any areas of the roof that may be more prone to drafts or heat loss, such as around vents or chimneys.
- Once you have finished laying the insulation, check the roof to make sure that there are no gaps or openings in the insulation. If you find any, use a sealant or caulk to seal these openings and ensure that the insulation is effective at keeping your home warm.
By following these steps, you should be able to successfully install R49 insulation in your 2×10 roof. Remember to use caution when working on the roof, as it can be a dangerous place to work. If you are not comfortable completing this project on your own, consider hiring a professional to do the work for you.
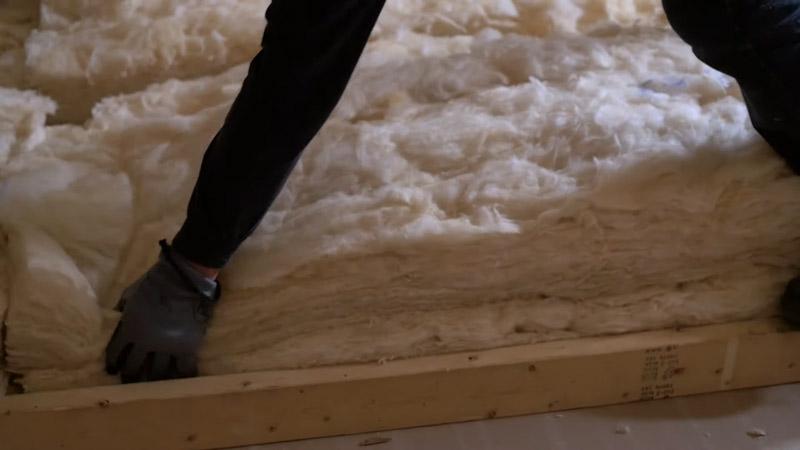
Secure the Insulation in Place
Once you have installed the R49 insulation in your 2×10 roof, it is important to secure the insulation in place to ensure that it stays in place and continues to provide effective insulation. There are a few different methods you can use to secure the insulation, including roofing nails or staples. Here are the steps for using nails or staples to secure the insulation:
- Using a hammer or a staple gun, place the nails or staples along the edges of the insulation, making sure to place them at least 3 inches apart. This will help to ensure that the insulation is held securely in place.
- Make sure to nail or staple the insulation along the entire length of the roof, paying extra attention to areas that may be more prone to movements, such as around vents or chimneys.
- Once you have finished securing the insulation, check the roof to make sure that all of the nails or staples are in place and that the insulation is held securely. If you find any nails or staples that have come loose, reattach them using a hammer or staple gun.
By following these steps, you should be able to secure the R49 insulation in your 2×10 roof and ensure that it stays in place. Remember to use caution when working on the roof, as it can be a dangerous place to work. If you are not comfortable completing this task on your own, consider hiring a professional to do the work for you.
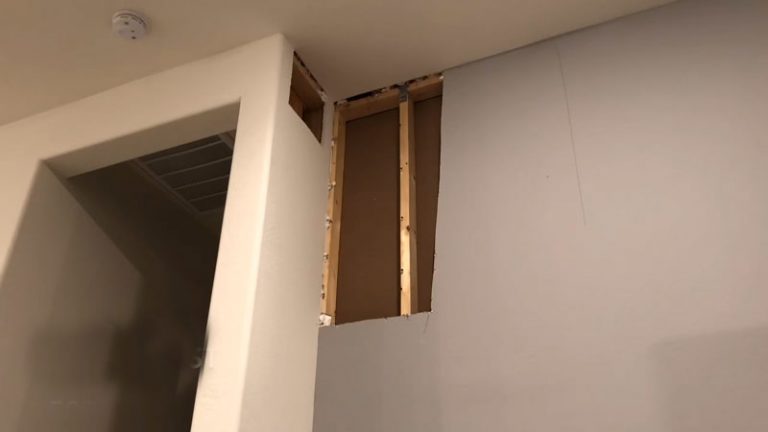
Check for Gaps and Seal Any Openings
After installing R49 insulation in a 2×10 roof, it is important to check for any gaps or openings where air may be able to leak through. These gaps can reduce the effectiveness of the insulation and lead to higher energy bills and a less comfortable home.
To seal these gaps and ensure that the insulation is effective, you can use a sealant or caulk. Here are the steps for sealing gaps and openings in the insulation:
- Inspect the roof for any gaps or openings where air may be able to leak through. These may include areas around vents, chimneys, or other protrusions, as well as areas where the insulation meets the roof or walls.
- Once you have identified the gaps and openings, use a sealant or caulk to seal them. Be sure to follow the manufacturer’s instructions for applying the sealant or caulk, and allow it to dry completely before moving on to the next step.
- After sealing all of the gaps and openings, check the roof again to make sure that the insulation is secure and that there are no remaining gaps or openings. If you find any, use additional sealant or caulk to seal them.
By following these steps, you can help to ensure that the insulation in your 2×10 roof is effective at keeping your home warm and energy-efficient.
Remember to use caution when working on the roof, as it can be a dangerous place to work. If you are not comfortable completing this task on your own, consider hiring a professional to do the work for you.
Final Words
Installing R49 insulation in a 2×10 roof can be a simple and effective way to improve the energy efficiency and comfort of your home. By following these steps, you can complete the installation process successfully:
- Measure the area of the roof that you want to insulate. You will need to know the dimensions of the roof in order to determine how much insulation you will need to purchase.
- Purchase the appropriate amount of R49 insulation. R49 insulation is typically sold in rolls or batts, and it is important to choose the right size and type of insulation for your needs.
- Prepare the roof for insulation. Before you can install the insulation, you will need to make sure that the roof is clean and dry. Remove any debris or dirt from the surface of the roof, and make sure that the roof is free of any leaks or damage.
- Install the insulation. Begin by laying the insulation rolls or batts along the length of the roof, starting at the bottom and working your way up. Make sure to overlap the edges of each roll or batt by at least 3 inches to ensure that there are no gaps in the insulation.
- Secure the insulation in place. Once you have installed all of the insulation, use roofing nails or staples to secure the insulation in place. Be sure to place the nails or staples at least 3 inches apart to ensure that the insulation is held securely in place.
- Check for gaps and seal any openings. After you have finished installing the insulation, check the roof for any gaps or openings where air may be able to leak through. If you find any, use a sealant or caulk to seal these openings and ensure that the insulation is effective at keeping your home warm.
By following these steps carefully and making sure to seal any gaps or openings, you can help to ensure that your R49 insulation is effective at keeping your home comfortable and energy-efficient.
If you are not comfortable completing the installation on your own, consider hiring a professional to do the work for you. A professional will have the experience and knowledge to install the insulation correctly and ensure that it is effective at keeping your home warm and energy-efficient.