Clogged Sink with a Dishwasher? Stop! Plunge It the Right Way
That sinking feeling isn’t just the water in your basin; it’s the dread of a stubborn clog. A backed-up kitchen sink is a major inconvenience, halting your daily routine and creating a messy, unhygienic problem in the heart of your home.
But when your sink is connected to a dishwasher, the simple act of grabbing a plunger becomes a high-stakes move. Without the right preparation, you could force dirty, stagnant water right back into the appliance you use to clean your dishes, creating a far worse problem.
This guide will walk you through the professional, safe, and effective method to plunge your kitchen sink without flooding your dishwasher. We’ll explore why this connection matters and provide a step-by-step process to clear the clog and restore order to your kitchen.
You'll Learn About
Why Your Dishwasher Complicates a Simple Clog
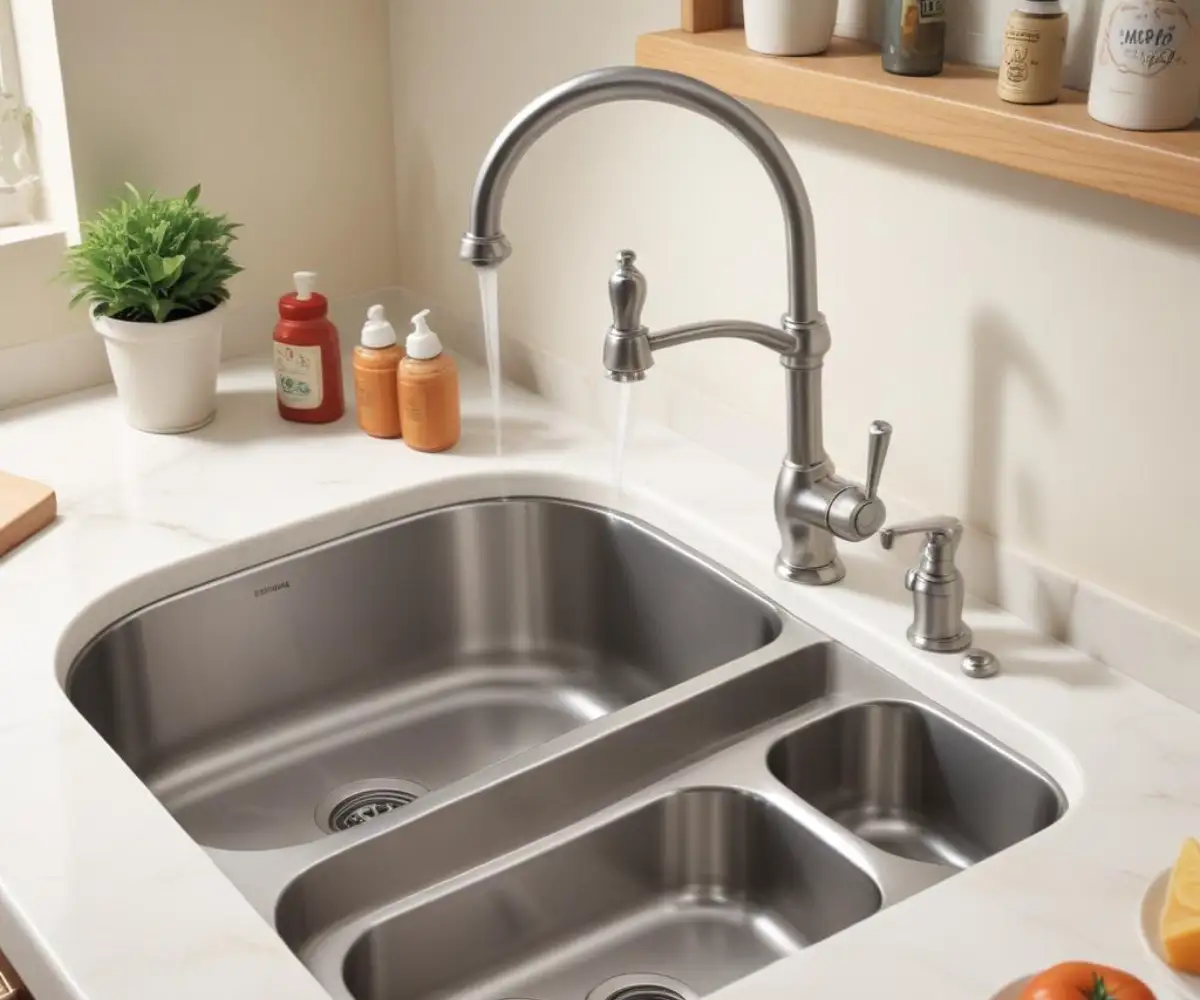
To understand the solution, you must first understand the plumbing. Your dishwasher doesn’t drain into a separate, magical pipe. It connects directly to your kitchen sink’s drainage system or garbage disposal.
This connection is typically a flexible hose that runs from the dishwasher’s drain pump to a small inlet nipple on the side of the garbage disposal or a special Y-branch tailpiece on the sink drain. When you run the dishwasher, it pumps used water through this hose and into your sink’s main drainpipe.
When your sink drain is clogged, there’s nowhere for this water to go. More importantly, when you apply pressure with a plunger, the path of least resistance isn’t always down the pipe. That pressure can easily force backed-up sink water backward through the hose and directly into the bottom of your dishwasher.
The Role of the Air Gap and High Loop
Plumbing codes require a mechanism to prevent this very backflow scenario, which could contaminate your dishwasher with drain water. This is accomplished in one of two ways: an air gap or a high loop.
An air gap is that small, usually chrome-finished cylinder you might see on the back of your sink deck. The dishwasher hose runs to one side of it, and another hose runs from the other side to the drain. If the sink backs up, the water will spill out of the air gap onto the countertop instead of into the dishwasher.
A high loop is a more common method where the drain hose is looped up and secured to the underside of the countertop before connecting to the drain. This elevation uses gravity to make it harder for sink water to flow back into the dishwasher. However, the force of a plunger can easily overcome a high loop.
Before You Plunge: The Non-Negotiable Prep Work
Do not touch that plunger yet. The five minutes you spend on these preparation steps will be the difference between a cleared drain and a disgusting, water-filled dishwasher. Proper preparation is the key to success.
First, clear the area around and under the sink. You may need to access the pipes, and spills are always a possibility. Cleaning up a bit of splashed water is much easier than figuring out how to remove concrete splatter from Hardie board, so be sure to lay down some old towels.
Step 1: Locate and Clamp the Dishwasher Drain Hose
This is the most critical step. Open the cabinet under your kitchen sink and find the flexible hose coming from the dishwasher. It’s typically a ribbed, corrugated plastic hose that connects to the garbage disposal or the sink drain pipe.
Once you’ve found it, you must temporarily block it. The best tool for this is a C-clamp or a pair of locking pliers. Squeeze the hose flat with the clamp as close to the drain connection as possible. Don’t overtighten to the point of damaging the plastic, but ensure it’s fully sealed. This single action will prevent any water from being forced back into the appliance.
Step 2: Seal the Other Side of the Sink
If you have a double-basin sink, you cannot plunge it effectively without sealing the other drain. The plunging pressure will simply escape up the unclogged side. You need to create a closed system to force the pressure down toward the clog.
A wet rag is the perfect tool for this. Stuff it firmly into the drain opening of the second sink basin, creating an airtight seal. If you have an overflow outlet, be sure to seal that as well. A piece of duct tape can work wonders here.
Step 3: Prepare the Plunger and the Sink
You need enough standing water in the sink to fully submerge the cup of the plunger. This is crucial because a plunger works by moving water, not air. If there isn’t enough water, add some from another source until the plunger head is covered.
For kitchen sinks, a standard cup plunger (the kind you often see for toilets) works best. Before you start, apply a thin layer of petroleum jelly to the rim of the plunger cup. This little trick helps create a much stronger seal against the sink basin, maximizing the pressure you can apply.
The Plunging Process: A Step-by-Step Guide
With your preparation complete, you are now ready to tackle the clog. Follow these steps for a safe and effective plunging technique.
Step 1: Get the Right Position
Place the plunger cup directly over the clogged drain, ensuring it covers the opening completely. Press down gently to engage the seal. The handle should be pointing straight up, perpendicular to the sink floor.
Step 2: Plunge with Proper Form
The key to effective plunging is a two-way motion. Your first push should be gentle to expel the air from the cup. After that, begin a series of vigorous push-pull motions. The pulling motion is just as important as the pushing motion. You are trying to dislodge the clog by creating alternating pressure and suction.
Continue this for about 15-20 seconds. You are not trying to use brute force; it’s the rapid change in pressure that breaks up the blockage. Maintain a good seal throughout the process.
Step 3: Check Your Progress
After a round of plunging, lift the plunger away from the drain. If the water begins to drain, you have been successful. If it remains stationary, you may need to repeat the process.
If the clog hasn’t budged after several attempts, don’t despair. It might be a particularly stubborn blockage made of grease and coffee grounds that requires more work. Take a break and try again in a few minutes.
Troubleshooting Common Plunging Problems
Sometimes, things don’t go as planned. This table covers some of the most common issues you might encounter and how to solve them.
| Problem | Likely Cause | Solution |
|---|---|---|
| Water is splashing everywhere. | The plunger seal is not complete, or you are only pushing air. | Ensure the plunger cup is fully submerged in water. Reapply petroleum jelly to the rim and press down to create a tight seal before beginning your main thrusts. |
| I can hear gurgling from the other sink basin. | The seal on the second drain is not airtight. | Remove the rag, wet it again, and stuff it more firmly into the drain. For a stubborn seal, you can place a plate or small pot lid on top of the rag to hold it down. |
| The water level goes down slightly, then stops. | You have partially dislodged the clog, but it’s still blocking the pipe. | This is a good sign! Continue plunging to fully break up and flush the remaining blockage. You may also try pouring a pot of very hot (not boiling) water down the drain to help melt any grease. |
| The clog won’t budge at all. | The clog may be too dense, too far down the pipe, or caused by a solid object. | Stop plunging. This may require a drain snake (auger) or professional assistance. Forcing it too much can damage your pipes. |
After the Clog Is Gone: The Cleanup Process
Once the water rushes freely down the drain, you’re almost done. Don’t remove the clamp from the dishwasher hose just yet. There are a few final steps to ensure the pipe is clear and your system is back to normal.
Step 1: Flush the Drain Thoroughly
Turn on the hot water tap and let it run for several minutes. This will help flush out any remaining debris from the clog that was dislodged by the plunger. It’s a good way to confirm the drain is truly clear.
Step 2: Reconnect and Test the System
Now you can remove the wet rag from the second sink basin and, most importantly, the clamp from the dishwasher drain hose. Run a bit more hot water and check under the sink for any leaks from the pipes or the hose you clamped. This is a crucial safety check.
To ensure everything is working correctly, run the dishwasher on a short rinse cycle. Listen for the water draining and check that it flows freely down the sink drain without any backup.
Proactive Maintenance: How to Prevent Future Clogs
Clearing a clog is a reactive solution. The best long-term strategy is proactive prevention. Adopting a few simple habits can save you from having to repeat this process in the future. Just as you’d learn how to treat termites in the window sill before it becomes a major infestation, proactive drain care can save you from a plumbing disaster.
Mind What Goes Down the Drain
The number one cause of kitchen sink clogs is putting the wrong things down the drain. Never pour grease, oil, or fat down your sink. It cools, solidifies, and creates a sticky trap for other debris.
Also, be mindful of what you put in the garbage disposal. Avoid fibrous and starchy foods like celery, potato peels, and pasta, which can swell and create blockages. Always run cold water when using the disposal to keep fats solidified so they can be chopped and washed away.
Perform Regular Cleaning Flushes
Once a week, flush your drain with hot water for a couple of minutes to melt away any nascent grease buildup. For a deeper clean, pour a cup of baking soda down the drain, followed by a cup of white vinegar. Let it fizz and work for 15-20 minutes, then flush with hot water. This is a gentle and effective way to keep pipes clear.
When Plunging Fails: Knowing When to Call a Plumber
A plunger is a fantastic first line of defense, but it can’t solve every problem. It’s important to recognize when a clog is beyond a DIY fix. In these moments, it’s wise to hire a professional, and you should always vet services just as you would ask if is Floor City legit before a major purchase.
Call a licensed plumber if you experience any of the following:
- The clog will not clear after multiple plunging attempts.
- Multiple fixtures are backing up (e.g., the sink and a nearby shower). This indicates a deeper clog in your main sewer line.
- You suspect a solid object (like a child’s toy or utensil) is causing the blockage.
- There are foul odors coming from the drain that persist even after clearing the clog.
A professional has tools like motorized drain augers and hydro-jetting equipment that can clear blockages deep within your plumbing system safely and effectively. Trying to force a clog that won’t budge can lead to cracked pipes and expensive water damage.
Conquering a clogged kitchen sink connected to a dishwasher is entirely achievable. By understanding the plumbing, taking the time to prepare correctly, and using the right technique, you can safely and effectively solve the problem without creating a messy backflow disaster. Remember that clamping that dishwasher hose is the secret to a successful and clean outcome.