Painting 2x4s: The Shocking Mistake Almost Everyone Makes
You have a simple project in mind. It involves a few 2x4s and a can of paint. You think, “How hard can it be?”
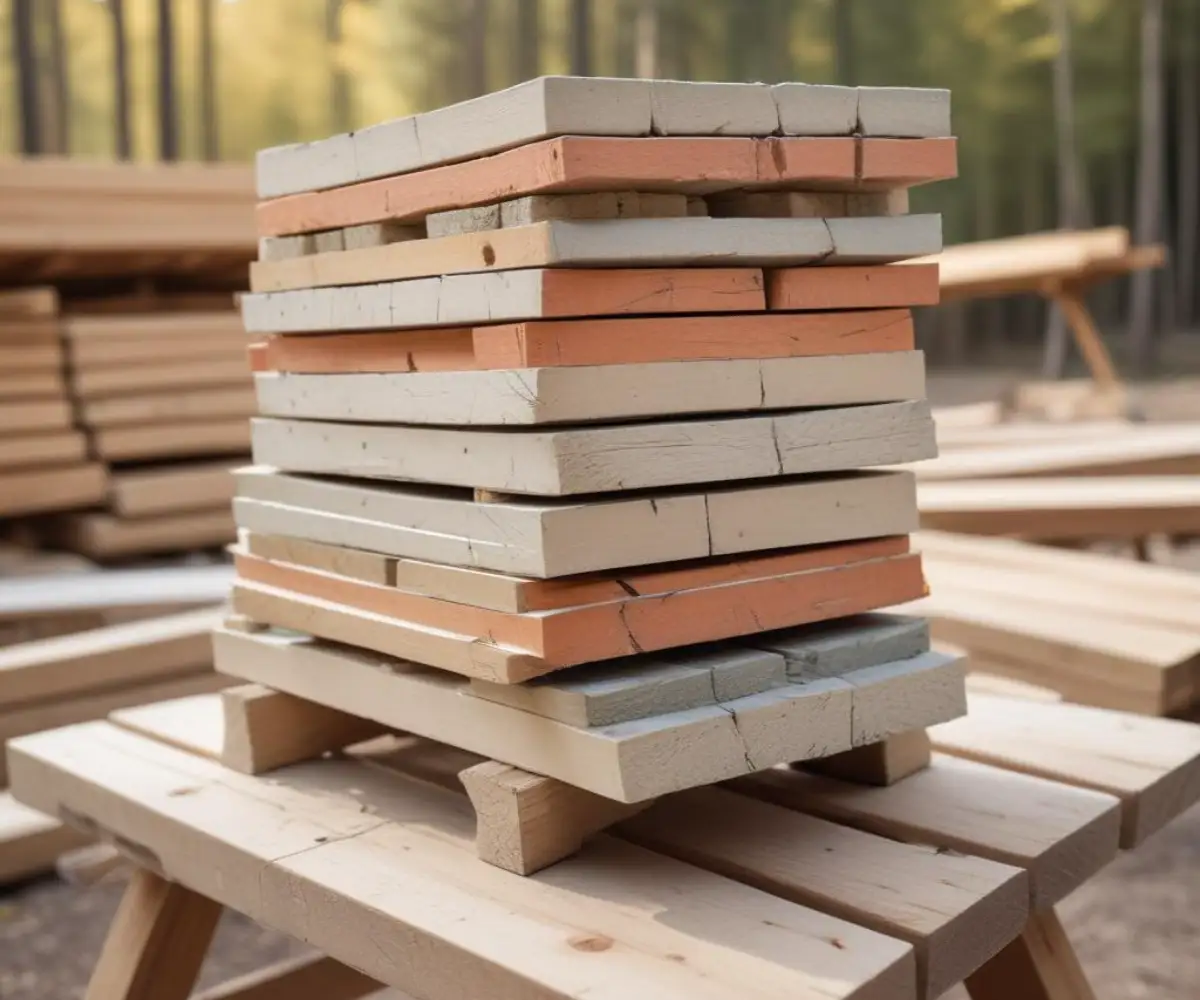
But soon, you’re staring at a sticky, blotchy, splintery mess that looks nothing like the professional finish you imagined. The paint is peeling, ugly wood knots are bleeding through, and the whole thing just looks cheap.
This is the frustrating reality for countless DIYers who underestimate the common 2×4. The truth is, painting construction-grade lumber is a completely different challenge than painting a smooth piece of furniture or a primed interior wall.
You'll Learn About
Why Your Painted 2x4s Look So Awful
The core of the problem lies in the very nature of the lumber you’re using. That standard 2×4 from the big box store is not designed for a fine, painted finish. Understanding its flaws is the first step toward conquering them.
The Curse of “SPF” Construction-Grade Wood
Most 2x4s are made from spruce, pine, or fir, collectively known as SPF. This wood is grown fast, harvested quickly, and milled for one purpose: framing walls. It’s chosen for its strength and low cost, not its good looks.
This means the wood is often full of imperfections. You’ll find large, resinous knots, rough grain, and a tendency to splinter easily, all of which create a terrible surface for paint to adhere to smoothly.
Moisture Content: The Silent Paint Killer
When you buy 2x4s, they are often still “wet” from the milling and pressure-treating process. They can have a moisture content of 15% or higher. Painting wood with high moisture content is a recipe for disaster.
As the wood inevitably dries and shrinks, it will crack, twist, and shift. This movement will cause your beautiful new paint job to flake, bubble, and peel right off. This is the single biggest mistake people make.
Tannin Bleed: The Unstoppable Stain
Those dark, circular spots on your 2x4s are knots. Knots contain natural resins and tannins that will slowly leach through multiple layers of standard paint, creating ugly yellow or brown stains. No matter how many coats you apply, they will eventually reappear without the right preparation.
The Pro-Grade Method for a Perfect 2×4 Finish
Getting a professional-looking finish on a cheap 2×4 is entirely possible. It just requires adopting the right workflow and understanding that preparation is 90% of the job. Don’t cut corners here.
Step 1: Start with a Better Board
Your project’s success begins at the lumber yard. Don’t just grab the first 2x4s off the top of the stack. Spend a few extra minutes sifting through the pile to find the best possible boards.
Look for boards that are as straight as possible, with the fewest and smallest knots you can find. Check the end grain; if it feels damp to the touch, try to find a drier piece. A better starting board means less prep work later.
Step 2: Let the Wood Acclimate
Once you get the lumber home, do not paint it immediately. Stack the 2x4s in the same environment where the finished project will live, with small gaps between the boards for air circulation. Let them sit for several days, or even a week, to acclimate and dry out.
Step 3: The Critical Sanding Process
Never paint a 2×4 without sanding it first. The goal is to knock down the rough mill texture and any raised splinters. An orbital sander with 80-grit sandpaper is perfect for quickly smoothing all four sides.
After the initial pass, switch to 120-grit or 150-grit sandpaper for a final, smoother finish. This step is not about making the wood perfect; it’s about creating a uniform surface for the primer to grip onto effectively.
Step 4: Primer Is Not Optional
Skipping primer is like building a house without a foundation. For 2x4s, you need a specific type of primer to solve the two biggest problems: stains and absorption. A high-quality, stain-blocking primer is your best friend.
First, apply a shellac-based primer directly over any knots. This will create a permanent seal that stops tannin bleed in its tracks. Then, apply one to two full coats of a quality acrylic or oil-based primer to the entire board to seal the wood and provide an even base for your paint.
Step 5: Choose a Durable Paint
With the prep work done, choosing the paint is much easier. For most indoor projects like workbenches or shelving, a high-quality acrylic latex enamel is an excellent choice. It’s durable, low-odor, and easy to clean up.
For outdoor projects or high-wear surfaces, consider an oil-based enamel or a specialty paint designed for outdoor use. These offer superior resistance to moisture and wear and tear. No matter which you choose, plan on applying at least two thin, even coats for the best coverage and durability.
Advanced Techniques for a Flawless Result
If you truly want an impeccable finish, a few extra steps can elevate your project from good to great. These are the details that separate amateur work from professional results.
Taming the Thirsty End Grain
The cut ends of a 2×4 are like a bundle of straws. They will soak up significantly more primer and paint than the faces, leading to a darker, blotchy appearance. This can ruin the look of an otherwise well-painted project.
To prevent this, apply an extra coat of primer specifically to the end grain. Some woodworkers will even use a thin layer of wood filler or drywall compound smoothed over the end grain and then sanded, completely sealing it for a perfectly uniform finish.
Filling Imperfections Before You Paint
Even the best-selected 2x4s will have some dings, dents, or cracks. Use a quality, paintable wood filler to address these imperfections after your initial sanding but before you prime. Overfill the void slightly, let it dry completely, and then sand it flush with the surrounding wood.
Properly filling these gaps is a critical skill for any significant DIY project. Whether you’re refinishing wood or tackling a more complex task like figuring out the cost to remove a dog door in a wall, the principles of filling and sanding for a seamless finish are the same.
Choosing the Right Applicator
How you apply the paint matters. For a utility finish on a garage shelf, a brush or small roller is fine. For a smoother, more refined look on a piece of furniture, a high-density foam roller will minimize texture.
For the absolute best finish, a paint sprayer is unmatched. It delivers a thin, even coat with no brush or roller marks. While it has a steeper learning curve, mastering a paint sprayer is a game-changer for any serious DIYer.
| Project Type | Recommended Primer | Recommended Paint | Key Consideration |
|---|---|---|---|
| Indoor Shelving / Workbench | Shellac Primer (knots), Acrylic Primer (full coat) | Acrylic Latex Enamel (Satin or Semi-Gloss) | Durability and scuff resistance are key. |
| Indoor Furniture (e.g., coffee table) | Shellac Primer (knots), Sandable Primer (full coat) | High-Quality Cabinet & Furniture Enamel | Achieving the smoothest possible surface is the top priority. |
| Outdoor Bench / Planter Box | Exterior Oil-Based Stain-Blocking Primer | Exterior-Grade Acrylic or Oil-Based Paint | Moisture and UV resistance are non-negotiable. |
| Garage or Shed Framing (for looks) | All-Purpose Acrylic Primer | Standard Interior/Exterior Latex Paint (Flat or Satin) | Cost-effectiveness and basic sealing are the main goals. |
Is All This Work Really Worth It?
It might seem like a lot of effort for a simple 2×4, but the difference in the final product is astounding. Following these steps will result in a finish that is not only beautiful but also incredibly durable. It will resist chipping, peeling, and staining for years to come.
Learning how to properly prepare and finish inexpensive materials is a cornerstone of smart, effective DIY. It’s a skill that translates to countless other projects around the home. Once you understand the principles of wood preparation, you can tackle more ambitious projects with confidence.
Whether it’s building a custom workbench or contemplating a major home alteration like figuring out how to move your washer and dryer, a solid foundation of knowledge and preparation is what guarantees a successful outcome. Don’t let a cheap piece of wood trick you into a cheap-looking finish.
