Paint Ready: The #1 Secret to a Flawless Finish Pros Won’t Tell You
You’ve picked the perfect color, bought the best brushes, and cleared the room. The excitement to transform your space is palpable, but a hidden danger lurks between you and that flawless finish you see in magazines.
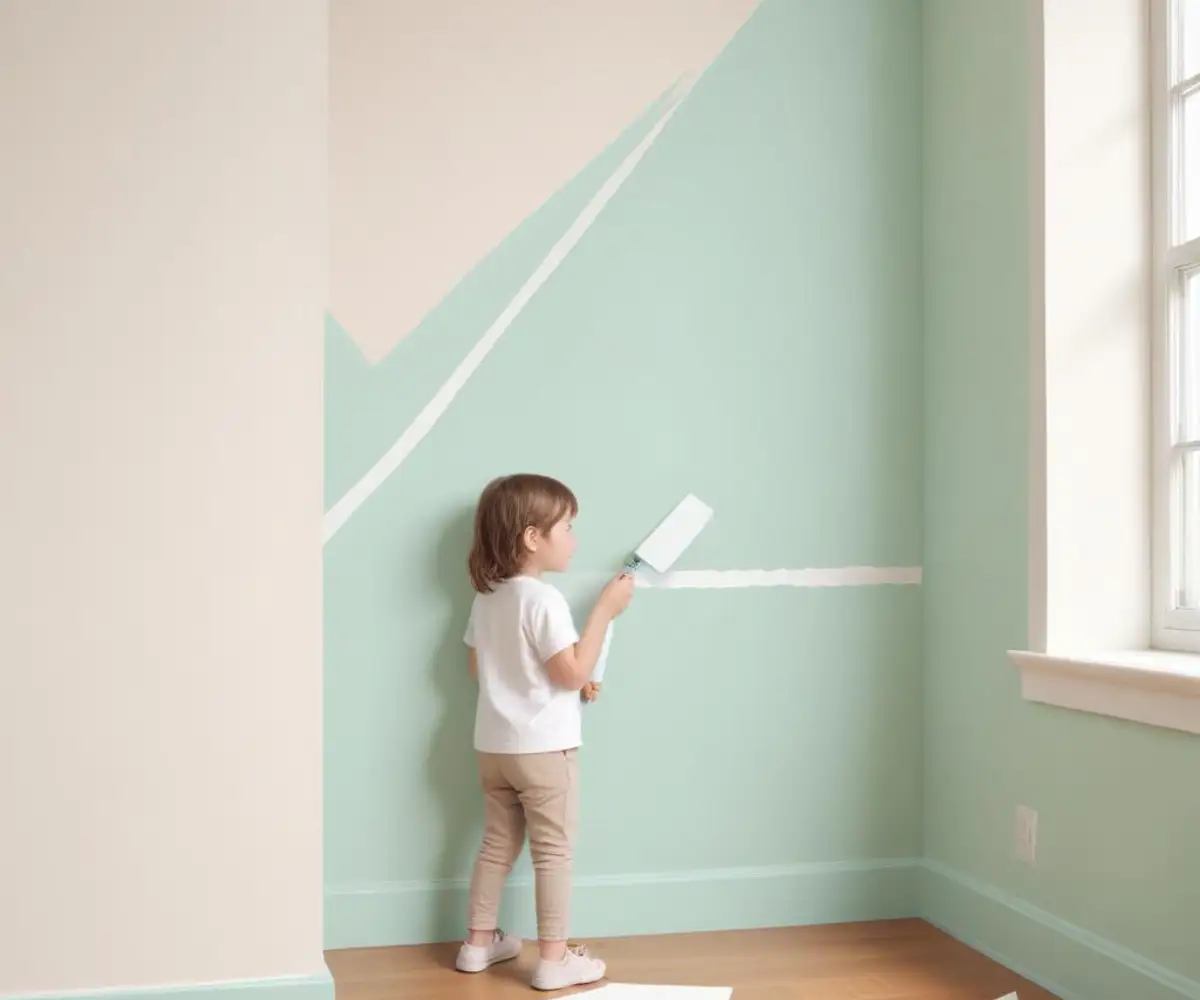
Most DIY painting projects fail long before a single drop of color hits the wall. The culprit isn’t the paint or the tools; it’s an unprepared surface.
This guide reveals the professional secrets to achieving a truly paint ready surface, ensuring your hard work results in a durable, stunning finish that lasts for years.
You'll Learn About
Why a “Paint Ready” Surface is Non-Negotiable
Think of your wall as a canvas. Attempting to paint on a dirty, damaged canvas will only highlight its flaws, causing the paint to bubble, peel, and crack.
Proper surface preparation is the single most important factor for paint adhesion and a uniform appearance. It’s the 80% of the work that guarantees a 100% professional result.
Skipping this stage means the paint film cannot form a strong bond, leading to frustrating and costly failures that require you to start all over again.
The 4 Universal Steps to Any Paint Ready Surface
Regardless of the material, from drywall to wood, the path to a perfect finish follows four core principles. Mastering these steps will elevate your painting projects from amateur to professional.
The universal process is: Clean, Repair, Sand, and Prime. Each step builds upon the last to create the ideal foundation for your paint.
Step 1: The Deep Clean Your Walls Are Begging For
Paint cannot stick to dirt, grease, or grime. The first step is always to wash the surface thoroughly to remove any contaminants that could interfere with adhesion.
For most interior walls, a simple mixture of mild dish soap and warm water applied with a sponge is sufficient. For tougher jobs, like greasy kitchen walls, a degreaser like Trisodium Phosphate (TSP) is essential.
Always rinse the wall with clean water afterward to remove any cleaning residue and allow it to dry completely before proceeding to the next step.
Step 2: Repairing Imperfections for a Flawless Canvas
A fresh coat of paint, especially with a higher sheen, will magnify every tiny hole, crack, and dent. Now is the time to make the surface perfectly smooth.
Use a lightweight spackling compound for small nail holes and scratches. For larger cracks or holes in drywall, you may need joint compound and mesh tape for a durable repair.
Apply the compound with a putty knife, slightly overfilling the hole. Once dry, you will sand it flush with the surrounding wall.
Mastering Surface Prep for Different Materials
While the four universal steps apply to everything, different materials require specific techniques. Understanding these nuances is key to a long-lasting finish.
Adapting your approach for drywall, wood, or metal ensures the prep work is effective for that specific substrate.
Getting Drywall & Plaster Paint Ready
Drywall is the most common interior surface, but it requires careful preparation. Dust and residual joint compound from installation can act as a barrier, preventing paint from bonding.
For previously painted walls, pay close attention to the existing finish. Glossy or semi-gloss surfaces must be de-glossed by sanding to create a “tooth” for the new paint to grip onto.
After patching any holes, sand the dried compound until it is perfectly smooth and level with the wall. Feather the edges of the patch to create an invisible transition. A high-quality primer, such as one you might learn about when researching KILZ PVA Primer Coats, is critical for sealing new drywall and patches.
Prepping Wood Surfaces (Furniture, Trim, Cabinets)
Wood preparation is all about managing the existing finish and the natural grain. Painting bare wood requires a different approach than painting over an existing varnish or paint.
For stained or varnished wood, you must sand thoroughly to remove the glossy topcoat. For heavily damaged or thick finishes, you might even need to consider a chemical stripper. When comparing products, it’s helpful to understand the differences, such as those in a Citristrip Paste vs Gel showdown, to choose the right tool for the job.
Always sand in the direction of the wood grain to avoid creating visible scratches. Use wood filler for any gouges or holes, and finish by wiping the surface with a tack cloth to remove all sanding dust.
The Challenge of Stucco and Other Tricky Surfaces
Exterior or textured surfaces present their own unique challenges. Porous materials like stucco or brick can hold a lot of dirt and moisture, which must be addressed.
Thorough cleaning is paramount for these surfaces. Sometimes, a simple scrub isn’t enough, and a more powerful method is needed. However, one must be cautious, as you’ll learn in a guide to pressure washing paint off stucco, to avoid damaging the surface itself.
For metal surfaces, removing any rust is the top priority. Sand the rust spots down to bare metal and immediately apply a rust-inhibitive primer to prevent it from returning.
The Final Step: Priming for Perfection
Primer is the unsung hero of the painting world. It serves multiple critical functions: it ensures adhesion, blocks stains, and creates a uniform surface for an even topcoat.
Skipping primer, especially over new drywall, patches, or bare wood, will result in “flashing,” where the patched spots have a different sheen than the rest of the wall. Primer seals these porous areas, ensuring the final color is rich and consistent.
Choosing the right primer is just as important as the paint itself. Different primers are formulated for specific jobs, from blocking water stains to gripping onto glossy surfaces.
| Primer Type | Base | Best For | Cleanup |
|---|---|---|---|
| Latex Primer | Water-Based | Standard drywall, new wood, galvanized metal | Soap and water |
| Oil-Based Primer | Oil-Based | Blocking heavy stains (water, smoke), woods that bleed (cedar, redwood) | Mineral spirits |
| Shellac Primer | Alcohol-Based | Severe stain blocking (smoke, rust, odors), glossy surfaces | Denatured alcohol |
Pro Tips for an Unbeatable Finish
Beyond the basics, a few professional tricks can make a significant difference. These small details contribute to a truly sharp and durable paint job.
Before painting, always use a vacuum with a brush attachment to remove all dust from the baseboards and trim in the room. This prevents dust from kicking up and settling on your wet walls.
Another tip is to de-lint your new paint rollers. Wrap the roller in painter’s tape and peel it off to remove any loose fibers that would otherwise end up in your paint finish.
The Temperature and Humidity Factor
Environmental conditions play a huge role in how your prep work and paint dry. Avoid painting in extreme temperatures or high humidity.
Most paints and primers are designed to be applied in temperatures between 50°F and 90°F (10°C and 32°C). High humidity can dramatically slow down drying times for patches, caulk, and paint, which can compromise the final result.
Frequently Asked Questions (FAQ)
Even with a guide, specific questions often arise during a project. Here are answers to some of the most common prep-work queries.
Do I really need to sand before painting?
In almost all cases, yes. Sanding provides microscopic grooves for the new paint to “bite” into, creating a strong mechanical bond. This is especially critical when painting over glossy or semi-gloss finishes.
How long should I let spackle and primer dry?
Always follow the manufacturer’s instructions on the product label. Drying times can vary based on thickness, temperature, and humidity, but rushing this step can ruin your finish.
What’s the best way to clean walls before painting?
For general cleaning, a sponge with a bucket of warm, soapy water and a separate bucket of clean rinse water is best. Work in sections from top to bottom.
Your Perfect Finish Awaits
The journey to a beautifully painted room begins with a commitment to preparation. By transforming your surface into a clean, smooth, and uniform canvas, you are not just painting; you are creating a professional and lasting finish.
Now that you know the secret to a paint ready surface, you can approach your next project with confidence. The only question left is which paint to choose for your perfectly prepped walls. Comparing options, like in a Behr Pro vs Premium Plus analysis, can be the final step to your project’s success.