Nail Pops All Over Your House? This Is the #1 Cause You Can’t Ignore
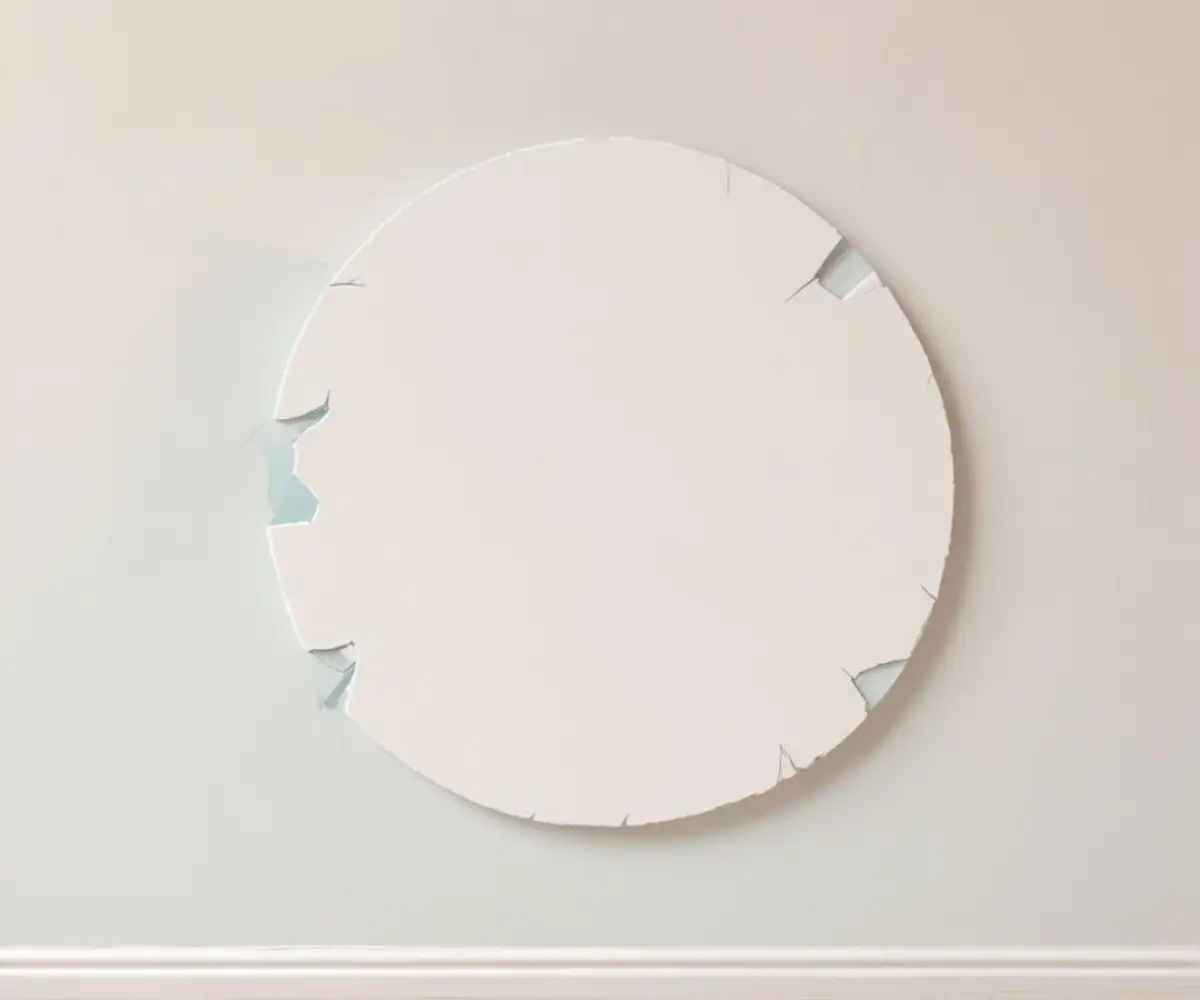
You walk into a room, glance at the wall, and there it is. A small, circular bump pushing through the paint. Then you see another. And another. Soon, you realize you have nail pops all over the house, turning your smooth walls and ceilings into a field of frustrating blemishes. This isn’t just a minor cosmetic issue; it’s a signal from your home that something is happening behind the drywall.
While a few isolated pops might be normal, a widespread outbreak can be alarming. It often points to a single, powerful culprit that many homeowners overlook. Understanding this root cause is the first step toward a permanent solution, not just a temporary patch.
You'll Learn About
Why Are Nail Pops Suddenly Everywhere? Uncovering the Root Causes
When fasteners start pushing out of your drywall en masse, it’s rarely a coincidence. Several powerful forces could be at play, ranging from natural processes to significant structural concerns. Identifying the correct cause is crucial for an effective and lasting repair strategy.
Lumber Moisture Content: The Hidden Culprit
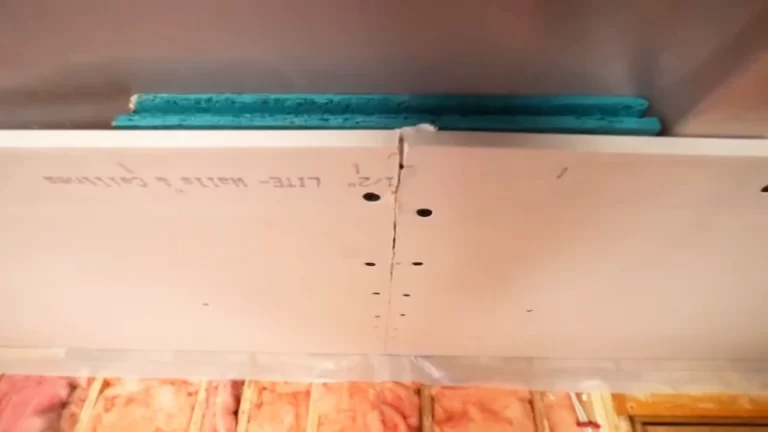
The number one reason for widespread nail and screw pops, especially in newer homes, is the drying and shrinking of wood framing. When a house is built, the lumber used for studs and joists often contains a certain level of moisture. As the home’s heating and cooling systems run, this wood gradually dries out over the first few years.
As the wood dries, it shrinks and can even twist slightly. This movement forces the drywall to shift, and since the nails or screws are anchored in the wood, they get pushed outward, “popping” through the joint compound and paint. This process is a primary driver behind what many people mistake for normal house settling.
Truss Uplift: Why Your Ceiling Is a Hotspot for Pops
Have you noticed that many nail pops are concentrated on the top floor, especially where the ceiling meets interior walls? This is likely due to a phenomenon called truss uplift. Roof trusses are engineered to respond to changes in temperature and humidity. In winter, the bottom chord of the truss, buried in warm insulation, stays dry and contracts, while the top chords in the cold attic absorb moisture and expand. This differential movement causes the entire truss system to arch upwards slightly, pulling the ceiling drywall with it and creating cracks and nail pops near interior walls.
This is not considered a structural defect but a natural behavior of modern truss systems. However, it is a significant source of cosmetic frustration for homeowners. Builders can mitigate this by not fastening the drywall to the truss within 16 inches of an interior wall, allowing for some flex.
House Settling vs. Serious Structural Issues
While wood shrinkage is a form of settling, true foundation settlement is a different beast. If your home’s foundation is shifting or sinking unevenly, it will put immense stress on the entire building frame. Widespread nail pops are a common symptom of this.
Look for other warning signs that accompany the pops: cracks in walls or ceilings (especially over doorways), sticking doors and windows, or uneven floors. If you see these signs together, the nail pops are not just cosmetic; they are a warning that you should consult a foundation specialist or structural engineer.
Improper Installation and Materials
Sometimes, the problem dates back to construction. Using nails instead of drywall screws (which have better holding power), driving fasteners too deep, or missing the stud altogether can lead to weak points that are prone to popping. If the drywall sheets aren’t held snugly against the framing, any movement can cause fasteners to loosen.
The type of fastener also matters. While nails are faster to install, their smooth shanks provide less grip than the threads of a screw. This is why learning about fastener strength can be insightful for understanding construction choices.
The Ultimate Guide to Fixing Nail Pops (And Keeping Them Gone)
Seeing nail pops everywhere can feel overwhelming, but the repair process is straightforward. The key is to address the loose drywall properly, not just to cover the blemish. A simple patch will fail again as soon as the wood moves.
Step-by-Step DIY Nail Pop Repair
For a permanent fix, you must re-secure the drywall to the framing. Simply hammering the nail back in is a temporary fix at best, as the wood fibers no longer grip it tightly.
- Reset the Popped Fastener: Use a hammer to gently tap the nail head slightly below the drywall surface, creating a small dimple. If it’s a screw, use a drill to drive it just below the surface.
- Add New Fasteners: This is the most critical step. Drive a 1 ¼-inch drywall screw about one to two inches above the original pop and another one to two inches below it. Ensure these new screws go firmly into the wood stud and are set just below the drywall surface without tearing the paper.
- Apply Joint Compound: Using a 4- or 6-inch putty knife, apply a thin layer of joint compound (spackle or “mud”) over the three dimples (the original pop and the two new screws). Press firmly to ensure the compound fills the voids completely.
- Feather and Sand: Scrape off any excess compound, leaving a smooth patch. Allow it to dry completely according to the manufacturer’s instructions. Once dry, lightly sand the area until it is smooth and level with the surrounding wall.
- Apply a Second Coat: The compound will likely shrink as it dries, so a second, thinner coat is usually necessary. Apply it slightly wider than the first coat to “feather” the edges and create a seamless blend. Let it dry and sand it smooth again.
- Prime and Paint: Before painting, always apply a coat of primer over the repaired area. This seals the patch and prevents the new paint from looking dull or different from the rest of the wall (a phenomenon known as “flashing”). Once the primer is dry, apply your matching wall paint.
When to Call a Professional
A DIY approach is perfect for cosmetic repairs. However, you should call a professional if you observe any of the following:
- A sudden and large number of nail pops appearing in a short period.
- Nail pops accompanied by large or diagonal wall cracks, sticking doors, or uneven floors.
- Recurring nail pops in the same area despite proper repairs.
- Any signs of water damage or moisture near the affected areas.
These can be signs of foundation issues, significant structural movement, or leaks that require expert diagnosis.
| Repair Method | Best For | Estimated Cost | Time Commitment | Required Skill Level |
|---|---|---|---|---|
| DIY Patching | Isolated, cosmetic nail pops caused by wood shrinkage or minor settling. | $20 – $50 (for compound, sandpaper, screws, primer) | 1-3 hours of work over 2 days (allowing for dry time) | Beginner |
| Professional Drywall Repair | Widespread cosmetic pops; ensuring a perfect finish before painting. | $200 – $600+ (depending on the number of repairs) | 1 day | N/A (Handled by pro) |
| Structural Engineer/Foundation Specialist | Nail pops combined with cracks, sticking doors, or other signs of structural movement. | $500 – $1,000 for an initial assessment; repairs can be thousands. | Weeks to months for assessment and repairs. | Expert |
Beyond the Bumps: What Widespread Nail Pops Say About Your Home’s Health
Think of nail pops as a health report for your house. While often benign, they provide valuable clues about the forces acting on your home’s structure. Ignoring widespread pops is like ignoring a recurring symptom—you might be missing the chance to diagnose a bigger issue early on.
A Symptom, Not Just a Blemish
The core issue isn’t the bump on the wall; it’s the movement that caused it. Whether it’s the natural expansion and contraction of materials due to humidity swings or more serious foundation settlement, the pops are just the visible evidence. Controlling indoor humidity with dehumidifiers or humidifiers can help stabilize the wood framing and reduce seasonal movement.
Peace of Mind: Getting a Professional Structural Assessment
If you have any doubt about the cause of your home’s nail pops, investing in a professional assessment is the wisest move. A structural engineer provides an unbiased, expert opinion on your home’s condition. They can differentiate between normal settling and a developing foundation problem, giving you a clear path forward and, most importantly, peace of mind.
Ultimately, nail pops all over the house are a call to pay closer attention. By understanding the forces of moisture, temperature, and gravity at work behind your walls, you can move from simply patching blemishes to proactively maintaining the long-term health and stability of your home.