Nail Pops in Your Drywall: How Many Are Normal & When to Worry
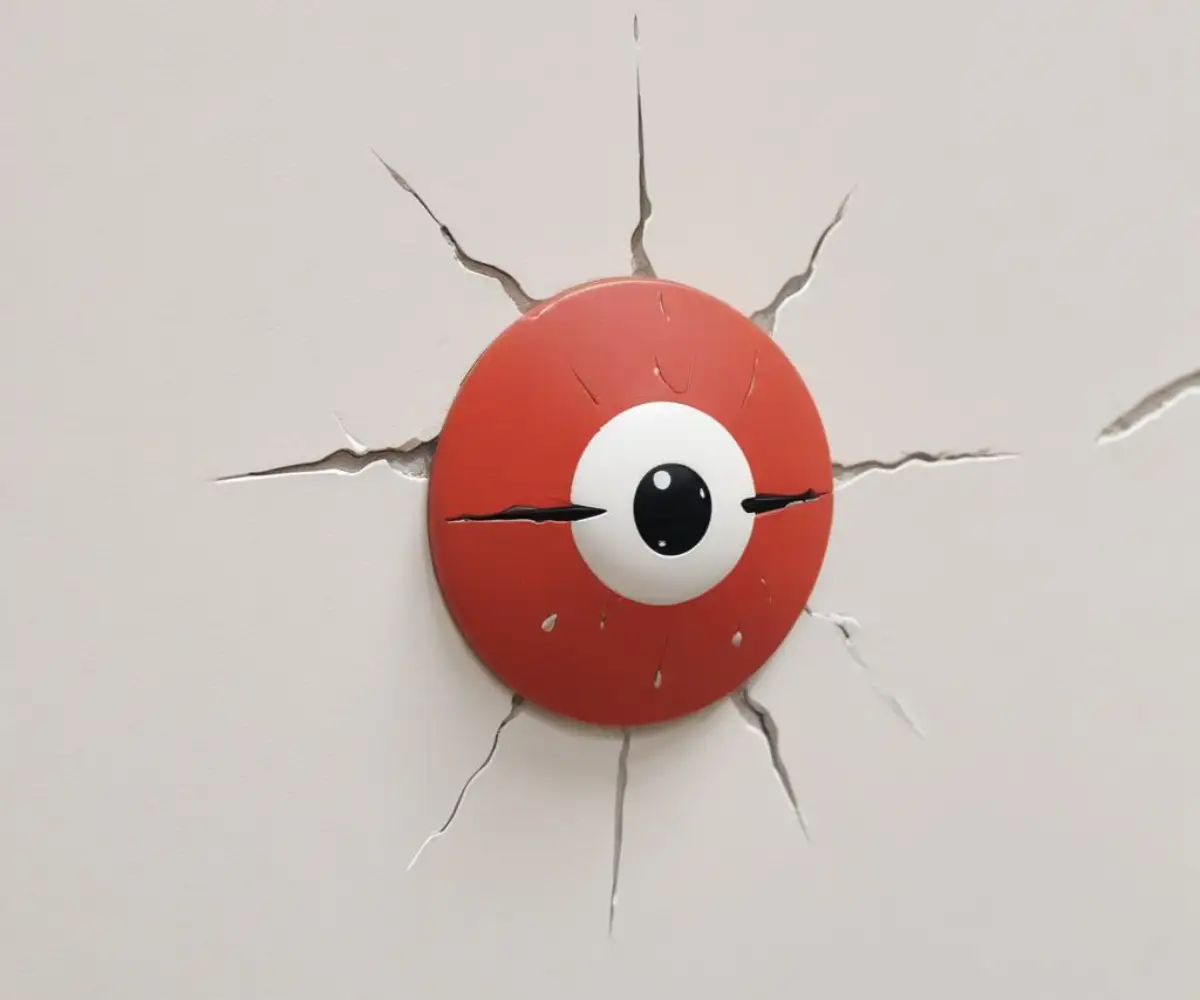
You see them out of the corner of your eye—small, circular bumps pushing against the paint on your otherwise perfect walls. These are nail pops, and they are one of the most common cosmetic issues homeowners face. While they can be an unsightly annoyance, the good news is that seeing a few nail pops is usually not a cause for alarm, especially in a newer home.
However, the question remains: how many nail pops are normal? A handful are to be expected as a house settles, but a sudden explosion of them could signal something more serious. Understanding the causes and knowing when to be concerned is key to maintaining your home’s health and appearance.
You'll Learn About
What Exactly is a Nail Pop and Why Do They Happen?
A nail pop, or screw pop, occurs when the head of a fastener used to secure drywall to the wooden framing studs begins to push outward. This creates a small, raised circle on the wall or ceiling, sometimes cracking the paint around it. While frustrating to look at, the reasons behind them are usually straightforward.
The Culprit: Lumber Shrinkage and House Settling
The most frequent cause of nail pops, especially in new construction, is the natural drying and shrinking of wood framing. Lumber used to build homes contains moisture, and over the first one to three years, this moisture evaporates. As the wood studs shrink, they can pull away from the drywall, leaving the nail or screw behind and causing it to “pop.”
This process is a normal part of a new home’s life. The extent of the shrinkage and the number of resulting pops can be influenced by the initial moisture content of the lumber and the climate your home is in. This is why many builders wait a year before addressing these cosmetic issues under warranty.
Truss Uplift: The Seasonal Annoyance
Have you noticed more pops on your top-floor ceilings, particularly during winter? This could be due to “truss uplift.” Roof trusses can expand and contract with seasonal changes in temperature and humidity in the attic. In colder months, the bottom chord of the truss, which is buried in insulation, stays warmer than the top chords, causing it to arch upwards and lift the ceiling drywall with it, leaving fasteners behind.
This seasonal movement can create gaps and cause fasteners to pop. It’s a common issue in regions with significant temperature swings between seasons. In many cases, the gaps may close again during the warmer, more humid summer months.
Installation Issues: When Craftsmanship Matters
Sometimes, the problem stems from the initial drywall installation. Improper installation techniques are a common cause of nail pops. If the drywall sheets aren’t held tightly against the framing when fasteners are driven, a small gap is left. Over time, as the house settles, the drywall can press back against the stud, pushing the fastener head out.
Other installation errors include using fasteners that are too short, missing the stud entirely (a “shiner”), or not using a sufficient number of screws or nails to adequately secure the drywall panel. Using nails instead of drywall screws, which have better holding power, can also lead to more pops over time.
So, How Many Nail Pops Are Actually “Normal”?
There is no magic number, but a general rule of thumb is that seeing a handful of nail pops—perhaps 5 to 10 throughout a new home—within the first few years is considered perfectly normal. These are typically the result of the natural settling and drying process described earlier. In an older, more established home, seeing one or two new pops appear occasionally is also not unusual.
The key is the pattern and timing of their appearance. A few scattered pops appearing gradually over the first couple of years is standard. A sudden surge of dozens of pops across multiple walls, however, might warrant a closer look.
| Scenario | Normal Expectation | When to Be Concerned |
|---|---|---|
| New Home (First 1-3 years) | A few scattered pops (5-10) are very common due to lumber drying and settling. | Dozens of pops appearing suddenly across many rooms. |
| Older Home (5+ years) | An occasional new pop appearing is not unusual. | Many new pops appearing frequently, especially if clustered in one area. |
| After Renovations | A couple of pops may appear as new materials settle. | Widespread pops in the renovated area, suggesting installation issues. |
| With Other Signs | Small, circular cracks around the pop itself. | Pops are accompanied by large, diagonal wall cracks or sticking doors. |
When Should You Worry? Red Flags to Watch For
While most nail pops are purely cosmetic, they can sometimes be a symptom of a more significant underlying problem. It’s important to differentiate between normal settling and signs of structural distress. Here are the red flags that suggest you might need to consult a professional.
Excessive Numbers
If you suddenly notice a large number of nail pops—think dozens appearing in a short period—it’s a sign that something more than normal settling is happening. This could indicate a more significant shift in your home’s framing or foundation. It’s worth investigating the cause rather than just treating the symptom.
Nail Pops Accompanied by Large Cracks
A small, circular crack in the paint directly around the nail head is normal. However, if nail pops are accompanied by long, diagonal cracks running across the wall, especially over doorways and windows, this can be a serious warning sign. Such cracks can indicate structural movement or foundation settlement that is putting stress on the entire wall.
Other Telltale Signs
Pay attention to other changes in your home. Are the nail pops appearing alongside other issues like doors and windows that stick or are hard to open? Do you see cracks in your foundation or notice that your floors are becoming uneven or sloped? These symptoms, when combined with numerous nail pops, strongly suggest a potential foundation issue that needs immediate attention from a structural engineer or foundation repair specialist.
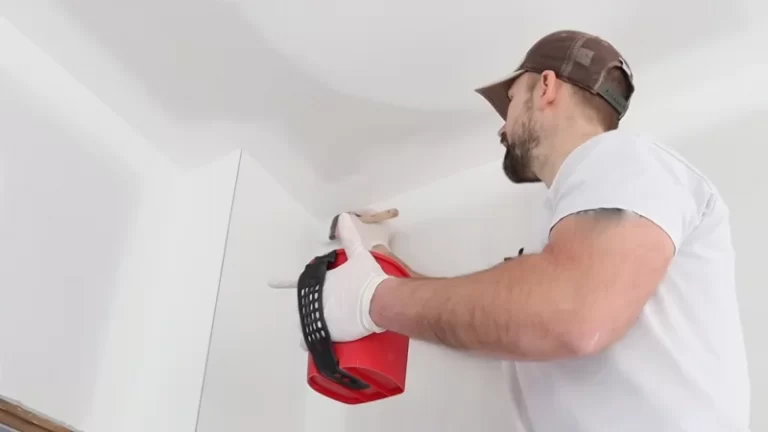
Your Step-by-Step Guide to Fixing Annoying Nail Pops for Good
Fixing a nail pop is a simple and satisfying DIY project that you can easily tackle in an afternoon. The key to a permanent fix is not just to hammer the nail back in, but to re-secure the drywall to the stud. Simply pounding the nail back in is a temporary fix at best; the pop will likely return.
Gather Your Tools and Materials
Before you start, you’ll need a few basic tools and materials: a drill with a Phillips head bit, 1 ¼-inch drywall screws, a hammer, a utility knife, spackle or joint compound, a putty knife, a sanding sponge, primer, and touch-up paint that matches your wall.
Step 1: Secure the Drywall
The most crucial step is to re-secure the drywall. Drive one drywall screw about one inch above the popped nail and another one inch below it. Make sure you are driving the screws into the wood stud. You’ll know you’ve hit the stud when the screw bites in firmly. Set the screw head just below the surface of the drywall paper without tearing it.
This creates a small dimple. While you’re using screws for this repair, understanding how different fasteners work is key for any DIYer; for smaller projects, you might wonder how much weight can a brad nail hold, but for drywall, screws are essential for their superior grip.
Step 2: Remove or Recess the Old Nail
Once the drywall is secured with new screws, you can deal with the original popped nail. You have two options: gently hammer it back into the wall, creating another small dimple, or use pliers or a nail puller to remove it entirely. Setting it back in is often easier and causes less damage to the surrounding drywall.
Step 3: Patch and Smooth
With the fasteners set and the drywall secure, it’s time to patch. Use your putty knife to apply a thin layer of spackle or joint compound over the dimples. Scrape it flat, leaving a smooth surface. Let the first coat dry completely according to the manufacturer’s instructions.
Joint compound often shrinks as it dries, so you will likely need to apply a second, and sometimes a third, thin coat. Feather the edges with each coat to blend the patch seamlessly with the wall.
Step 4: Sand, Prime, and Paint
Once the final coat of compound is fully dry, use a fine-grit sanding sponge to lightly sand the patch until it is perfectly smooth and flush with the wall. Wipe away any dust with a damp cloth. Apply a coat of primer over the patched area to seal it, then finish with a coat or two of your matching wall paint.
Proactive Measures: Can You Prevent Nail Pops?
While you can’t stop a house from settling, there are construction methods that reduce the likelihood of nail pops. There are also steps homeowners can take to minimize wood movement in an existing home.
For New Construction
If you’re building a new home, certain practices can make a big difference. Using kiln-dried lumber, which has a lower moisture content, is highly effective. The modern standard of using drywall screws instead of nails provides a much stronger, more lasting hold. Additionally, applying a bead of construction adhesive to the studs before hanging the drywall creates a powerful bond that helps prevent movement and subsequent pops.
For Existing Homes
In an existing home, the best prevention strategy is to maintain a stable indoor environment. Drastic swings in temperature and humidity cause wood to expand and contract. Using a humidifier in the winter and a dehumidifier in the summer can help keep the moisture levels in your home’s framing more consistent.
This is especially important in areas prone to moisture. Maintaining stable indoor humidity can prevent wood from expanding and contracting, a key factor in managing areas like basements where you also have to consider how to get dust out of the basement and ensure good air quality.
Conclusion: A Common Issue with Simple Solutions
Seeing nail pops on your walls can be disheartening, but in most cases, they are a normal and harmless part of homeownership. A few pops, especially in a newer home, are simply a cosmetic sign that your house is settling in. They are rarely indicative of serious structural problems.
By understanding what causes them, knowing the red flags to watch for, and learning the simple steps to fix them permanently, you can handle this common issue with confidence. With just a little bit of work, you can restore your walls to their smooth, flawless finish and keep your home looking its best.