No Pull Bar for Laminate? Your Last Row Nightmare is Over
You’re on the home stretch of your laminate flooring project. The room looks transformed, the planks have clicked together beautifully, and there’s just one final row left. But as you approach the wall, you realize your trusty tapping block and hammer have no room to swing. This is the moment the humble pull bar is supposed to shine, but what if it’s missing from your toolkit, or the one you have just doesn’t fit?
This common scenario can bring a seamless installation to a grinding halt, turning the satisfying final steps into a frustrating puzzle. The final row’s integrity is crucial; a loose fit can lead to shifting planks and unsightly gaps over time. Without the right tool to apply firm, even pressure, you risk damaging the wall, the delicate locking mechanism of the plank, or both.
You'll Learn About
Why the Last Row Challenges Every Installer
The core function of a pull bar is to bridge the gap between the last plank and the wall, allowing you to tap it snugly into place from the opposite end. It’s a simple tool of leverage. When it’s not available, you’re forced to find a workaround that achieves the same result: a tight, secure seam that completes the floor’s floating system.
Many installers face issues even with a pull bar. Cheaply made bars can bend, the felt padding can come off and scratch the floor, or the head can be too bulky for narrow spaces. Understanding the mechanics of what the pull bar does is the key to finding an effective substitute that you likely already have in your toolbox.
The Best Laminate Pull Bar Alternatives You Already Own
Before you rush back to the hardware store, take a look at the tools you have on hand. Several common items can be combined to create a powerful and precise substitute for a commercial pull bar, letting you finish the job with a professional touch.
The Pry Bar and a Wood Block: The Classic Go-To
This is the most widely used and effective alternative. By pairing a small pry bar or crowbar with a protective scrap of wood, you can replicate the leverage of a pull bar with more control. The key is to protect both the wall and the new flooring from the concentrated force of the pry bar.
Place a thin, sturdy piece of wood (like a cut-off piece of 2×4 or plywood) against the wall directly behind where you need to apply pressure. Hook the curved end of the pry bar onto the edge of the laminate plank and use the wood block as a fulcrum. Gently pull the handle of the pry bar away from the wall to cinch the plank into place. Always apply slow, steady pressure to avoid snapping the plank’s edge.
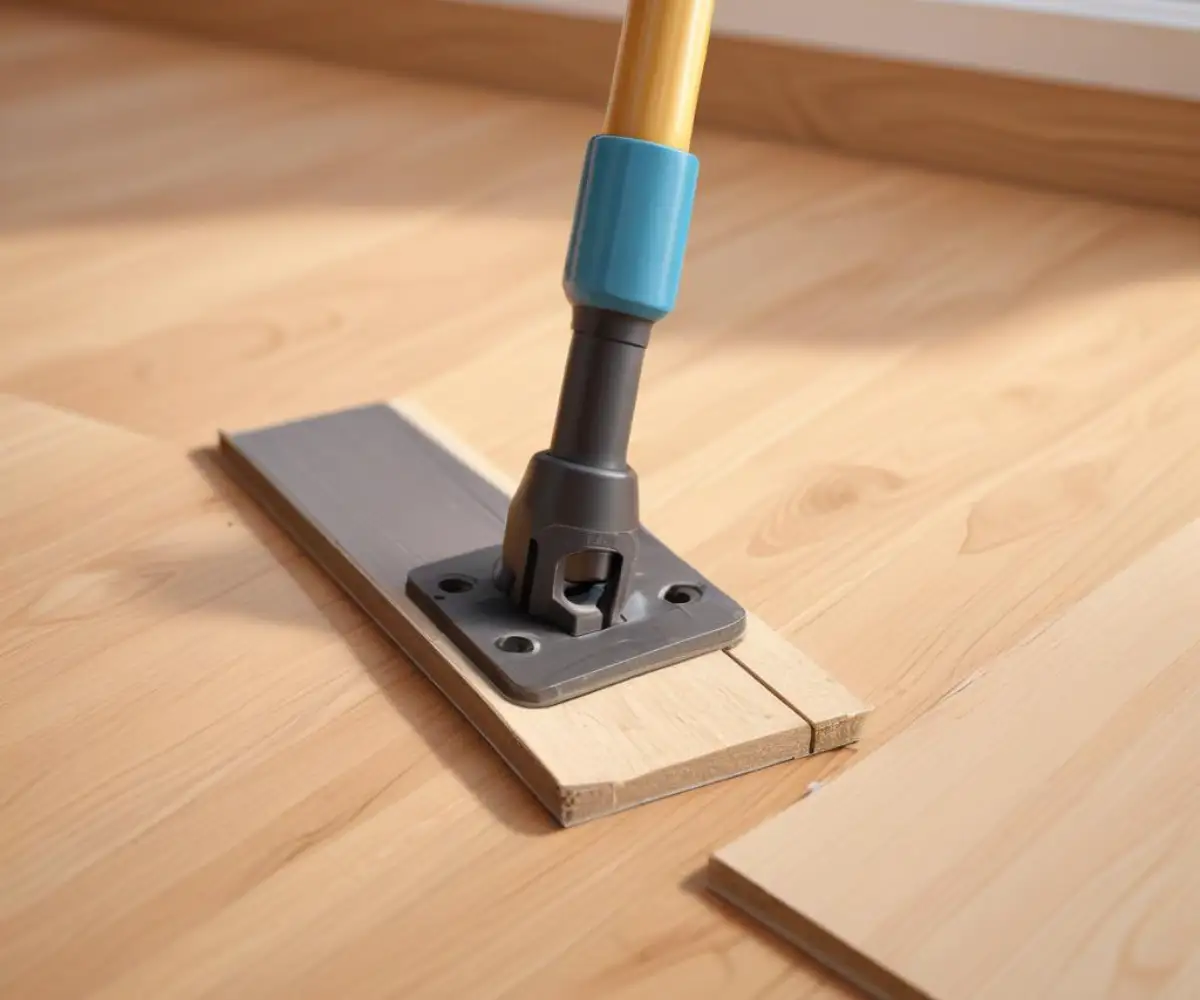
A Tapping Block and a Sturdy Flat Tool
For smaller adjustments or when you have slightly more room, a different technique can be employed. Use a scrap piece of laminate flooring as a makeshift tapping block. Place its groove against the tongue of the plank you are installing.
Instead of a hammer, take a long, flat, and sturdy tool like a large chisel or a heavy-duty flathead screwdriver. Place its tip on the makeshift tapping block and gently tap the handle of the chisel with your mallet. This method transfers the force horizontally and is excellent for making small, precise adjustments without damaging the wall.
The “Double Block” Pressure Method
A lesser-known but highly effective technique involves using two scrap pieces of flooring. This method is brilliant for distributing pressure and avoiding damage. Place one scrap piece flat against the wall as a buffer.
Take your second scrap piece, the “tapping block,” and lock it into the groove of the plank you’re installing. Now, you can gently tap the end of this tapping block with a hammer. The force is transferred directly through the locked joints, pulling the plank into place without any prying action, which significantly reduces the risk of damaging the delicate edges.
Comparing Your Pull Bar Options
Choosing the right method depends on the space you’re working in and the tools at your disposal. This table breaks down the pros, cons, and best-use cases for each alternative to help you decide.
| Alternative Tool | Best Use Case | Pros | Cons | Risk of Damage |
|---|---|---|---|---|
| Pry Bar & Wood Block | Tight spaces against a wall | Powerful leverage; uses common tools. | High risk of wall/plank damage if not careful. | High |
| Tapping Block & Chisel | Small, precise adjustments | Good control; less force on the wall. | Can damage the locking mechanism if struck too hard. | Medium |
| Double Block Method | When wall protection is critical | Distributes pressure evenly; very low risk of wall damage. | Requires two suitable scrap pieces; less leverage. | Low |
| Heavy-Duty Suction Cups | Delicate or high-gloss flooring | Zero contact with wall; direct pulling force. | Requires a non-porous surface; not a common tool. | Very Low |
| Strap Clamp | Long runs or bowed walls | Applies consistent, even pressure across the entire row. | Can be cumbersome to set up properly. | Low |
Unconventional Solutions for the Trickiest Spots
Sometimes, even the standard alternatives won’t work, especially in oddly shaped rooms or around complex obstacles. In these cases, a little creativity goes a long way. These methods might be unconventional, but they are proven to be effective.
Heavy-Duty Suction Cups: The Pro’s Secret
One of the safest and most effective tools for closing gaps is not found in a flooring kit but rather in a glazier’s toolbox. A pair of heavy-duty suction cups, the kind used for carrying large panes of glass, can be attached directly to the plank.
This gives you a secure handle to pull the plank horizontally into place with no risk of damaging the wall or the floor. While this requires purchasing a specific tool, it’s an invaluable addition for anyone who plans to do more flooring work in the future.
The Strap Clamp or Band Clamp Method
For applying perfectly even pressure across a very long final row, a strap clamp is an excellent solution. By anchoring the clamp at one end of the room and tightening the strap, you can gently coax the entire row of planks into a tight fit.
This method shines when dealing with walls that aren’t perfectly straight, as it prevents one end of the row from being tighter than the other. You may need to use scrap wood blocks to protect the flooring from the strap and to help distribute the pressure.
Crucial Mistakes to Avoid When Improvising
While these alternatives are effective, they come with risks if not executed properly. The goal is to finish your floor flawlessly, not to create another problem to solve. Paying attention to these details is critical.
Never Strike the Plank Directly
It can be tempting to give the edge of the laminate a “gentle tap” with a hammer. This will almost always damage the locking system. The edges and locking mechanisms are the most fragile parts of the plank and are not designed to withstand direct impact.
Protect Your Walls and Baseboards
Any method that involves prying requires a buffer between your tool and the finished wall. A deep gouge in the drywall from a pry bar is a frustrating and entirely avoidable repair. Always use a scrap of wood or a folded piece of thick cardboard to absorb the pressure.
Don’t Forget the Expansion Gap
No matter which technique you use, you must maintain the manufacturer-recommended expansion gap (typically 1/4 inch) around the perimeter of the room. This space is essential for the floor to expand and contract with changes in humidity and temperature. A floor installed too tightly against the wall will buckle and warp over time. In some cases, installers facing persistent gaps might be tempted to use fillers, but one must be cautious; understanding why you shouldn’t use expanding foam under laminate flooring is key to avoiding future structural problems.
Making the Right Choice for a Flawless Finish
A missing pull bar is not a roadblock but a chance to apply a little ingenuity to your DIY project. By understanding that its purpose is simply to provide controlled, horizontal force, you can easily find a substitute using tools you already own. The pry bar and wood block method remains the most popular and accessible alternative.
For more delicate jobs, exploring options like suction cups or the double-block technique can provide a safer, more professional result. These methods are particularly useful in spaces with unique challenges, such as installing floors in a room with tricky corners. For instance, updating a home with new flooring might coincide with other renovations, like installing new sunroom replacement panels, where tight fits and pristine finishes are paramount. Ultimately, the right technique will leave you with a perfectly tight final row and the satisfaction of a job well done.