Is Your Laminate Floor Rebelling? Why It Won’t Lay Flat
You’ve invested time and money into installing beautiful laminate flooring, only to find it lifting, buckling, or creating unsightly bubbles. A laminate floor that won’t lay flat is a frustrating problem that can ruin the look of an entire room. This issue is more than just a cosmetic annoyance; it often points to deeper, underlying problems that need immediate attention to prevent permanent damage.
Understanding the root cause is the first step toward a lasting solution. From environmental factors to installation errors, several culprits could be behind your flooring troubles. Ignoring these warning signs can lead to more significant issues, including broken locking mechanisms and irreparable plank damage.
You'll Learn About
The Core of the Problem: Why Laminate Floors Rebel
Laminate flooring is a durable and affordable option, but it has a specific weakness: its core is typically made of high-density fiberboard (HDF). This material, derived from wood, is sensitive to environmental changes, particularly moisture and temperature. When these conditions aren’t properly managed, the structural integrity of your floor is at risk.
Moisture: The Ultimate Enemy
Excess moisture is the number one cause of laminate flooring failures. When the HDF core absorbs water, it swells. This expansion can cause planks to push against each other, leading to buckling, warping, and bubbling. The source of this moisture can be obvious, like a spill or a leak from an appliance, but it can also be more subtle.
Moisture can wick up from a damp subfloor, especially concrete slabs that haven’t been properly sealed. High humidity in the room can also be absorbed by the planks over time. Using a wet mop for cleaning is another common way homeowners unintentionally introduce damaging moisture to their floors.
Expansion and Contraction: A Natural Phenomenon
Like solid wood, laminate flooring naturally expands and contracts with changes in temperature and humidity. Installers must leave a small space around the perimeter of the room, known as an expansion gap, to accommodate this movement. This gap is typically hidden by baseboards or quarter-round molding.
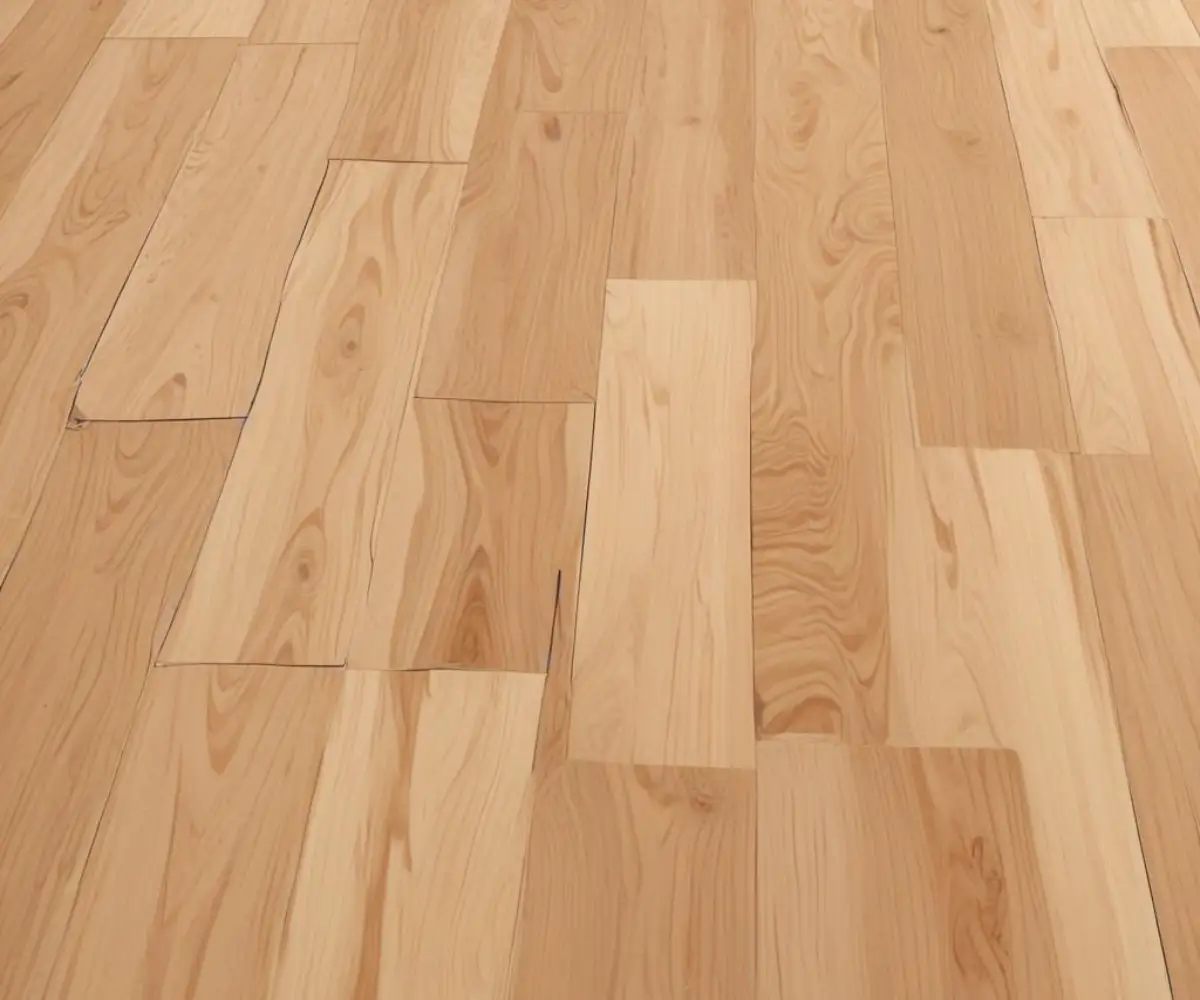
If this gap is too small or nonexistent, the expanding planks will have nowhere to go. The pressure builds, forcing the planks to lift off the subfloor, a phenomenon known as buckling or peaking. This is one of the most common installation mistakes that leads to a floor not laying flat.
The Critical First Step: Acclimation
Many DIY installers and even some professionals skip a crucial preparatory step: acclimation. Laminate flooring needs to adjust to the temperature and humidity of the room where it will be installed. This process requires letting the unopened boxes of flooring sit in the room for at least 48 hours before installation.
Skipping acclimation means the planks will expand or contract *after* they’ve been installed, leading to gaps, buckling, and an unstable floor. This simple step is vital for the long-term health and stability of your laminate flooring.
Subfloor Sins: The Foundation of Your Flooring Problems
Even with perfect acclimation and moisture control, your laminate floor can fail if the subfloor isn’t properly prepared. A floating floor system like laminate requires a clean, flat, and structurally sound base to perform correctly. Any imperfections in the subfloor will eventually telegraph through to the surface.
An Uneven Battleground
A subfloor that isn’t perfectly flat is a primary cause of bouncy, lifting, and noisy laminate floors. Dips and high spots in the subfloor create stress on the plank’s locking mechanisms. As you walk on these areas, the planks flex, which can eventually cause the joints to break, leading to gaps and lifting planks.
Industry standards typically require a subfloor to be level within 3/16 of an inch over a 10-foot span. Low spots should be filled with a leveling compound, and high spots should be sanded down before any underlayment or flooring is installed.
The Wrong Underlayment
Underlayment is a thin layer of foam or felt placed between the subfloor and the laminate. It provides cushioning, sound absorption, and a moisture barrier. Using the wrong type, or improperly installing it, can lead to problems. Overlapping the seams of the underlayment, for example, can create high spots that prevent the laminate from laying flat.
A Step-by-Step Guide to Taming Your Unruly Floor
Fixing a laminate floor that won’t lay flat requires identifying the cause and then taking corrective action. In some cases, the fix is simple, while in others, it may require reinstalling a portion of the floor.
Step 1: Identify the Cause
Start by carefully examining the problem area. Is it near a wall, in the middle of the room, or next to a doorway? Is there any visible sign of water damage or discoloration? Answering these questions will help you narrow down the potential cause.
If the buckling is near a wall, the problem is likely an insufficient expansion gap. If you see bubbles or warping, moisture is the probable culprit. A bouncy or spongy feeling often points to an uneven subfloor.
Step 2: Correcting Expansion Gap Issues
If the expansion gap is the problem, the solution involves creating more space for the floor to move. You will need to carefully remove the baseboards or quarter-round molding around the perimeter of the room. Once removed, inspect the gap between the flooring and the wall.
The gap should be at least 1/4 inch wide. If it’s too narrow, you’ll need to trim the edges of the laminate planks. You can use a multi-tool or a circular saw for this, but if you’re not comfortable with these tools, exploring options like the difference between a flooring saw vs table saw might provide a safer, more precise cut. After creating the proper gap, reinstall the moldings, ensuring you nail them to the wall, not the floor.
Step 3: Addressing Moisture Damage
For minor moisture issues, such as a small spill, simply drying the area thoroughly may be enough. However, if planks are swollen or warped, they will need to be replaced. This involves removing the moldings and carefully uninstalling the floor plank by plank until you reach the damaged area.
Before reinstalling, you must find and eliminate the source of the moisture. This could mean repairing a leaky pipe or applying a moisture barrier to a concrete subfloor. Once the subfloor is completely dry, you can install the new planks and reassemble the floor.
Step 4: Fixing an Uneven Subfloor
Unfortunately, fixing an uneven subfloor is the most labor-intensive solution. It requires uninstalling the entire floor. Once the subfloor is exposed, use a long, straight edge to identify high and low spots.
Grind down high spots and fill low spots with a self-leveling compound. Allow the compound to cure completely before reinstalling your underlayment and laminate flooring. This is also a good time to ensure your subfloor is clean and free of debris.
The Unspoken Culprit: Adhesive Contamination
One often overlooked issue that can prevent laminate from laying flat is adhesive contamination on the subfloor. If old flooring like vinyl or carpet was glued down, residual adhesive can create an uneven surface with high spots that cause the laminate to rock or see-saw. Even small amounts of old glue can be enough to disrupt the flatness of the installation.
Furthermore, the chemical composition of old adhesives can sometimes interact with the laminate’s backing or underlayment, causing degradation over time. It’s crucial to scrape or grind the subfloor to remove all traces of old adhesive before beginning a new installation. This ensures a truly flat and chemically inert surface for your new floor.
| Problem Symptom | Likely Cause | Solution |
|---|---|---|
| Buckling or peaking along walls | Insufficient expansion gap | Remove baseboards and trim flooring to create a wider gap. |
| Bubbles, warping, or discoloration | Moisture damage | Find and eliminate the moisture source; replace damaged planks. |
| Bouncy or spongy feeling when walking | Uneven subfloor | Uninstall flooring and level the subfloor with compound. |
| Gaps opening between planks | Lack of acclimation or broken locking mechanisms | Reinstall flooring after proper acclimation; replace broken planks. |
| A single plank corner is lifted | Debris in the locking mechanism or defective plank | Uninstall to the problem plank, clean the joint, or replace the plank. |
Preventative Maintenance: Keeping Your Floor Flat for Life
Once your floor is flat and stable, keeping it that way requires proper care. Never use a steam mop or a soaking wet mop to clean your laminate floors. Use a damp microfiber mop and a cleaner specifically designed for laminate flooring. Clean up spills immediately to prevent moisture from seeping into the seams.
Maintain a consistent indoor climate. Drastic swings in temperature and humidity can cause excessive expansion and contraction. Use furniture pads under heavy items to prevent them from pinning the floor down, which can restrict its natural movement.
When to Call a Professional
While many of these fixes can be handled by a skilled DIYer, some situations are best left to the professionals. If you’re dealing with extensive water damage, a severely uneven subfloor, or if you’re simply not comfortable undertaking the repairs yourself, a professional flooring installer can ensure the job is done right.
A beautiful, flat laminate floor is achievable. By understanding the causes of common problems and knowing how to address them, you can restore the smooth, seamless look of your flooring and enjoy it for years to come. Taking the time to diagnose the issue correctly is the key to a successful and lasting repair.