Flooring Saw vs Table Saw: The #1 Mistake DIYers Make
You’re standing in the aisle, ready to tackle that new flooring project. You’ve picked out the perfect laminate, vinyl plank, or engineered hardwood. But then comes the paralyzing question: which saw do you actually need to cut it? This is the critical moment where a simple choice can mean the difference between a professional-looking floor and a frustrating, expensive disaster.
Choosing the wrong tool isn’t just an inconvenience. It can lead to chipped and splintered planks, inaccurate cuts that create ugly gaps, and a cloud of fine dust that settles on every single surface in your home. Let’s cut through the confusion and make sure you have the right tool for the job.
You'll Learn About
What Exactly is a Flooring Saw? The Specialist Tool
A flooring saw is a purpose-built machine designed to do one job exceptionally well: cut flooring. Think of it as a hybrid between a miter saw and a compact table saw, optimized for the long, repetitive cuts required when laying down planks. They are engineered specifically for materials like laminate, luxury vinyl plank (LVP), and engineered wood.
These saws are praised for their portability and clean operation. Most are lightweight enough to be carried right into the room you’re working in, saving countless trips back and forth to the garage. More importantly, they often have excellent built-in dust collection systems, which is a massive advantage when working indoors with materials known for producing fine, abrasive dust.
Key Advantages of a Flooring Saw
The primary benefit of a flooring saw is its specialized design. It excels at making the two most common cuts in flooring installation—crosscuts (cutting a plank to length) and rip cuts (cutting a plank lengthwise)—with precision and ease. Many models can also handle miter cuts for angled installations.
Their compact size and integrated handle make them incredibly portable. Safety is another significant plus; the blade is often well-guarded, and the workpiece is held securely during the cut, minimizing the risk of accidents compared to more exposed saws. For anyone focused purely on a flooring project, a flooring saw offers unmatched convenience and efficiency.
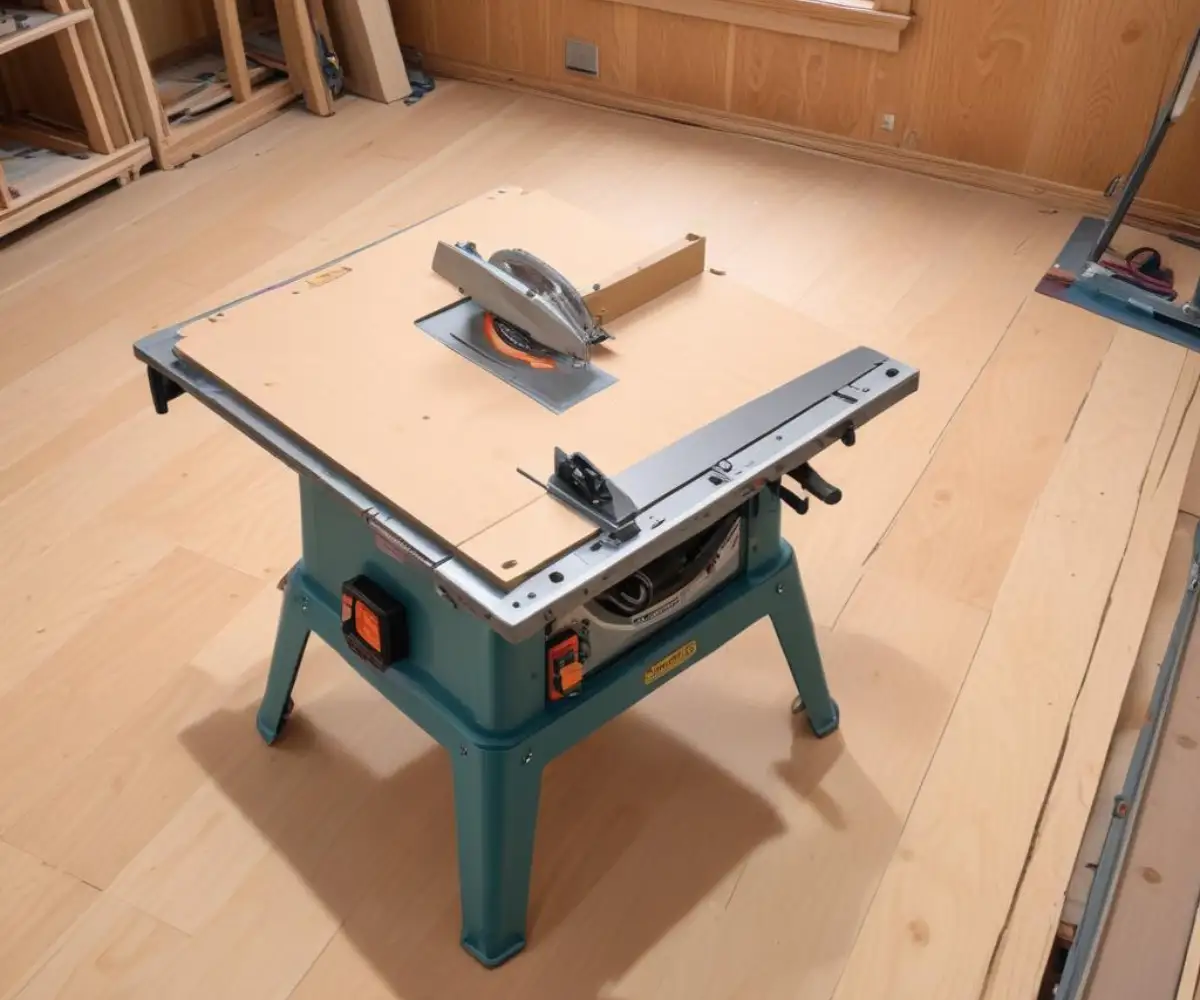
What is a Table Saw? The Workshop Powerhouse
The table saw is the undisputed king of the woodshop for a reason. It’s an incredibly versatile and powerful tool capable of making a vast array of cuts with stunning accuracy. From ripping large sheets of plywood to cutting intricate joinery, a table saw is the centerpiece around which many workshops are built.
Its large, flat surface provides excellent support for materials, and the adjustable rip fence allows for perfectly straight, repeatable cuts. With the right blade and accessories, a table saw can handle nearly any cutting task you throw at it. However, this power and versatility come with trade-offs, especially when it comes to flooring installation.
The Trade-Offs of Using a Table Saw for Flooring
While a table saw can certainly make every cut needed for a flooring project, it’s not always the most convenient tool for the task. They are heavy, bulky, and not easily moved into a small bedroom or hallway. This means you’ll spend a significant amount of time walking planks back and forth to your cutting station.
Furthermore, table saws are notorious for creating a massive amount of sawdust. Without a sophisticated dust collection system, cutting laminate or fiberboard indoors is practically unthinkable. While it’s a highly capable machine, using it for a simple flooring job can sometimes feel like using a sledgehammer to crack a nut.
Head-to-Head: The Ultimate Comparison
Making the right choice comes down to understanding the critical differences between these two saws in the context of a flooring project. The best tool isn’t just about what *can* do the job, but what can do it most efficiently, cleanly, and safely. Here is a direct comparison of their key features.
This table breaks down the core functionalities and practical considerations that should guide your decision. Pay close attention to the areas that matter most for your specific project, like portability if you’re working in a finished home, or versatility if you plan to tackle other woodworking projects in the future.
| Feature | Flooring Saw | Table Saw |
|---|---|---|
| Primary Use | Crosscutting and ripping flooring planks | General purpose ripping and crosscutting of various materials |
| Portability | Excellent. Lightweight and designed for the job site. | Poor to fair. Heavy and requires a dedicated space. |
| Dust Collection | Very Good. Often has integrated ports for indoor use. | Poor. Creates significant dust without an external system. |
| Convenience for Flooring | Excellent. Can be used in the same room as the installation. | Fair. Requires constant trips to a separate cutting area. |
| Versatility | Limited to flooring and similar-sized materials. | Excellent. Can be used for countless other woodworking projects. |
| Rip Cut Capacity | Good, but may be limited on very wide planks. | Excellent, limited only by the fence and table size. |
| Safety | Very good due to enclosed blade and workpiece support. | Fair. Requires more operator skill and attention to safety. |
So, Which Saw is Right for YOU?
The final verdict depends entirely on your situation. There is no single “best” answer, only the best tool for your specific needs and budget. Let’s break it down into common scenarios to help you decide.
For the One-Time DIYer
If you are installing a floor in a single room or a small area and don’t have plans for future woodworking projects, the flooring saw is the clear winner. Its ease of use, portability, and excellent dust control will make your project significantly more pleasant. You can work faster and cleaner, getting the job done with less frustration.
For the Serious Hobbyist or Future Woodworker
If you already own a table saw, you likely don’t need to buy a dedicated flooring saw. You can absolutely use your table saw for the project, but you must be prepared for the downsides. Plan to set it up outside or in a garage and be ready for a lot of walking. Ensure you have a high-quality, fine-tooth blade to prevent chipping.
If you don’t own either saw but plan on doing more home improvement or woodworking projects, a good quality portable table saw might be a better long-term investment due to its incredible versatility. Just be aware of the compromises you’ll make during the flooring installation itself.
For the Professional Installer
For a professional, time is money, and cleanliness is a mark of professionalism. A dedicated flooring saw is an essential tool. The efficiency gained by cutting inside the work area, combined with the superior dust management, makes it a non-negotiable piece of equipment for anyone installing floors for a living.
Tips for Using a Table Saw for Flooring
If you decide to go the table saw route, a few key accessories and techniques can make the process much smoother and safer. A standard table saw out of the box is not optimized for flooring, but it can be adapted.
First, invest in a good crosscut sled. This accessory will allow you to make clean, accurate, and repeatable 90-degree cuts on your planks, which is much safer and more precise than using the miter gauge that came with your saw. Second, always use a fine-tooth blade (80 teeth or more) designed for laminates or plywood to get a chip-free finish on the delicate top layer of modern flooring materials.
Beyond the Big Two: Other Essential Flooring Tools
While the flooring saw and table saw handle the majority of cuts, they can’t do everything. For intricate cuts around obstacles, you’ll need more specialized tools. The debate over a multi-tool vs jigsaw often comes up here; a jigsaw is great for curved cuts, while a multi-tool excels at undercutting door jambs for a clean, professional look.
The type of flooring and installation method also matters. For instance, if you’re wondering, can I put LifeProof vinyl flooring under cabinets, the answer will impact your cutting sequence and tool choice. Finally, once the floor is laid, you’ll need to finish the edges, a task that often involves installing trim and tackling challenges like wrapping a quarter round around a door frame perfectly.
The Final Cut: Making Your Decision
The choice between a flooring saw and a table saw boils down to a classic trade-off: specialization versus versatility. For dedicated flooring work, the flooring saw’s convenience, portability, and cleanliness make it the superior tool. It is designed from the ground up to solve the specific problems you’ll encounter during an installation.
The table saw remains the more versatile and powerful machine for an all-around workshop. It can do the job, but it does so with compromises in convenience and cleanliness that can make a DIY project more challenging than it needs to be. Evaluate your current project, future plans, and workspace to make the choice that will lead you to a beautiful, professionally installed floor with the least amount of hassle.