Kobalt 80V Blower Troubleshooting: Your Ultimate Fix-It Guide
Nothing disrupts yard work faster than a piece of equipment that suddenly quits. When your powerful Kobalt 80V blower fails to start or loses its impressive force, it can be incredibly frustrating. This guide offers a comprehensive approach to kobalt 80v blower troubleshooting, helping you diagnose and resolve the most common issues to get your equipment back in action.
Understanding the potential culprits behind a malfunctioning blower is the first step toward a solution. From simple battery problems to more complex motor issues, we will walk you through a systematic process to identify the root cause. With the right knowledge, many of these problems can be fixed at home without the need for a costly repair shop visit.
You'll Learn About
Is Your Kobalt 80V Blower Not Starting? Start Here.
The most frequent complaint with any cordless tool is a failure to start. For the Kobalt 80V blower, this issue almost always traces back to the power source. Before assuming a major mechanical failure, a thorough check of the battery and its connection points is essential.
Often, what seems like a dead blower is simply a battery issue that can be quickly rectified. Taking a few moments to perform these initial checks can save you significant time and effort. A logical diagnostic approach ensures you don’t overlook a simple fix.
The Heart of the Matter: Battery and Charger Issues
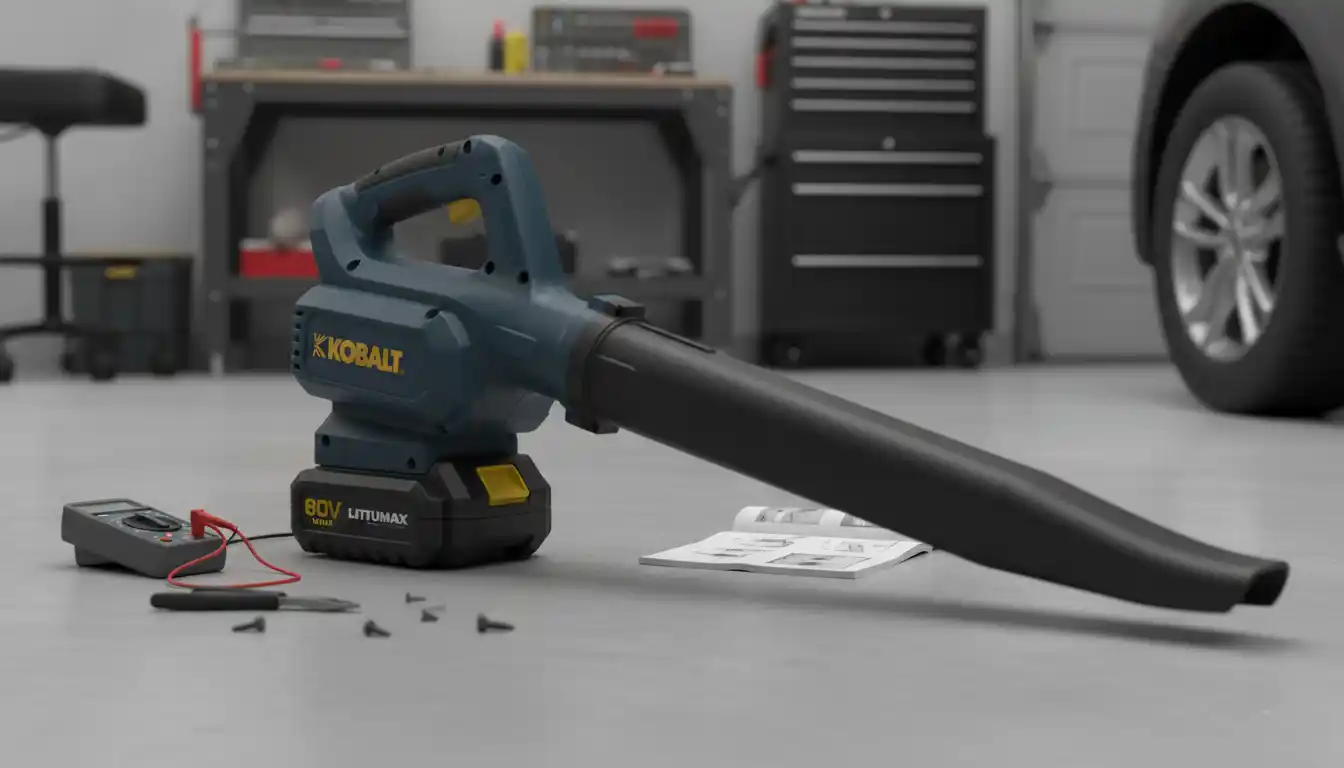
The 80V battery is the powerhouse of your blower, and its health is paramount to the tool’s operation. A primary troubleshooting step is to ensure the battery is fully charged. Place it on the Kobalt 80V charger and observe the indicator lights; a solid green light typically signifies a full charge, while a blinking green light means it’s still charging. If you see a solid or blinking red light, this indicates a problem such as the battery being too hot or cold, or a potential internal fault.
Make sure the battery is at room temperature before charging, as extreme temperatures can prevent the charging process. Also, inspect the metal contacts on both the battery and the charger. Clean them gently with a dry cloth to remove any dirt or corrosion that could be interfering with the connection. Sometimes, a simple reset of the charger by unplugging it for a minute can resolve minor glitches.
Checking the Power Switch and Connections
If the battery and charger appear to be functioning correctly, the next area to inspect is the blower’s power switch and the battery connection. Ensure the battery is securely seated in the blower’s housing; you should hear a distinct “click” as it locks into place. A loose connection can prevent power from reaching the motor.
Examine the power button and trigger mechanism for any obvious signs of damage or obstruction. Over time, the plastic sticker over the power button can become worn, preventing it from being fully depressed. In some cases, carefully removing this worn sticker can restore the button’s functionality. Be mindful of any unusual feedback from the trigger; a trigger that feels loose or stuck might indicate an internal electrical issue.
Solving Power Loss and Performance Dips
Another common frustration is when the blower starts but operates with noticeably reduced power or cuts out during use. This intermittent performance can be just as disruptive as a complete failure to start. Typically, this points to either an airflow obstruction or an issue with the power delivery system.
Reduced airflow dramatically impacts the blower’s effectiveness, turning a powerful tool into a frustratingly weak one. Identifying the cause of this power drop is key to restoring its full capacity. These steps will help you pinpoint the source of the problem.
Why Your Blower Suddenly Loses Power
A sudden drop in power often suggests a blockage in the air intake or the blower tube. Power down the unit and remove the battery before conducting any inspection. Check the air intake vents on the side of the blower for any accumulation of leaves, grass, or other debris and clear them out. A clogged intake starves the motor of air, significantly reducing its output.
Next, detach the blower tube and inspect it and the nozzle for obstructions. Even a small clump of wet leaves or a stray piece of debris can create a bottleneck and diminish airflow. Reassemble the tube securely once you’ve confirmed it is clear.
The Turbo Button Dilemma: When It Fails to Engage
The turbo button provides a crucial boost of power for tough jobs, and when it fails, the blower’s utility is limited. If the blower operates at a normal speed but the turbo function doesn’t engage, the issue is likely with the electronic controls or the button itself. Ensure the battery is fully charged, as the turbo function consumes significantly more power and may be disabled if the battery level is low.
If the battery is charged and the button still doesn’t work, the problem may lie within the switch assembly. For those comfortable with disassembly, checking for a loose wire or a faulty switch contact might be possible. However, this could be a sign that the electronic control module requires professional attention if a simple inspection reveals no obvious issues.
Diagnosing and Fixing Excessive Vibration and Noise
A sudden increase in vibration or a loud, unusual noise is a clear indicator of an internal problem. These symptoms should not be ignored, as they can point to an issue that could cause further damage if left unaddressed. The most common cause is an imbalance in the rotating impeller fan.
Operating a blower that is vibrating excessively is not only uncomfortable but also unsafe. Pinpointing the source of the noise or vibration is crucial for a safe and effective repair. It’s often related to debris caught inside the fan housing.
Identifying Debris and Impeller Imbalance
Always disconnect the battery before inspecting the impeller area. After removing the blower tube, look inside the fan housing with a flashlight. Small sticks, rocks, or other hard debris can get sucked into the housing and become lodged in the impeller fan, causing it to become unbalanced.
If you see debris, carefully try to remove it with pliers or another tool. After clearing any obstructions, reassemble the unit and test it. If the vibration and noise are gone, you have likely solved the problem. It is important to inspect your yard for small, hard objects before starting work to prevent this from happening.
When to Suspect a Motor or Bearing Problem
If you’ve cleared all debris from the impeller and the blower still vibrates or makes a grinding or screeching noise, the issue may be more serious. These sounds can indicate that the motor’s bearings are worn out and failing. A failing bearing will cause the motor shaft to wobble, leading to significant vibration and noise.
Replacing motor bearings is a complex task that typically requires specialized tools and expertise. If you suspect a motor or bearing issue, it is often best to consult a professional repair service. Continuing to operate the blower with a failing motor can lead to complete and irreparable damage.
Advanced Kobalt 80V Blower Troubleshooting
When basic troubleshooting steps don’t resolve the issue, a deeper dive into the blower’s electronic components may be necessary. The Kobalt 80V blower contains a sophisticated electronic control module that manages power distribution and motor function. Problems in this area can manifest in various ways, from a complete failure to start to erratic behavior.
Working with electronic components requires a cautious and systematic approach. Before tackling these advanced steps, ensure you are comfortable working with wiring and have a basic understanding of electronic circuits. A seemingly minor mistake, like a home repair involving a broken truss in attic, can lead to bigger problems if not handled with care.
Understanding the Electronic Control Module (ECM)
The Electronic Control Module, or ECM, is the brain of your blower. It regulates the motor’s speed, monitors the battery’s status, and controls functions like the turbo button. A fault in the ECM can cause the blower to behave unpredictably or not work at all. Symptoms of an ECM failure can be similar to other issues, making diagnosis tricky.
One potential sign of an ECM issue is if the blower cuts out intermittently for no apparent reason, even with a fully charged battery and no blockages. Similarly, if the speed controls or turbo button stop responding correctly, the ECM might be the culprit. Unfortunately, diagnosing and replacing an ECM is generally a task for a qualified technician.
| Symptom | Potential Cause | Recommended Action |
|---|---|---|
| Blower will not start | Discharged/faulty battery, loose connection, faulty switch | Fully charge/test battery, check connections, inspect power button |
| Reduced airflow | Blocked air intake or blower tube | Remove battery and clear all obstructions |
| Blower stops during use | Overheated battery, internal fault, debris in impeller | Allow battery to cool, check for blockages |
| Excessive noise/vibration | Debris in impeller, worn motor bearings | Clear impeller housing, seek professional service if noise persists |
| Turbo button not working | Low battery, faulty switch, ECM issue | Charge battery fully, inspect switch, consult service center |
A Deeper Look at Internal Wiring and Components
For the DIY-savvy user, a visual inspection of the internal wiring can sometimes reveal the problem. After carefully disassembling the blower’s housing (remembering to keep track of all screws), look for any wires that are disconnected, pinched, or show signs of burning. A loose connection to the trigger switch or motor can easily interrupt the power flow.
Some users have reported issues with the trigger switch itself becoming faulty. If you have a multimeter, you can test the switch for continuity to see if it is making a proper electrical connection when pressed. This level of repair is more involved and should only be attempted if you have the right tools and knowledge, much like complex home projects such as installing vanity light without junction box.
Proactive Maintenance to Prevent Future Problems
The best way to deal with problems is to prevent them from happening in the first place. A consistent maintenance routine will not only extend the life of your Kobalt 80V blower but also ensure it performs at its peak whenever you need it. Simple actions can make a huge difference in long-term reliability.
Neglecting maintenance can lead to the common issues discussed in this guide. Taking a few minutes after each use to clean and inspect your tool will pay dividends in hassle-free operation season after season. It’s a small investment of time for a significant return.
Proper Battery Care and Storage
Lithium-ion batteries, like the one in your Kobalt blower, require proper care to maintain their health and longevity. Avoid storing the battery in extreme temperatures—both hot and cold—as this can degrade the cells. A cool, dry place like a garage or shed is ideal. If you’re dealing with other household maintenance, such as a bathroom faucet leaking from center hole, remember to keep your power tool batteries away from any moisture.
For long-term storage, it is best to leave the battery with a partial charge (around 50%) rather than fully charged or completely drained. Always use the designated Kobalt 80V charger and remove the battery from the charger once it is fully charged to prevent overcharging.
Routine Cleaning and Inspection Checklist
After every use, take a moment to perform a quick cleaning and inspection. Wipe down the blower’s housing with a soft, damp cloth to remove dust and debris. Use compressed air or a brush to clean out the air vents to ensure proper motor cooling.
Regularly check that all screws on the housing are tight. Inspect the blower tube and nozzle for any signs of cracks or damage that could affect performance. By catching small issues early, you can prevent them from developing into major, costly repairs.
When to Seek Professional Repair
While many common issues with the Kobalt 80V blower can be resolved with DIY troubleshooting, there are times when calling in a professional is the safest and most effective option. If you’ve worked through the steps in this guide and the blower still isn’t functioning correctly, it may be time to seek expert help.
Attempting complex electrical or motor repairs without the proper knowledge and tools can lead to further damage to the tool or even personal injury. Knowing your limits is key. A professional technician will have the diagnostic equipment and replacement parts to fix the problem correctly and safely, especially for issues related to the motor or the electronic control module.